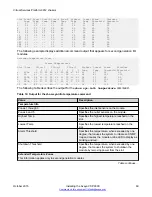
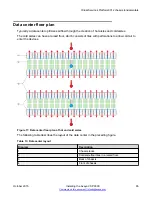

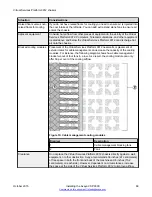
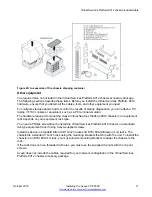
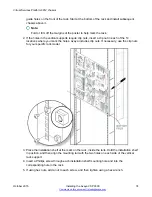
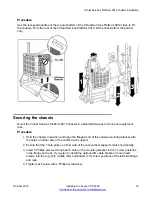
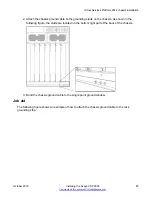
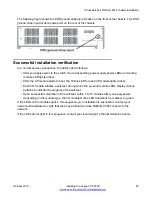
guide holes on the front of the rack. Start at the bottom of the rack and install subsequent
chassis above it.
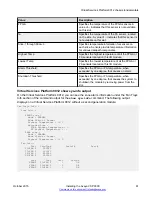
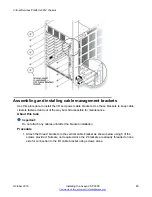
Note:
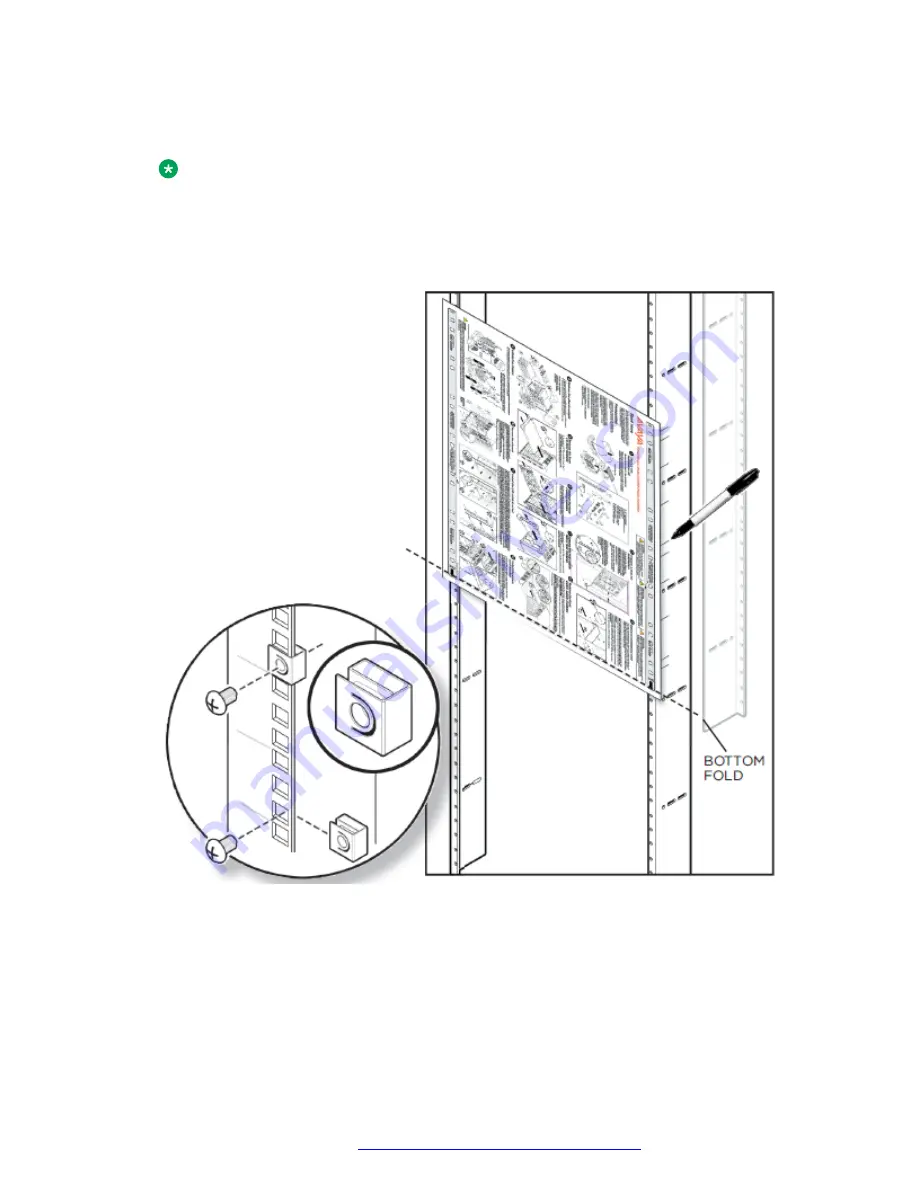
Fold or trim off the margins of the poster to help mark the rack.
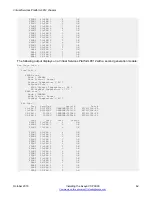
2. If the holes in the vertical supports require clip nuts, insert a clip nut in each of the 14
locations where you mark the holes. Avaya includes clip nuts. If necessary, use the clip nuts
for your specific rack model.
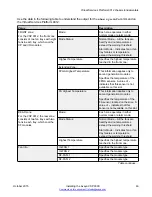
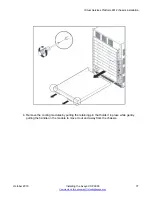
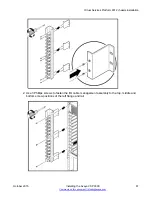
3. Place the installation shelf at the mark on the rack, inside the rails. Hold the installation shelf
in position, and then align the mounting rail with the two holes on each side of the vertical
rack support.
4. Insert a Phillips screw through each installation shelf mounting hole and into the
corresponding hole in the rack.
5. If using hex nuts, add a nut to each screw, and then tighten using a hex wrench.
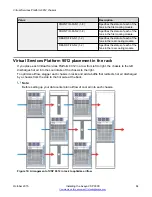
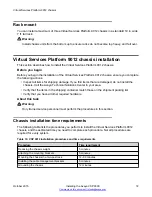
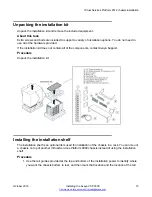
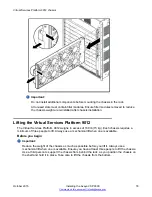
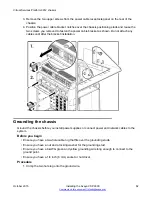
Virtual Services Platform 9012 chassis
October 2015
Installing the Avaya VSP 9000
74


