Page 8
3.
INSTALLATION SPLIT-HDM2-T4K-4-V2
To setup the Avenview SPLIT-HDM2-T4K-4-V2please follow the steps below to experience the best results:
1.
Please ensure the connecting devices are powered off before proceeding.
2.
Connect the HDMI video source to the Input (HDMI IN)- Example Blu-ray or 4K Digital player or Camera
3.
Connect (4) four HDMI cables to the desired HDMI Displays
4.
Please ensure all connections are seated securely and placed in the corresponding connections.
5.
Firstly, power on the HDMI Source, after the boot sequence and the resolution is sync with the mode
6.
Power on the compatible HDMI displays and experience the clear duplicated images on the 1 to 4
displays connected.
EDID LEARNING MODE
1.
When connecting a new monitor to the SPLIT-HDM2-T4K-4-V2when the dial mode is on
(LEARN
EDID
)
the user may experience a blank screen for a short period. The Automatic EDID learning
process analyzes the connected monitor to verify the EDID table versus the HDMI input to calculate any
changes to be made.
*NOTE: If EDID settings were changed, the unit must be power cycled after
FIRMWARE UPGRADE
2.
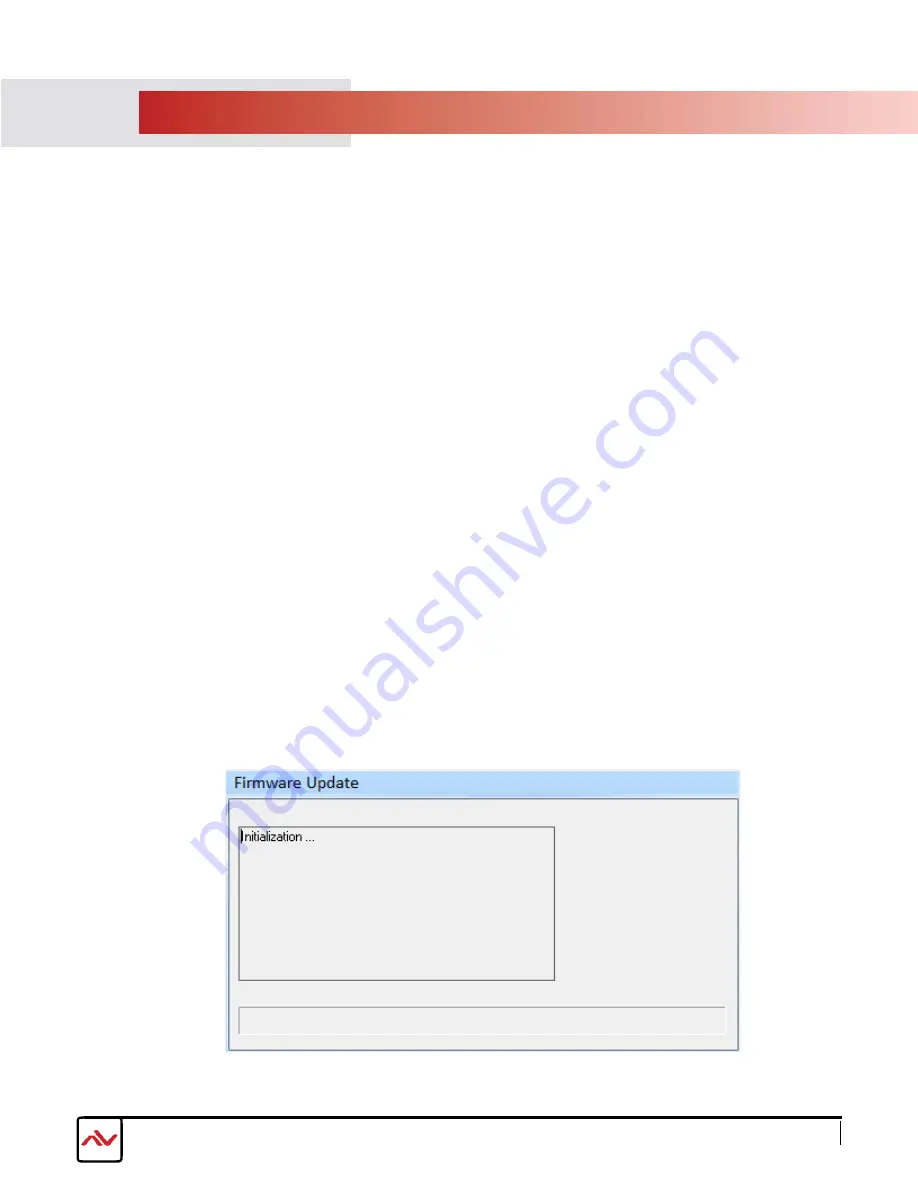
For firmware update through Mini-USB, connect the Mini-USB cable between PC and device.
Open the firmware update software-:
[STEP 1] Save the firmware file (.bin) & update software in the same folder.
[STEP 2] connect the Mini-USB cable between PC and device
[STEP 3] Open firmware update software and then device will start to update firmware automatically.
[STEP 4] After update process is done, software will show “Success” message and then be closed automatically.
[STEP 5] Power cycle the device


