4
Name
Function
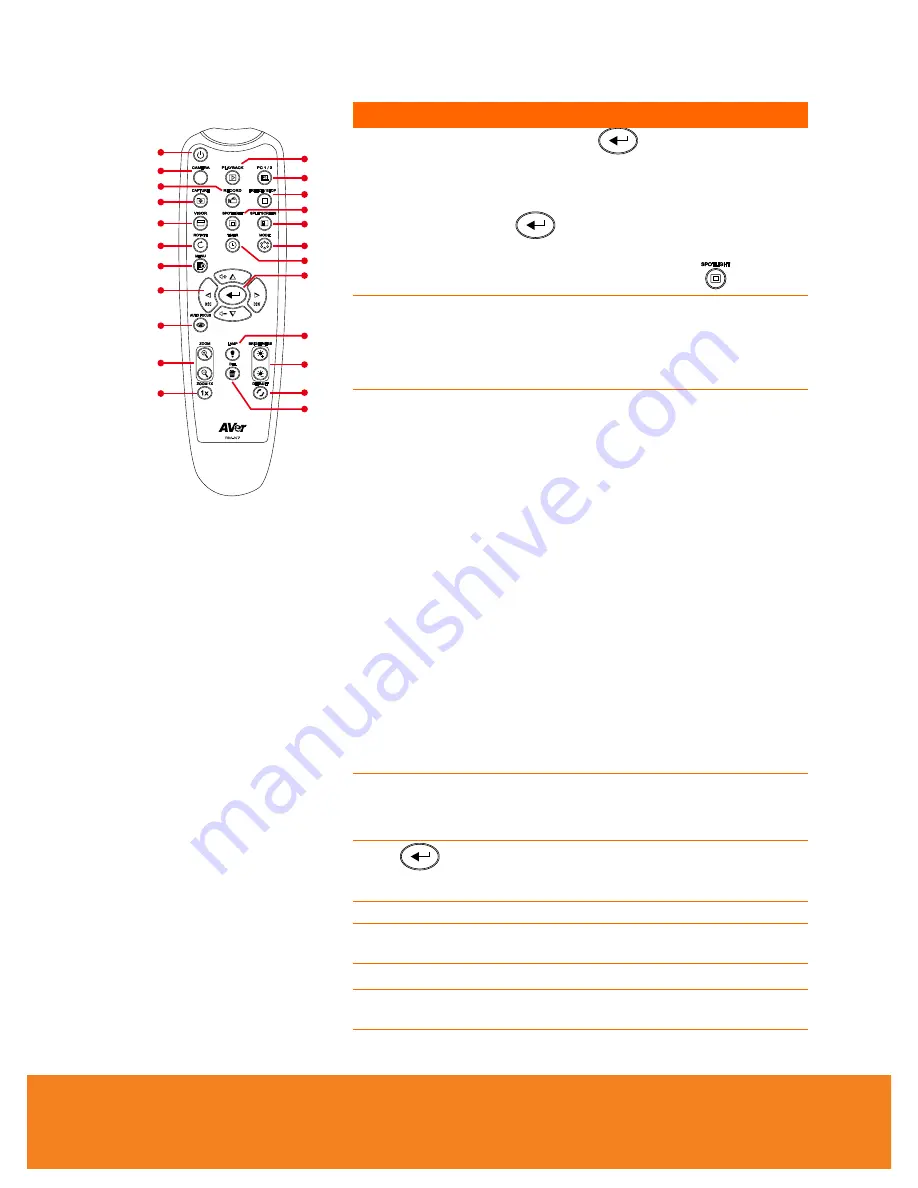
(18)
(14)
(11)
(7)
(8)
(5)
(2)
(1)
(22)
(13)
(4)
(3)
(15)
(12)
(17)
(23)
(20)
(19)
(9)
(6)
(16)
(10)
(21)
(
fig. 1.4
)
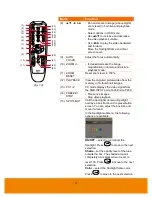
(15) SPOTLIGHT
OK
–
press
for
the setting to take
effect.
If you select ON, the frame will
appear and blink, use the
▲,▼,◄, & ►
buttons to adjust the frame size and press
to set the desired size; and OFF will
close the submenu.
To turn off Spotlight, press
again.
(16) SPLIT
SCREEN
Divide the screen into two. One side
displays the live image from the built-in
camera and the other side displays 8-
thumbnail size picture/video from the
memory.
(17) MODE
Select from 6 type of modes:
Sharp
- adjust the contrast along the
edges making text appear more visible.
Viewing the subject from 32-36 cm (16X
zoom) away from the camera.
Graphics
- adjust the gradient of image.
Viewing the subject from 32-36 cm (16X
zoom) away from the camera.
Motion
- increase frame rate. Sufficient
lighting is required when using this
mode. Viewing the subject from 32-36
cm (16X zoom) away from the camera.
Microscope
- automatically adjust
optical zoom for microscopic viewing.
Macro
- set to view when object is only
10-32cm (5X zoom) away from the
camera.
Infinite
- set to view when subject is
from 36 cm to infinity (Max.16X) and
further away from the camera.
(18) TIMER
Call the Timer submenu. Select to
Start/Pause/Stop the timer countdown
and set the timer duration.
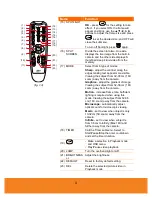
(19)
- Make a selection in Playback mode
and OSD menu.
- Play/Pause video playback.
(20) LAMP
Turn the overhead light on/off.
(21) BRIGHTNESS
+/-
Adjust the brightness.
(22) DEFAULT
Reset to factory default setting.
(23) DEL
Delete the selected picture/video in
Playback mode.


