23
password in “Confirm”. Then, click “Add/Set”.
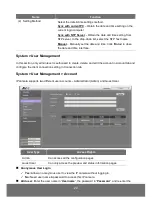
User List: Click edit to change the account password. To delete the user account, click Remove
button.
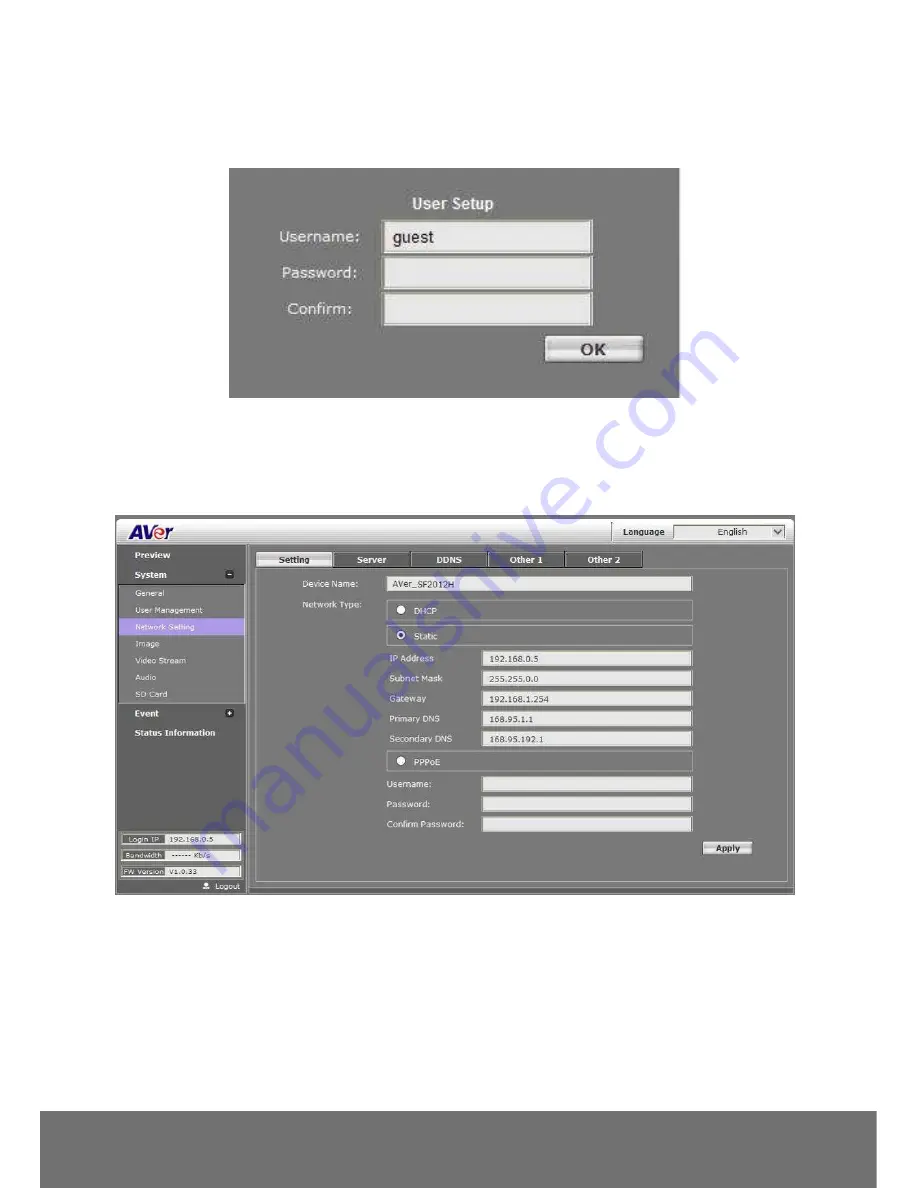
System > Network Setting>Setting
Device Name: Used to name the IP camera to search more easily for this specific one among all
connected IP cameras.
Network Type: IP camera supports DHCP, static IP and PPPoE. After completed all settings, click
Apply to save the configuration.
−
DHCP: Using DHCP, IP camera will get all the network parameters from DHCP server
automatically.
−
Static IP: Please enter the IP address, subnet mask, gateway, Primary DNS, and Secondary
DNS.
−
PPPoE: Enter the Username, Password and re-enter Password in Confirm Password for
the ADSL connection. And then click Apply to save the configuration.
Summary of Contents for SF2012H-B
Page 1: ...AVer SF2012H C User Manual ...
Page 4: ...COPYRIGHT 55 NOTICE 55 WARNING 55 LIMITED WARRANTY 56 GOVERNING LAW AND YOUR RIGHTS 57 ...
Page 12: ...8 3 Click Setup button 4 Click Add IPCam button 5 Select IP Camera item ...
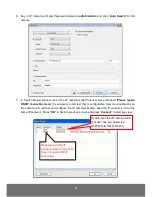
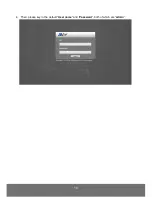
Page 18: ...14 4 Then please key in the default User name and Password both of which are admin ...
Page 20: ...16 5 When the following dialogue box appears click Yes ...
Page 43: ...39 Video Format H 264 or JPEG RTSP Path It s a URL address ...

