57
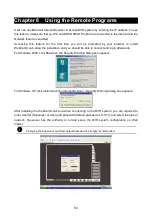
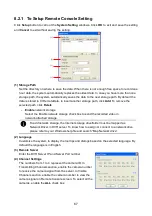
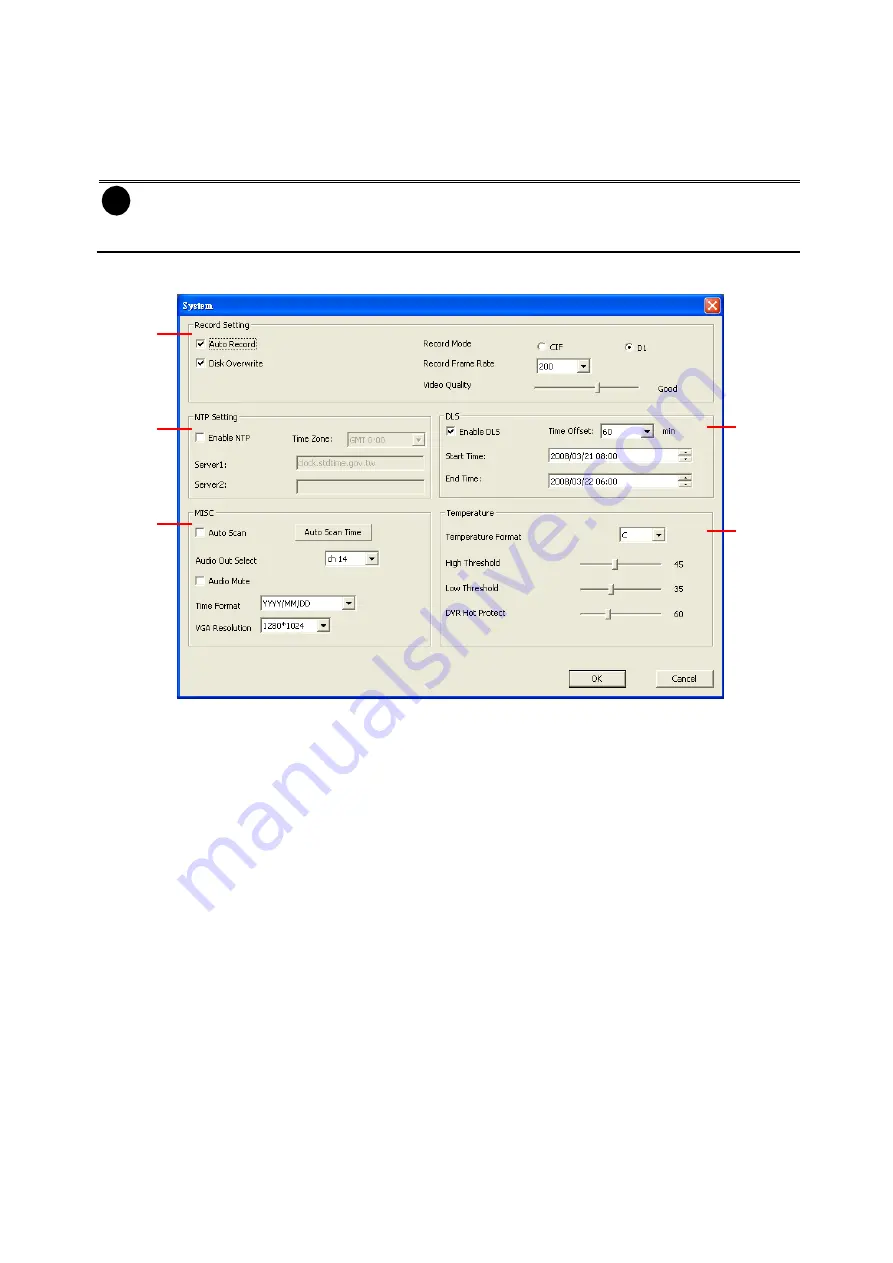
8.1.1 To Setup Remote System Setting
Click
OK
to exit and save the setting and
Cancel
to exit without saving the setting. The setting here
applies to Remote DVR system only.
i
-
After changed the DVR system setting, refresh your web browser in order to apply the new
setting to the DVR system.
-
Only the superuser has the authority to change remote DVR system settings.
8.1.1.1
System Setup
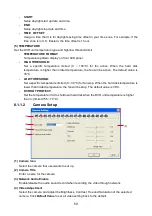
(1)
(2)
(3)
(4)
(5)
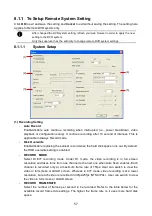
(1) Recording Setting
-
Auto Record
Enable/disable auto continue recording when interrupted (i.e., power breakdown, video
playback or configuration setup). It continue recording after 10 second of idleness. This is
applicable in Always Record mode.
-
Disk Overwrite
Enable/disable replacing the earliest record when the hard disk space runs out. By default,
the HDD overwrite setting is enabled
-
RECORD MODE
Select D1/CIF recording mode. Under D1 mode, the video recording is in full screen
resolution and takes turns from one channel to the next one when Auto Scan enables. Each
channel is recorded only at a maximum frame rate of 15fps. User can switch to view the
video in full screen or QUAD screen. Whereas in CIF mode, video recording is at a lower
resolution, but each video is recorded in 30fps/25fps (NTSC/PAL). User can switch to view
the video in full screen or QUAD screen
-
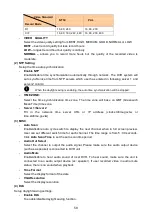
RECORD FRAMERATE
Select the number of frames per second to be recorded. Refer to the table below for the
available record frame rate settings. The higher the frame rate is, it uses more hard disk
space
Summary of Contents for AVerDiGi EB5416DVD Pro
Page 1: ...AVerMedia AVerDiGi EB5416DVD Pro User Manual ...
Page 6: ......

