142
Enable/disable the selected camera to send video to CMS when the alarm is activated
(see also
)
-
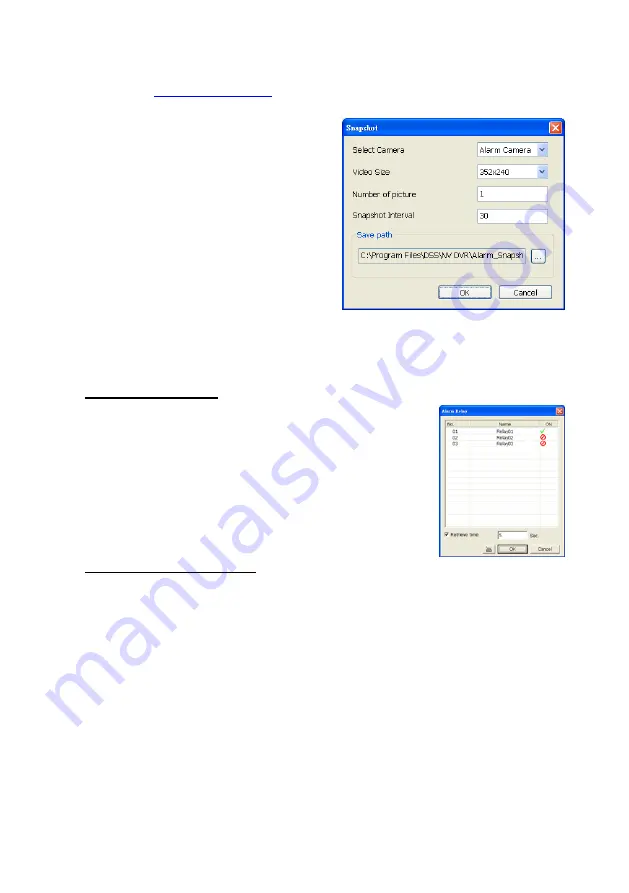
Snapshot
Take a snapshot when the alarm is
activated.
a.
Select Camera:
specify which
channel video to be snapshot when
the alarm is occurred.
-
Alarm Camera:
when a channel
has an alarm occurred, and then,
the DVR system will snapshot the
channel video.
-
Camera # (1~32):
the selected
channel would be snapshot when
an alarm is occurred.
b.
Video Size:
select the size of
snapshot picture.
c.
Number of picture:
the number of picture that is going to be taken.
d.
Snapshot Interval:
a time gap for next snapshot
e.
Save Path:
a storage path for saving snapshot pictures.
To Setup Alarm Relay:
1.
Beside the Relay Output check box, click Detail.
2.
In the Alarm Relay dialog box, select from the available
relay list and in the ON column, set to enable/disable the
relay operation when the alarm is activated. In the
Retrieve time check box, you may enable/disable to
extend the relay operation time and set the duration in
second.
3.
Click OK to exit and accept the setting and Cancel to exit
without saving the setting.
To Setup Send E-mail Setting:
Beside the Send Email check box, click
Detail
. In the E-mail Setting dialog box, click
OK
to exit and save the setting and
Cancel
to exit without saving the setting.
(1) Mail Server
Enter the SMTP Server and port. If your e-mail system requires user identification,
enable
Authentication
check box and enter User ID and Password.
(2) Mail
To check if it is working, click
Test Account
button.
From:
Enter the sender e-mail address.
To and CC:
Enter the recipient email address and separate it with comma or
a semicolon (;).
Subject:
Enter the message title.
Message:
Type the message.
(3) Email Notice Setting
-
Notice Interval:
Set the period of time before it sends another e-mail notice.
-
Embedded image
:
Select the image size and set the number of frames.
-
Attach image when sensor is triggered:
When the sensor is triggered,


