RA4000e Series User manual
38
Partitioning the array - Linux
The array must be partitioned before it can be used. To do this on a Linux operating system:
1. Establish the array and connect to the host
computer following the instructions in the
preceding chapter. Make sure no error
messages are showing on the LCD display.
2. Turn on the host computer.
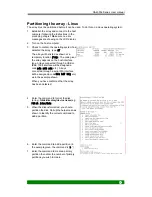
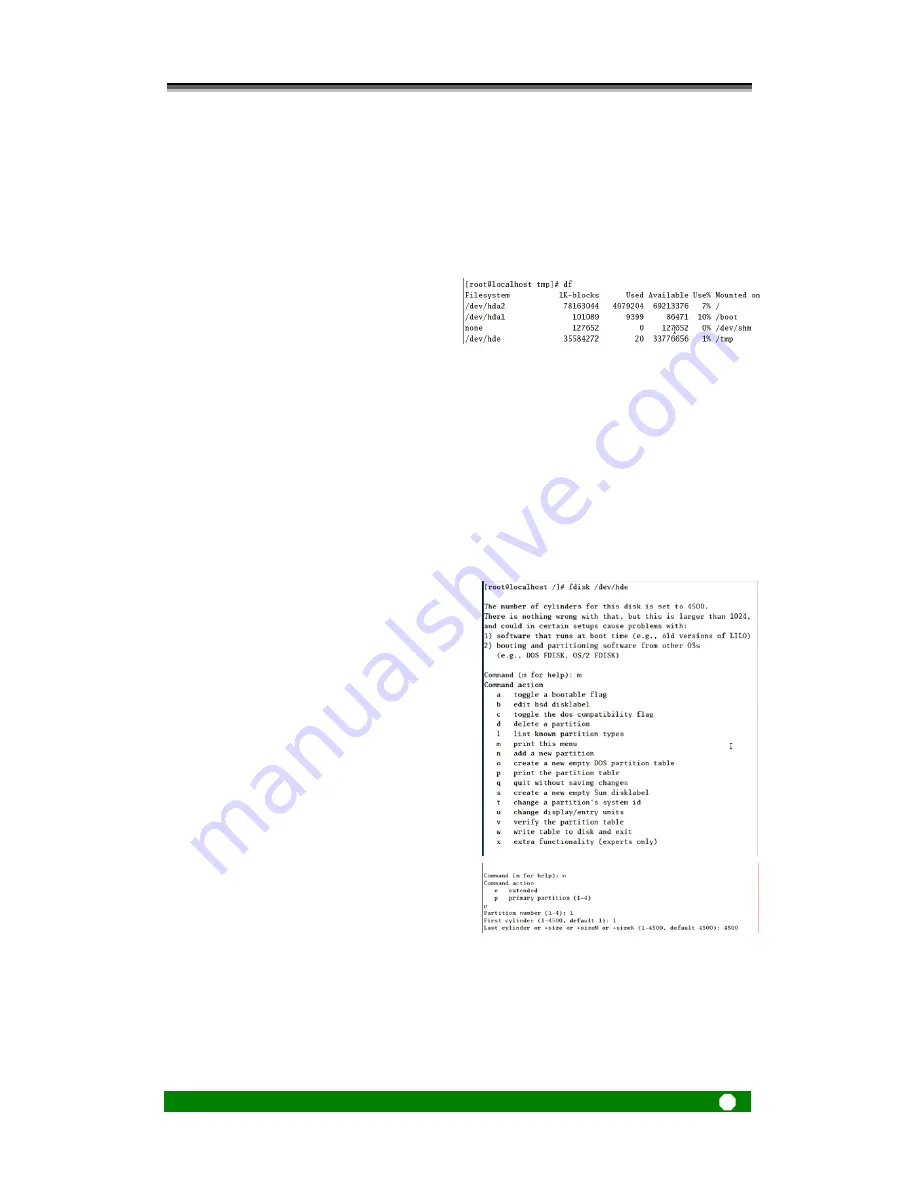
3. Check to confirm the operating system has
detected the array: type “
df
”
The array will be listed as shown at a
temporary location (
/tmp
). The code given
the array depends on the host interface
type. Arrays connected through a USB or
IEEE 1394 interface will be assigned a
code
sda
(
sdb
,
sdc
etc.). Arrays
connected through a serial ATA interface
will be assigned a code
hde
(
hdf
,
hdg
etc.)
as in the example shown.
When you have confirmed that the array
has been detected:
4. Enter the command to format the disk
(array):
fdisk /directory/device name
(e.g.
fdisk /dev/hde
).
5. When the disk is formatted, you should
partition the disk. Call up the help screen as
shown to identify the correct command to
add a partition.
6. Enter the command to add a partition (in
the example given, the command is “
n
.”)
7. Enter the command to create a primary
partition then enter the number of primary
partitions you wish to create.


