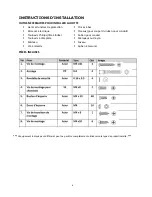

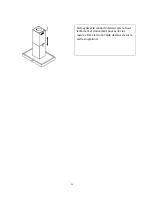


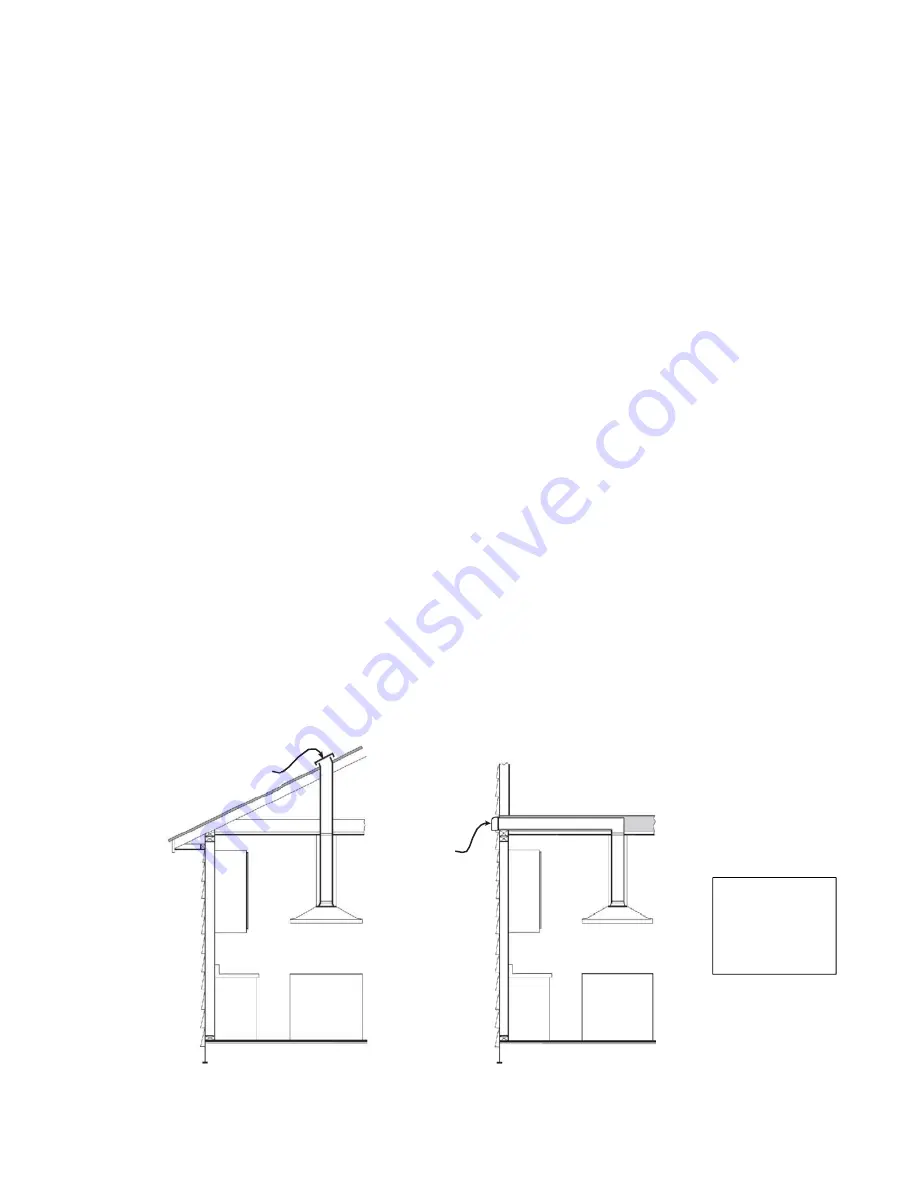
Roof
cap
BEFORE
INSTALLING
THE
HOOD
For
the
most
efficient
airflow
exhaust
use
a
straight
run
or
as
few
elbows
as
possible.
Vent
unit
to
the
outside
only.
At
least
two
people
are
required
for
installation
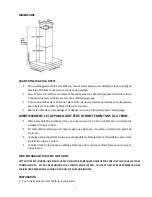
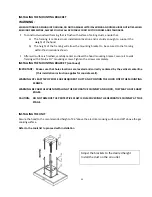
Remove
the
range
hood
from
the
carton
packaging
and
place
on
a
flat
surface
for
assembly.
ELECTRIC
REQUIREMENTS
CAUTION:
THIS
APPLIANCE
SHOULD
BE
PROPERLY
GROUNDED.
This
hood
must
be
power
supplied
120
V,
60
Hz,
and
connected
to
an
individual,
properly
grounded
circuit
(3-prong
outlet).
If
the
electrical
supply
does
not
meet
above
requirements,
call
a
licensed
electrician
before
proceeding.
Route
house
wiring
as
close
as
possible
to
the
installation
location,
in
the
ceiling
or
back
wall.
The
hood
must
be
connected
to
the
house
wiring
in
accordance
with
the
local
codes
and
norms.
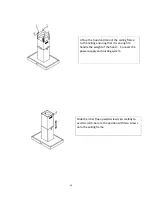
WALL
FRAMING
FOR
ADEQUATE
SUPPORT
This
vent
hood
is
heavy.
Adequate
structure
and
support
must
be
provided
in
all
types
of
installations.
If
mounting
on
dry
wall,
the
hood
must
be
secureD
to
vertical
studs
in
the
wall
or
to
a
horizontal
support.
PREPARING
THE
INSTALLATION
For
safety
and
optimum
performance,
the
vent
hood
must
be
installed
above
the
cooking
surface
at
a
minimum
of
28”
above
an
electric
cooktop
and
of
30”
above
a
gas
cooktop
(unless
the
instructions
for
installation
of
the
gas
hob
specify
a
greater
distance,
which
has
to
be
taken
into
account.)
The
exhaust
air
must
not
be
discharged
into
a
chimney
which
is
used
for
exhausting
fumes
from
other
appliances
burning
gas
or
other
fuels.
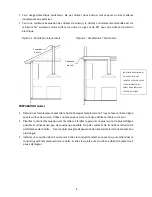
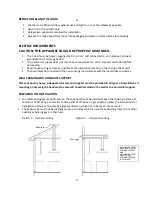
Option
1:
Vertical
venting
Option
2:
Horizontal
venting
19
A
MINIMUM
OF
28”
ABOVE
AN
ELECTRIC
COOKING
SURFACE
AND
A
MINIMUM
OF
30"
ABOVE
A
GAS
COOKING
SURFACE
IS
REQUIRED
Wall
cap
21


