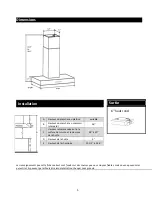


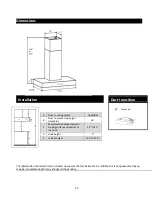

INSTALLING
THE
UNIT
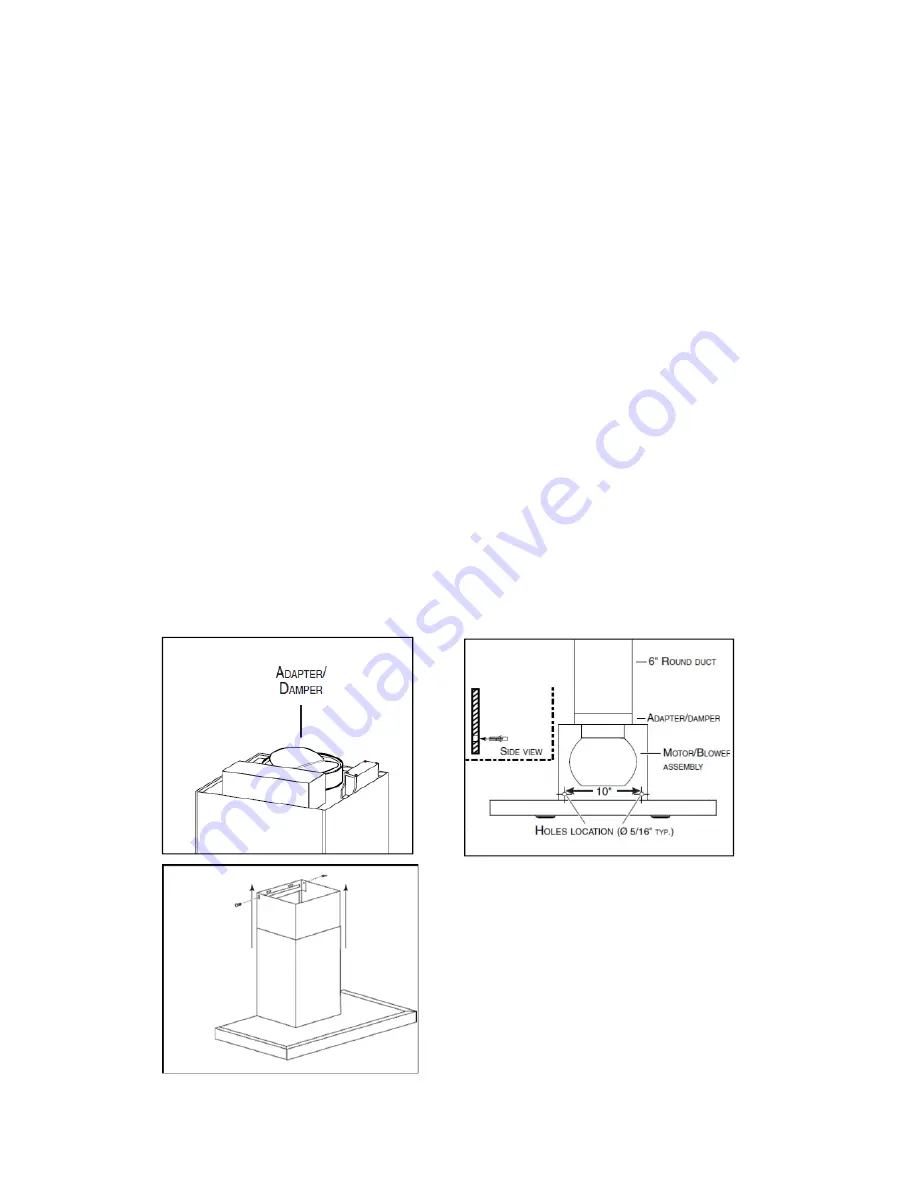
Install
6"
round
adapter/damper
on
top
of
the
hood
using
four
(4)
No.
8
x
7/16"
mounting
screws.
Align
the
hood
and
center
it
above
the
hood
mounting
bracket.
Gently
lower
the
hood
until
it
securely
engages
the
bracket.
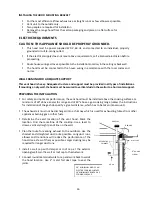
With
the
hood
hanging
in
place,
drill
through
both
holes
located
at
the
back
of
the
hood
using
a
5/16"
drill
bit
(see
Fig.
2).
Insert
the
drywall
anchors
(included)
into
the
drilled
holes
(one
for
each
hole).
Insert
two
(2)
No.
8
x
1¼"
mounting
screws
in
two
(2)
washers,
then
insert
into
the
drywall
anchors.
Verify
that
the
hood
is
centered
and
leveled.
Tighten
all
screws
completely.
Remove
protective
plastic
film
covering
the
lower
chimney
only.
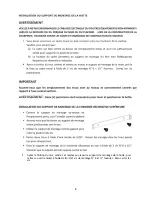
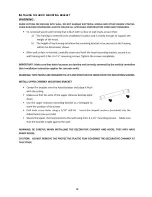
If
possible
(when
space
is
sufficient),
install
the
lower
chimney
bracket
to
the
chimney
using
two
(2)
No.
8
x
7/16"
mounting
screws
ensuring
that
the
slots
point
up
(see
Fig.
3).
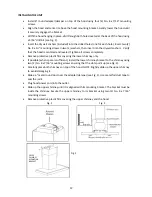
Carefully
place
both
chimneys
on
top
of
the
hood.
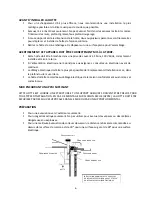
NOTE:
Slightly
slide
up
the
upper
chimney
to
avoid
damaging
it.
Slide
a
6"
metal
round
duct
over
the
adapter/damper
(see
Fig.
2).
Use
metal
foil
duct
tape
to
seal
the
joint.
Plug
hood
power
cord
into
the
outlet.
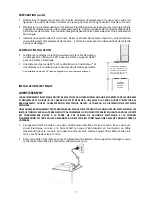
Slide
up
the
upper
chimney
until
it
is
aligned
with
its
mounting
bracket.
The
bracket
must
be
inside
the
chimney.
Secure
the
upper
chimney
to
its
bracket
using
two
(2)
No.
8
x
7/16"
mounting
screws.
Remove
protective
plastic
film
covering
the
upper
chimney
and
the
hood.
Fig.
3
Fig.
1
Fig.
2
UPPER
CHIMNEY
MOUNTING
BRACKET
19


