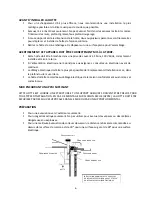


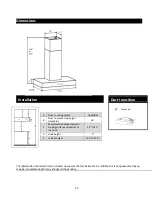

OPERATING
THE
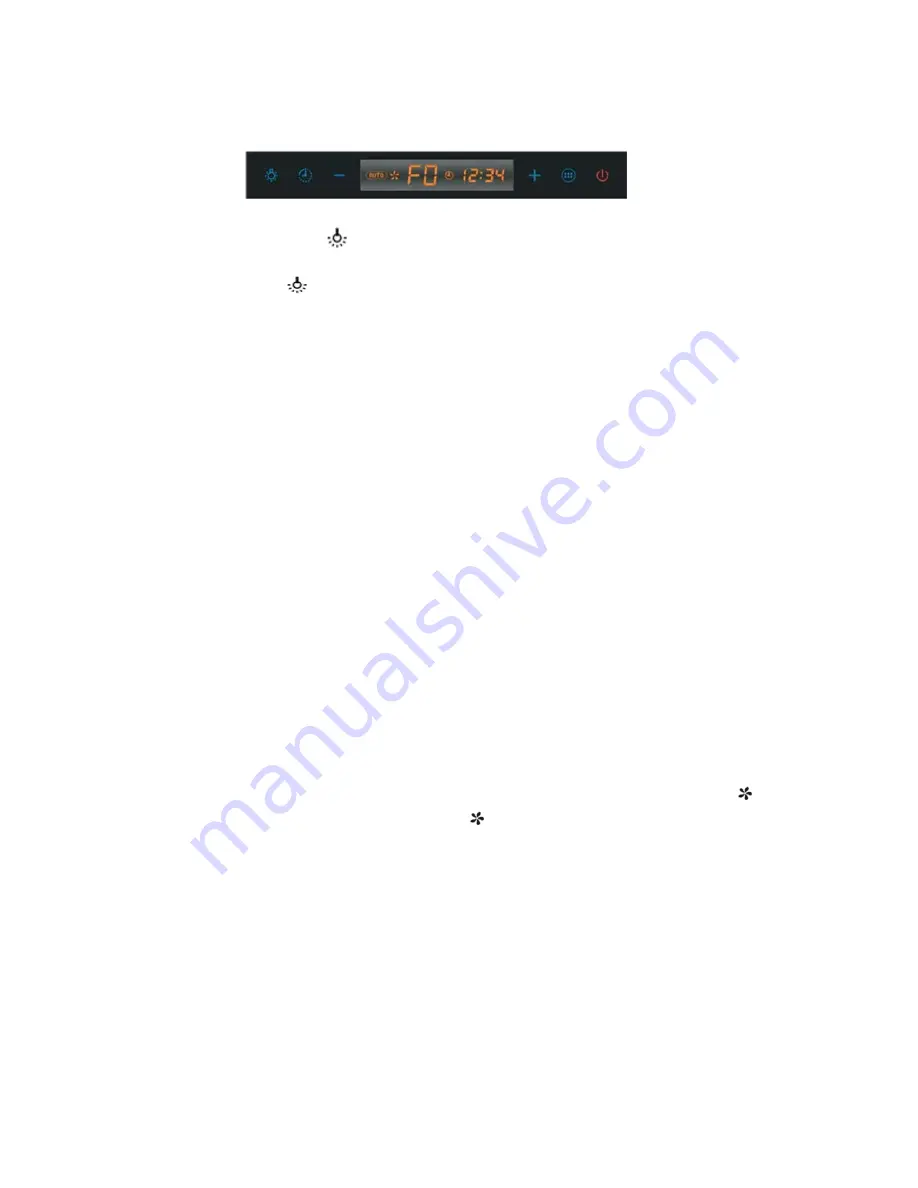
HOOD
A
B
C
D
E
F
A.
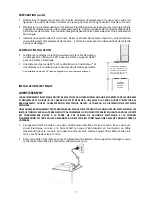
ADJUSTING
THE
LIGHT
Press
the
‘Light’
button
once
to
turn
on
the
lights
and
once
again
to
turn
off
the
lights.
B.
TIMER
When
the
range
hood
is
in
‘standby’
mode,
touch
this
button
for
3
seconds.
The
range
hood
enters
into
‘time
setting’
mode
and
the
display
screen
shows
numbers.
Touch
+
to
set
hour
(0
‐
23
circle
set)
and
touch
set
minute
(0
‐
59
circle
set).
If
within
10
seconds
you
do
not
have
any
operation,
or
if
you
do
not
touch
this
button
again,
then
the
timer
exits
‘time
setting’
mode
and
saves
the
time
which
you
just
set.
When
the
range
hood
is
working,
touch
this
button
once,
it
will
then
be
in
‘timing
shutdown’
mode
and
the
display
screen
shows
03:00;
each
time
you
touch
the
button,
you
can
increase
by
increments
of
1
minute
and
you
can
set
the
timer
from
0
‐
60
minutes.
If
within
10
seconds
you
do
not
have
any
operation,
then
the
range
hood
works
in
‘timing
shutdown’
mode,
the
lamp
can
turn
on/off
and
the
speed
can
change
in
this
mode.
If
you
touch
this
button
again,
then
the
range
hood
exits
this
mode.
In
the
last
3
seconds
of
the
time
set,
the
range
hood
emit
three
DDD
sounds.
Within
60
seconds
of
the
delay
mode,
touch
this
button
and
the
hood
will
exit
the
‘60
seconds
delay’
mode.
C.
‘–‘
BUTTON
In
‘standby’
mode,
touch
the
‘–
‘
button
once
and
the
range
hood
will
start
at
F1
speed.
Touch
this
button
again,
it
will
keep
the
same
speed.
In
‘working’
mode,
touching
this
button
can
decrease
speeds
from
F5
to
F1.
D.
‘+’
BUTTON
In
‘standby’
mode,
touch
the
‘+‘
button
once
and
the
range
hood
will
start
at
F3
speed.
In
‘working’
mode,
touching
this
button
can
increase
from
speed
F1
to
F5.
In
‘running
speed’
mode,
the
fan
“
”
flashes
in
the
display
screen.
In
‘stop
running’
mode,
the
fan
‘’
’’
will
disappear
from
the
display
screen.
E.
SPEED
FUNCTION
While
in
‘standby’
mode,
touch
this
button
once,
the
range
hood
will
start
at
high
speed.
Touch
this
button
again
and
the
range
hood
will
turn
off.
F.
POWER
/
OFF
When
the
range
hood
is
off,
touch
this
button
and
it
will
enter
in
‘standby’
mode;
touch
this
button
again,
it
will
turn
the
power
off.
When
the
range
hood
is
working,
touch
this
button
and
it
will
delay
60
seconds.
The
lamp
can
turn
on/off
and
the
speed
can
be
changed
in
this
mode.
Touch
this
button
again,
then
it
will
turn
off
the
range
hood
immediately.
When
the
range
hood
is
in
‘timing
shutdown’
mode,
touch
this
button
once,
it
will
exit
the
‘timing
shutdown’
mode
and
work
with
the
‘60
seconds
delay’
mode.
20


