19
2. INSTALLATION INSTRUCTIONS (continued)
INSTALLING THE HANDLE
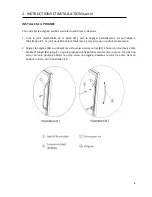
To install the handle, please follow these instructions:
1.
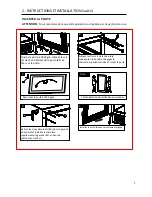
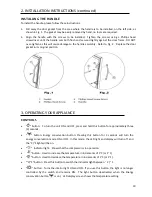
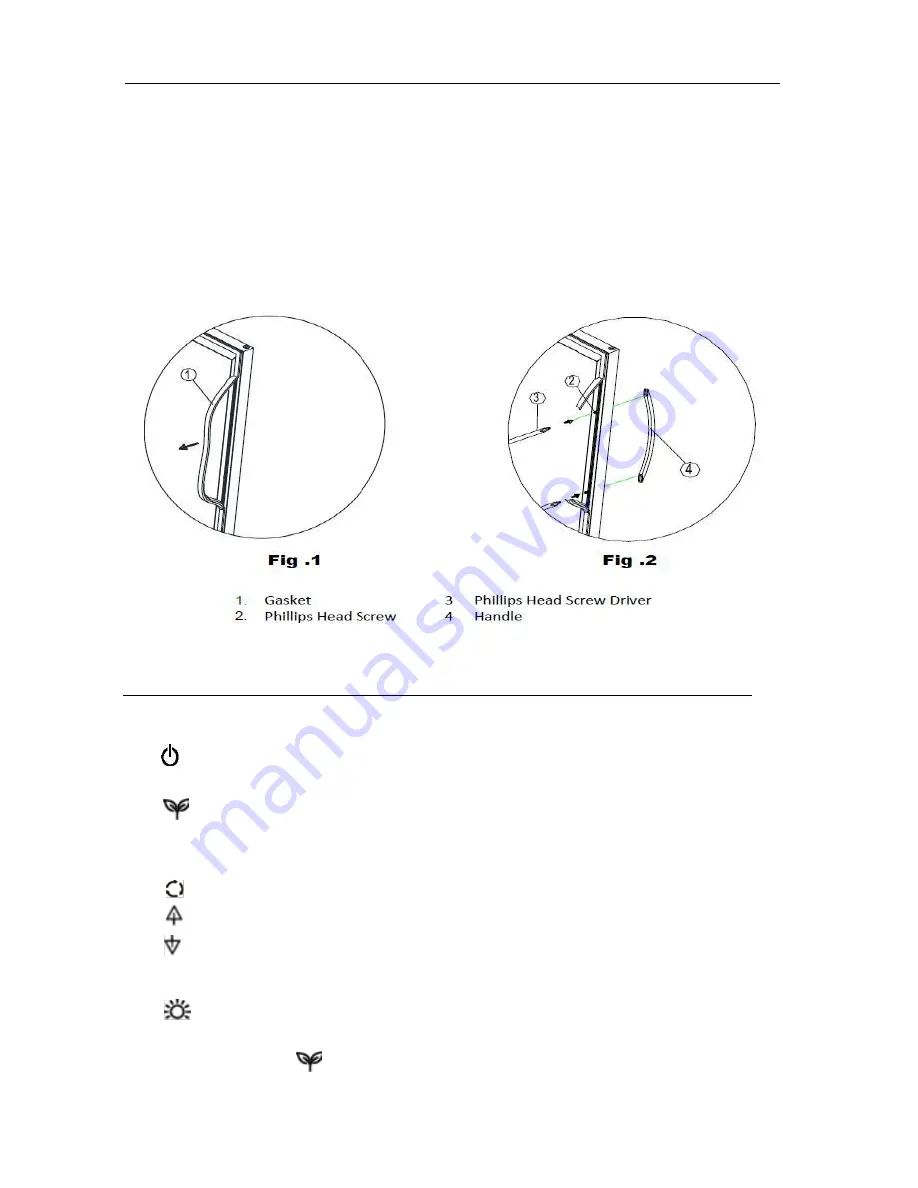
Pull away the door gasket from the area where the handle is to be installed, on the left side, as
shown in Fig. 1. The gasket may be easily removed by hand, no tools are required.
2. Align the handle with the screws to be installed. Tighten the screws using a Phillips head
screwdriver until the handle sets both flush and secured tightly against the door frame. DO NOT
over-tighten as this will cause damage to the handle assembly. Refer to Fig. 2. Replace the door
gasket in its original position.
3. OPERATING YOUR APPLIANCE
CONTROLS
“
” button: To turn the unit ON and OFF, press and hold this button for approximately three
(3) seconds.
“
” button: Energy conservation button: Pressing this button for 3 seconds will turn the
energy conservation mode ON or OFF. In this mode, the LED light and display will turn off, and
the
°
C/
°
F light will be on.
“
“ Indicator light: Shows that the compressor is in operation.
“ ”
button: Used to increase the temperature in increments of 1
°
C (or 1
°
F).
“
” button: Used to decrease the temperature in increments of 1
°
C (or 1
°
F).
“°C/°F” button: Press this button to switch the indicator light between
°
C /
°
F.
“
” button: Turns the interior light ON and OFF. If you use this button, the light is no longer
controlled by the switch and remains ON. The light button deactivated when the Energy
conservation button
is on). LED display screen shows the temperature setting.

