background image

11

4. Preset pressure value will be set after three seconds.
5. Press Start switch to inflate. When it reaches the preset pressure value, 
    the device will stop working. 

NOTE:

1. To reset the tire pressure measurement unit, press "On/Unit" to 
reselect after setting preset pressure value.
2. Digital gauge records the preset measurement unit and value of 
last time operation
3. After the air pump reaches the preset pressure value, the digital 
gauge will go off after 60 seconds, and the device will shut down 
automatically.
4. Maximum PSI for this unit is 100 PSI.

OPERATING

3. Press “+” or “-” button to adjust preset tire pressure.
 (1) Long press “+” or “-” button to adjust working pressure quickly.
 (2) Short press “+” or “-” button to adjust preset working pressure.
Note: increment by 0.05BAR & KG/ CM, 1 PSI, 5KPA

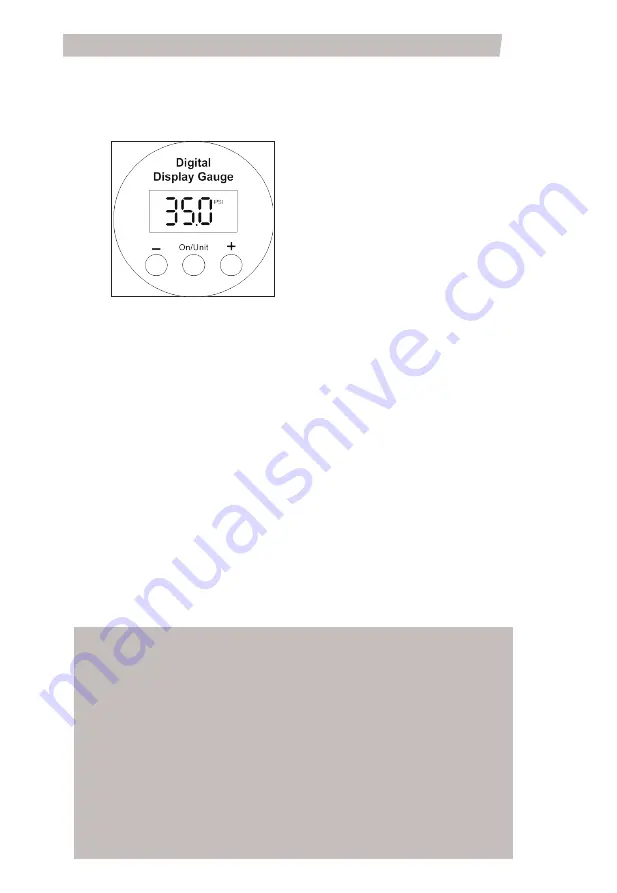
Step 3:  Set the Pressure Value (Fig.8)

1. Press “On/Unit” button to read the current tire pressure on the gauge. 
2. Press “On/Unit” button again to select tire pressure measurement unit 
    from PSI, BAR,  KPA, KG/CM.

Note: The inflator has a tolerance of + or – 2 PSI. For every 10 minutes 
 of continuous use, 3 minutes of cool down time are required.

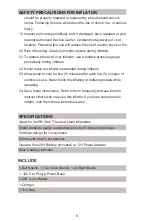
Always leave the hose free of obstructions when the tool is not 

in use. Overheating could occur if the hose is blocked.

NOTE: 

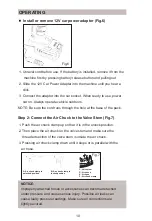
Fig.8

Summary of Contents for ACAP110D

Page 1: ...20V AUTOMATIC CORDLESS INFLATOR MODEL ACAP110D Mon to Sun Any time...

Page 2: ...1 TABLEOFCONTENTS IMPORTANT SAFETY INSTRUCTIONS P 2 SAFETY PRECAUTIONS FOR INFLATOR P 4 SPECIFICATIONS P 6 FUNCTIONAL P 7 OPERATION P 7 MAINTENANCE P 14 PARTS LIST AND SCHEMATIC DRAWING P 15...

Page 3: ...TY 1 Stay alert watch what you are doing and use common sense when operating an inflator Do not use inflator while tired or under the influence of drugs alcohol or medication A moment of inattention w...

Page 4: ...pressures within the system slowly Dust and debris may be harmful 3 Do not use inflator if switch does not turn it on or off An inflator that cannot be controlled with the switch is dangerous and mus...

Page 5: ...cture Keep hose and power cord away from sharp objects chemical spills oil solvents and wet floors SERVICE 1 Inflator service must be performed only by qualified repair personnel Service or maintenanc...

Page 6: ...or by the hoses 12 Always follow all safety rules recommended by the manufacturer of your inflator in addition to all safety rules for the inflator Following those rules will reduce the risk of seriou...

Page 7: ...2 Never leave the inflator unattended during inflation 23 Allow pump to cool for five 5 minutes after each five 5 minutes of continuous use Never block the inflating or deflating outlets while operati...

Page 8: ...hours when the battery is completely dead 2 Replace a new battery when tool performance begins to diminish Severe heat is most destructive to a battery The more heat it generates the faster the batter...

Page 9: ...n the battery is completely dead The red light will turn off and the green light remains lit once the battery is fully charged After the charging is completed remove the battery pack from the charging...

Page 10: ...l Fig 4 Three lights on the battery indicates a full charge Two lights show 50 of the power while one light shows 25 Install or remove battery pack Fig 5 To install slide battery pack into the bottom...

Page 11: ...Air Chuck to the Valve Stem Fig 7 1 Push the air chuck clamp up so that it is in the unlock position 2 Then place the air chuck on the valve stem and make sure the threaded section of the valve stem...

Page 12: ...Maximum PSI for this unit is 100 PSI OPERATING 3 Press or button to adjust preset tire pressure 1 Long press or button to adjust working pressure quickly 2 Short press or button to adjust preset worki...

Page 13: ...g up to 6 8 Bar To avoid over inflation carefully follow instructions on items to be inflated To avoid product damage never exceed recommended pressures 4 The inflator is not designed for commercial a...

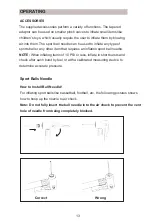
Page 14: ...requires an inflation sport ball needle NOTE When inflating items of 10 PSI or less inflate in short bursts and check after each burst by feel or with a calibrated measuring device to determine accura...

Page 15: ...damp not wet cloth Do not use solvents on the plastic parts 3 Avoid using solvents when cleaning plastic parts Most plastics are susceptible to damage from various types of commercial solvents and may...

Page 16: ...kle 5 Absorber 6 Air Pump Assembly 7 Self locked Switch 8 Torsional Spring 9 Trigger No Description 10 Right Housing 11 Screw 12 Screw 13 Led Cover 14 Cylindrical Lamp 15 Fan 16 Motor 17 Control Board...

Page 17: ......

Reviews: