Chapter 5: Adding or Removing I/O Cards
31
Installing an Expansion I/O
Card
To install an Expansion I/O card:
1
Power off and disconnect the HD I/O from
your Pro Tools|HD system.
2
Make sure that the equipment is properly
grounded.
3
Remove all of the small Phillips-head screws
around the edges of the top cover. Put the screws
in a safe place.
4
Lift off the top of the HD I/O and set it aside.
5
If necessary, do one of the following:
• Remove the screws on the cover over the
empty bay where you want to install an Ex-
pansion card.
– or –
• Remove the currently installed I/O card
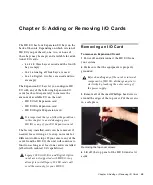
that you want to replace (see “Removing an
I/O Card” on page 29).
6
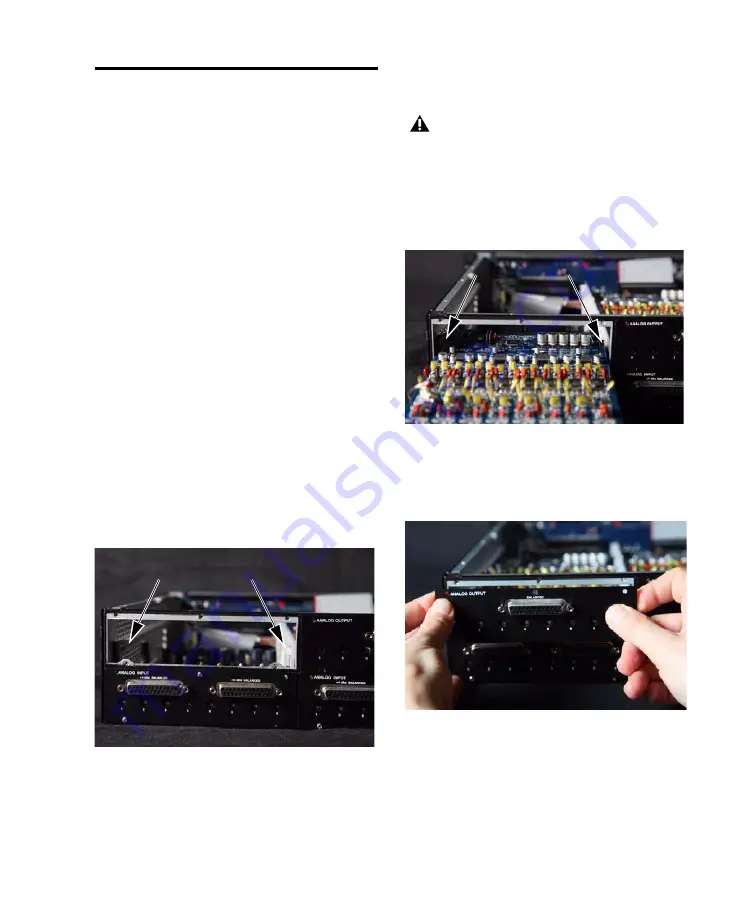
Look into the empty bay to locate the guide
rails for the card to slide in on.
7
Remove the Expansion I/O card that you want
to install from its static-free bag.
8
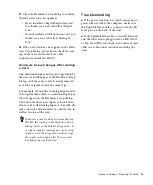
Slide the edges of the card into the guide rails
on each side of the bay.
9
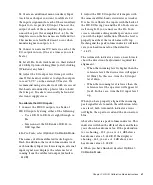
Gently push the card back into the bay, lifting
slightly to keep components underneath the card
from touching the back panel.
Guide rails along sides of empty bay
Before handling any of the cards or internal
components of HD I/O, discharge any static
electricity by touching the outer casing of
the power supply.
Inserting the card into the guide rails for the empty bay
Lifting slightly while pushing the card back into the bay
Summary of Contents for HD I/O
Page 1: ...HD I O Guide...
Page 22: ...HD I O Guide 18...
Page 38: ...HD I O Guide 34...
Page 42: ...HD I O Guide 38...
Page 50: ...HD I O Guide 46...
Page 51: ......


