16
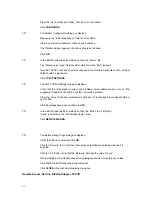
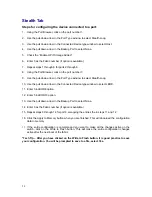
Click
NEXT
.
3
The
Server
dialog box displays.
Click in the box labeled “The non-Windows NT server I am calling expects me to type
login information after connecting, or to know TCP/IP addresses before dialing.”
Click
NEXT
.
4
The
Phone Number
dialog box displays.
Leave all fields in the dialog box empty.
Click
NEXT
.
5
The
Serial Line Protocol
dialog box displays.
Click the button labeled “Serial Line Internet Protocol (SLIP). An older protocol specific to
TCP/IP networks.”
Click
NEXT
.
6
The
Login Script
dialog box displays.
Click the button labeled “None.”
Click
NEXT
.
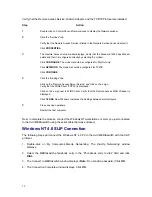
7
The
IP Address
dialog box displays. As a default, the Avid MEDIAswitch management
port’s IP address is factory-set to 192.168.2.1.
Enter the IP address
192.168.2.2
(an address in the same subnet as the default Avid
MEDIAswitch SLIP IP address) in the “My IP address” field of the IP Address dialog box.
Click
NEXT
.
8
The
Name Server Addresses
dialog box displays.
Leave the fields empty.
Click
NEXT
.
9
The
New Phonebook Entry Wizard
dialog box displays.
Click
FINISH
.
10
The
Dial-Up Networking
dialog box displays.
Double-check the parameter you entered for the phonebook entry by selecting
“MEDIAswitch.”
Click
MORE
, and then select “Edit entry and modem properties.”
11
The
Edit Phonebook Entry
panel displays with the “Basic” tab visible.
“MEDIAswitch” should be visible in the “Entry name:” field.
“Standard 19200 bps Modem (COMX)” should be visible in the “Dial using:” field. No other
fields should contain any values.
Summary of Contents for MEDIAswitch
Page 1: ...MEDIAswitch For MediaShare Fibre Channel ...
Page 25: ...25 ...


