Chapter 4: Assembling Frame Chassis
19
Chapter 4: Assembling Frame Chassis
This chapter explains how to assemble the chassis and attach them to each other to form the frame of your S6 system.
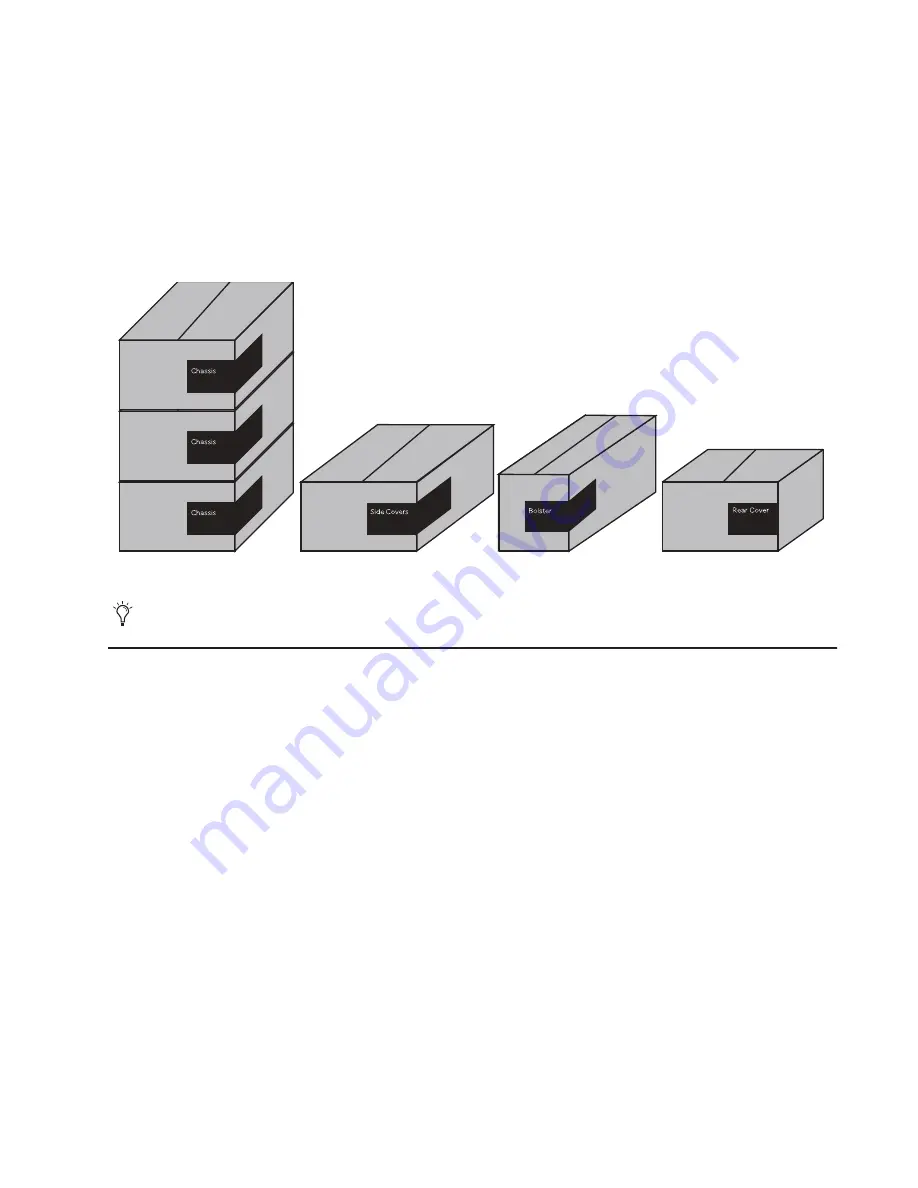
As recommended in Chapter 1, identify all Frame component kits (Chassis kits, Side Covers, Bolster, and Rear Panel kits) as shown
in Figure 10.
Before You Begin
Do the following:
1
Locate and open the Side Covers package and remove the included Frame Toolkit (labeled 7020-38627-00).
2
Locate and unpack all Frame Chassis components and place them near the work area.
3
Identify each component (see Figure 11), then note whether your Frame Chassis are Large or Small. Some steps in the assembly
process vary depending on the depth (Large or Small) of your Frame Chassis, as noted in these instructions.
Figure 10. Frame component packages for an example M10 16-5 system (left-to-right, Chassis Kits, Side Covers, Bolster, and Rear Covers)
Assembly and installation instructions for the Producers Desk are noted throughout this guide.
Summary of Contents for Pro Tools S6 Master Post Module
Page 1: ...Avid S6 Installation Guide ...
Page 4: ......
Page 7: ...Part I Introduction ...
Page 8: ......
Page 19: ...Part II Frames ...
Page 20: ......
Page 39: ...Part III Modules ...
Page 40: ......
Page 58: ...Avid S6 Installation Guide 50 ...
Page 74: ...Avid S6 Installation Guide 66 ...
Page 80: ...Avid S6 Installation Guide 72 ...
Page 81: ...Part IV Appendices ...
Page 82: ......
Page 91: ......


