Chapter 2: Initial Disassembly
8
Shutting Down the System
To shut down the system:
1
Navigate the Touchscreen to
Settings > About
page, then touch
Shut Down
. Wait until the Master Module has completely shut
down before proceeding.
2
Turn off the source that supplies power to the S6 Power Strip (UPS, power conditioner or other).
Removing Hardware Options
If your system includes a Keyboard Tray, Script Tracy, Speaker Deck, or VESA Arm option, remove them and any items mounted
on them such as keyboards, speakers or computer displays before proceeding.
Removing the Rear Covers
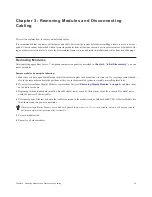
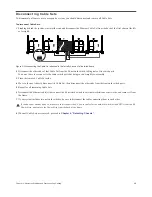
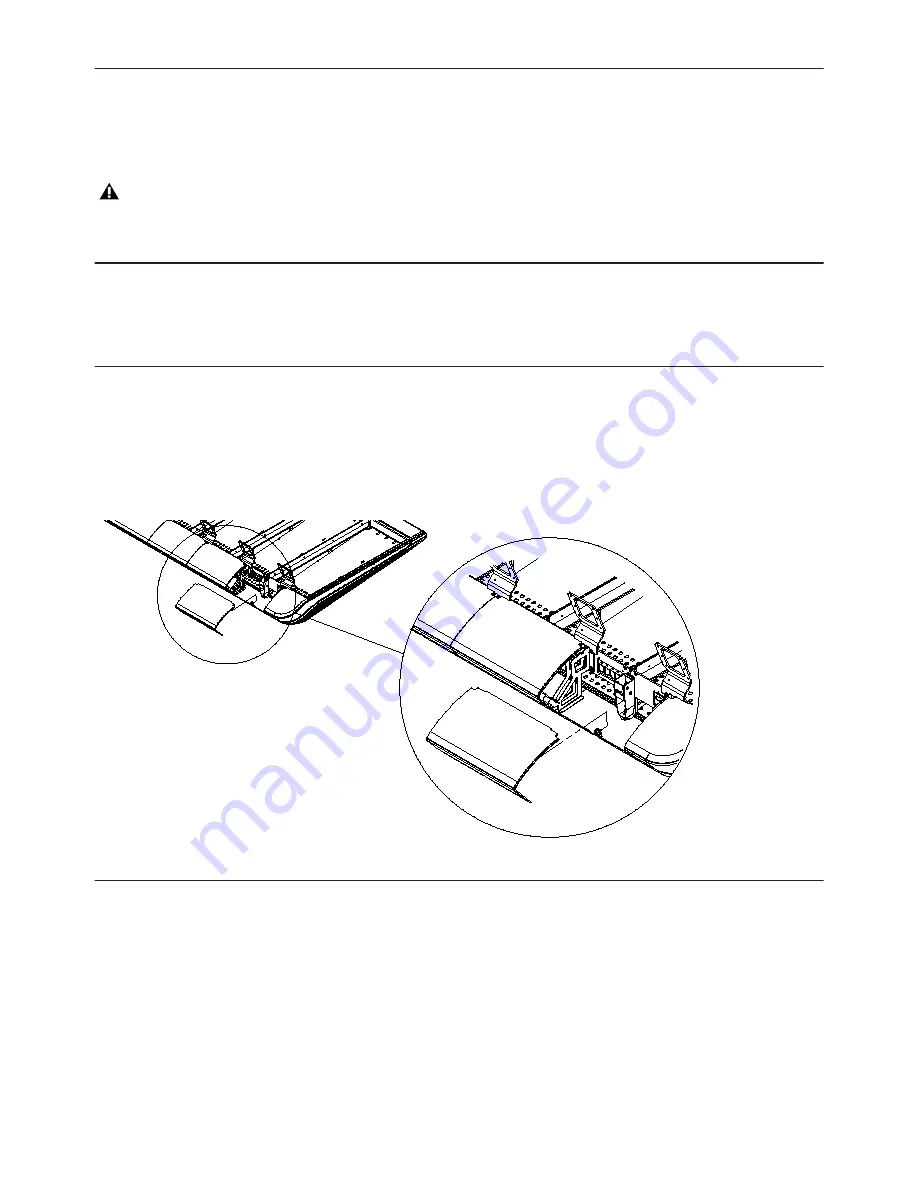
Remove the upper Rear Covers to access cables and other components. We recommend removing all upper Rear Covers.
To remove the upper Rear Covers:
1
Standing at the back of the system, start at the far-right (see Figure 1).
2
Loosen the thumbscrews that hold the upper covers to their mounting brackets and then lift the covers off.
Disconnecting Power Cables and Removing the Power Strip
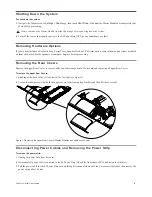
To remove the power strip:
1
Unplug the power strip from its source.
2
Disconnect all power cables connected to the S6 Power Strip (AC cables from chassis PSUs and network switch(es).
3
Pull the power cable for the S6 Power Strip back up through its channel where the Side Cover meets the frame, then remove the
power strip and set it aside.
Always shut down the Master Module from the About page before powering down the system!
Figure 1. Removing the upper Rear Covers (Display Modules and cables not shown)
Summary of Contents for Pro Tools S6 Master Post Module
Page 1: ...Expanding an S6 System ...
Page 4: ...Part I Introduction ...
Page 9: ...Part II Disassembly ...
Page 30: ...Part III Appendix ...
Page 33: ......


