S6L-24D, S6L-32D, and S6L-48D
10
4. Install the New SBC
You are now ready to begin installing the new SBC, which involves the following procedures:
• Installing the new SBC onto the Tray
• Reconnecting all cables
• Installing the Tray in the chassis
SBC Faceplate
On newer control surfaces the SBC tray includes a faceplate with mounting bracket for the ports on the side of the SBC. Older, orig-
inal 32D and 24D surfaces do not include a faceplate or mounting bracket. If your control surface does not have this bracket and
faceplate, it is not required to install a faceplate.
Installing the New SBC Onto the Tray
To install the new SBC onto the Tray:
1
Remove the new SBC from its packaging.
2
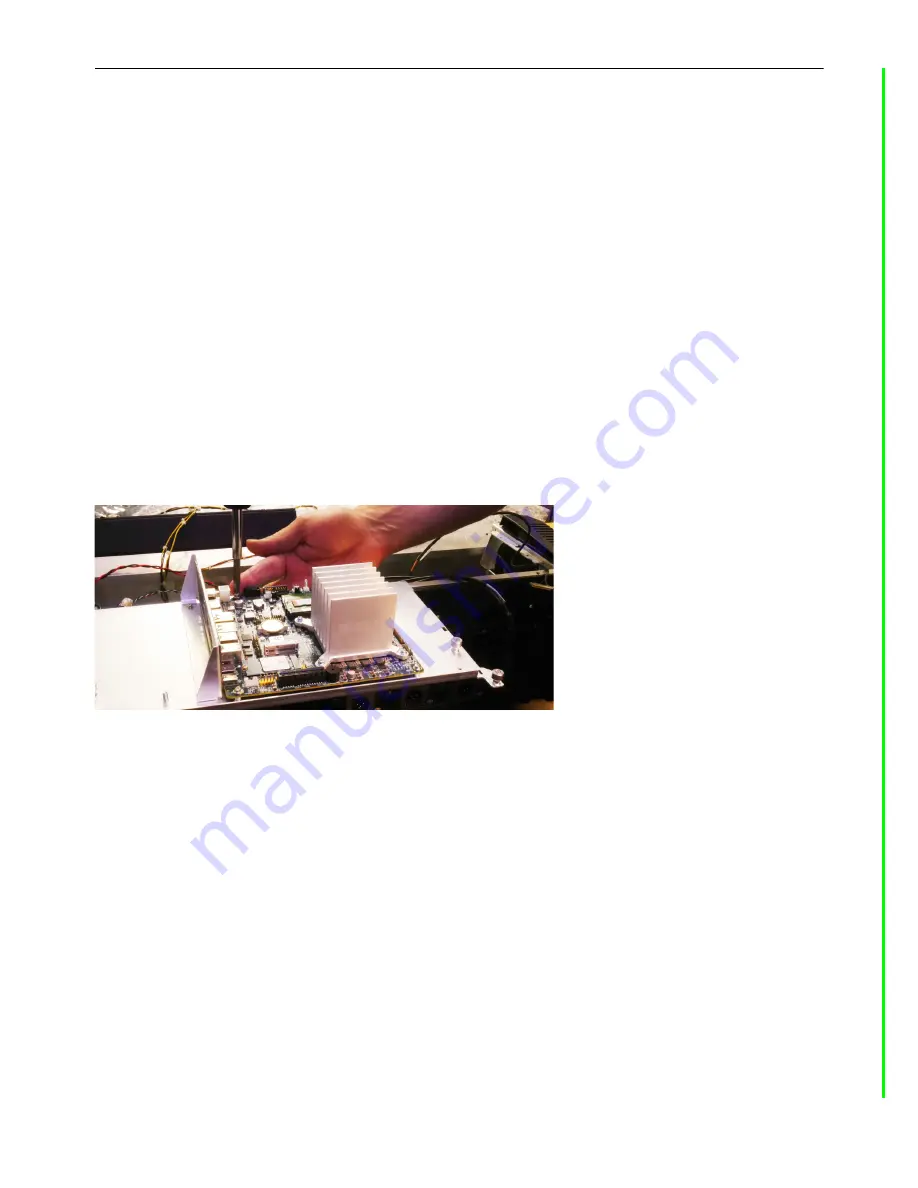
Place new SBC in position on the Tray:
• Be sure to orient the new SBC correctly and align it with the threaded receivers on the Tray.
• Be sure to guide the ports on the left side of the new SBC through their openings in the faceplate and below the tabs.
3
Reinstall the 4 screws around the perimeter of the new SBC to secure it to the Tray.
Figure 15. Securing the new SBC to the Tray
S6L-24D/32D/48D


