4
7
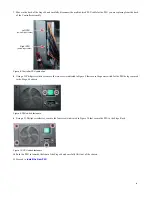
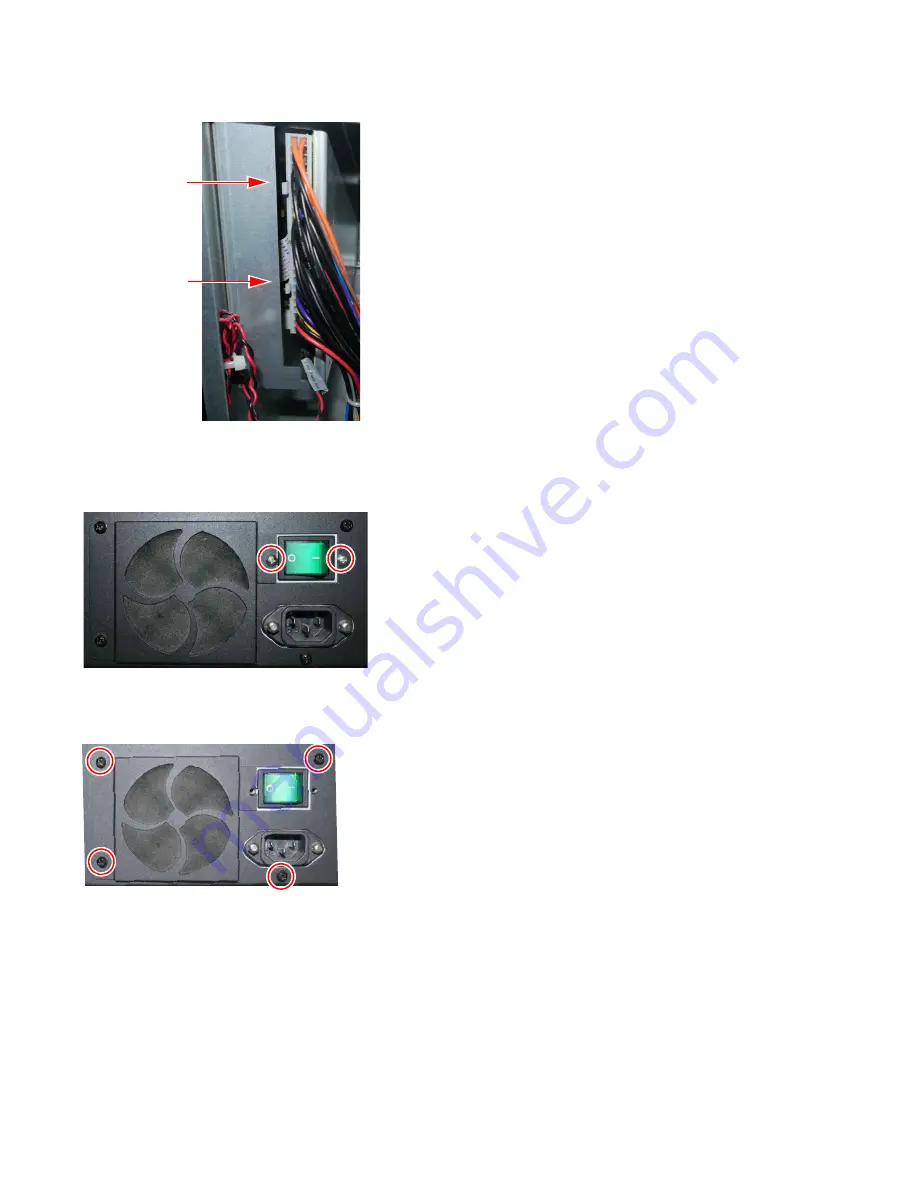
Move to the back of the Stage 64 and carefully disconnect the multi-colored PSU cable for the PSU you are replacing from the back
of the Controller assembly.
8
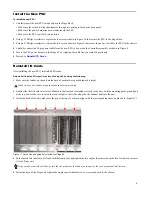
Using a #1 Philips screwdriver, remove the two screws indicated in Figure 9 that secure the power switch for the PSU being removed
to the Stage 64 chassis.
9
Using a #1 Philips screwdriver, remove the four screws indicated in Figure 10 that secure the PSU to the Stage Rack.
10
Push the PSU in towards the front of the Stage 64 and carefully lift it out of the chassis.
11
Proceed to
.
Figure 8. Controller PSU cable clips
Figure 9. PSU switch fasteners
Figure 10. PSU switch fasteners
Left PSU
(below Output cards)
Right PSU
(below Input cards)

