
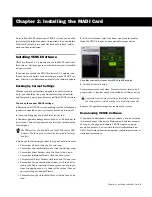

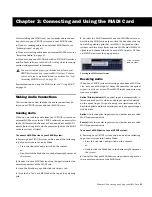

VENUE MADI Card
4
FOH Rack MADI Card Installation
Install the MADI card in your FOH Rack after installing the
software update (if necessary).
A maximum of two MADI cards can be installed in an FOH
Rack. One MADI card and one HDx card can be installed and
used simultaneously in an FOH Rack.
If your system includes two MADI cards, or a MADI card and
an HDx card, a second Snake card must be installed in your
FOH Rack, even if you are not using two Stage Racks. See the
Snake Card Guide
for instructions on installing a second Snake
card.
To install MADI cards in your FOH Rack:
1
Shut down your sound system.
2
Power down your FOH Rack.
3
Disconnect power, audio, FOH Link, and any other cables
connected to your FOH Rack.
4
Remove the front panel faceplate by unscrewing its mount-
ing screws (#1 Phillips).
5
If your system has an FWx FireWire card installed, discon-
nect its ribbon cable and remove the card.
6
On the back panel, choose an empty expansion slot and re-
move the slot cover by removing the two screws.
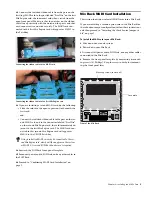
7
Remove the MADI card from its packing material. Hold the
card by its edges.
8
Gently slide the card into the expansion slot. Make sure it is
oriented right-side up.
9
Secure the MADI card to the back panel of the FOH Rack us-
ing the two screws that secured the slot cover to the rack.
10
From the open front panel, reach inside the rack and attach
the included screw to secure the card to the chassis of the
FOH Rack.
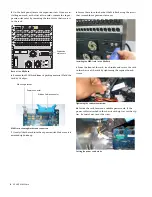
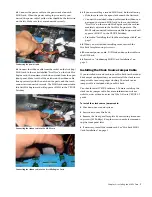
11
Locate an available power cable plug and connect it to the
power socket on each MADI card. When connected correctly,
the power cable’s yellow wire should be the first wire on the
left. Make sure the cables are connected securely.
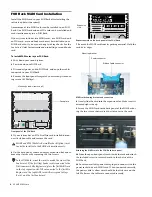
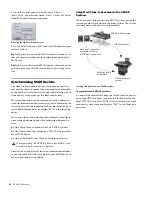
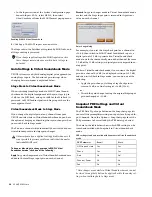
Front panel of the FOH Rack
MADI and FWx (FireWire Record/Playback Option) cards
cannot be installed in the FOH Rack simultaneously.
In the FOH Rack, orient the cards to match the order of the
Snake cards. If the first (top) Snake card is connected to the
first (innermost) Mix Engine card, place the first MADI card
in the top expansion slot. When connected to the first Mix
Engine card, the top MADI card will correspond to Stage
Rack 1 and the first Snake card.
Faceplate
Mounting screws (remove all)
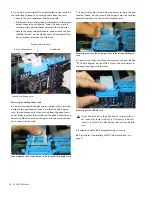
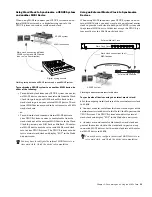
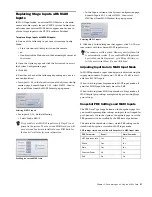
Expansion slots on the back panel of the FOH Rack
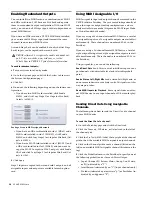
MADI card showing bracket and connectors
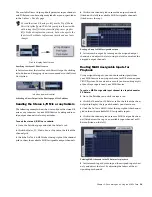
Attaching the MADI card to the FOH Rack back panel.
Expansion
slots
Mounting bracket
Power connector
Ribbon Cable connector


