1
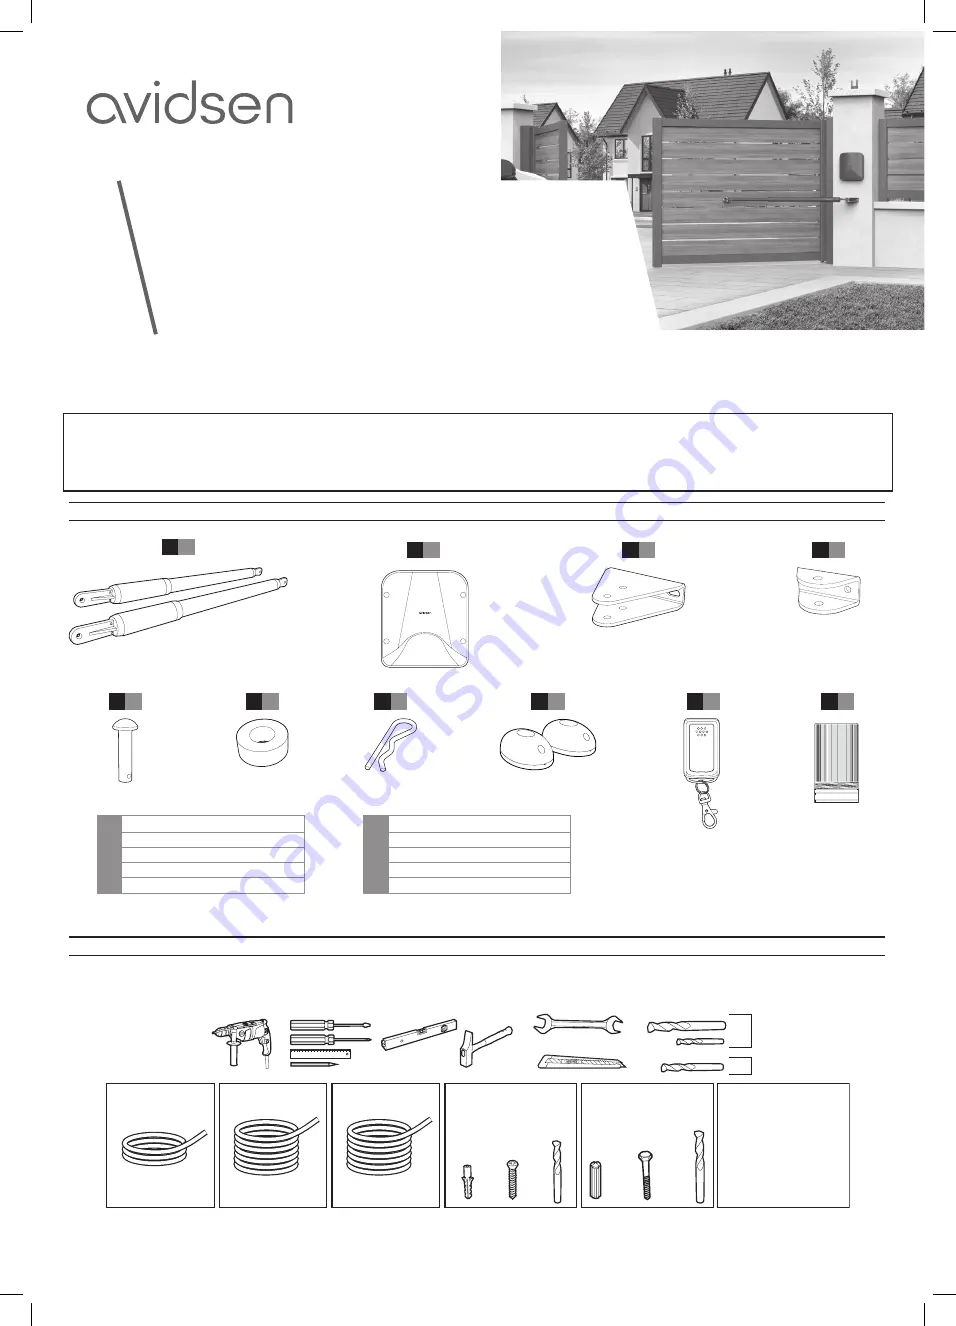
12V motorised cylinders
2
Control unit
3
Pillar mounting bracket
4
Gate mounting bracket
5
Clevis pin
6
7.5mm spacer
7
Elastic pin
8
Photocells
9
Remote control
10
Flashing light
10
x 1
9
x 2
EQUIPMENT REQUIRED (NOT SUPPLIED)
The tools and screws required for the installation must be in good condition and compliant with applicable safety standards.
¡
¡
¡
¡
¡
¡[
¡
[
[
¡[
IL[DWLRQGHVSDWWHV
VXUOHSRUWDLO
&KRLVLUXQV\VWqPH
YLVpFURXVDGDSWpj
O¶pSDLVVHXUGXSRUWDLO
,O\DSRLQWVGHIL[DWLRQ
¡
drilling the post
Photocells
Actuators
Attachment to the post:
- electronic panel
- flashing light
- photocells
attachment of the brackets
onto the posts:
10m cable
4-strand telephone
cable
10m cable
2 x 1.5mm2
drilling into the
gate
1
x 1
3
x 2
4
x 2
2
x 1
5
x 4
6
x 8
7
x 4
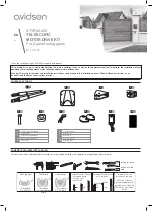
Thank you for purchasing an AVIDSEN automatic gate opener.
This document is a quick start guide detailing the main installation steps as well as the equipment required. To perform the installation, please
download the installation manual at the following address: www.avidsen.com
Warning: The safety instructions and installation instructions can be found in the installation manual. Follow all these instructions, as an
incorrect installation can cause serious injuries.
CONTENTS OF THE KIT
V5
Ref. 114159
EN
8
x 1
STYRKA400
TELESCOPIC
MOTOR DRIVE KIT
For 2-panel swing gates
Flashing light
3m cable
2 x 0.5mm2
x8
x8
attachment of the
attachment of the
brackets on the gate:
brackets on the gate:
Choose a screw/nut
Choose a screw/nut
system appropriate for
system appropriate for
the thickness of the gate.
the thickness of the gate.
There are 4 attachment
There are 4 attachment
points
points


