12
everyday at the desired time until the end date has been reached.
3.) Then select a Time and for the command choose on or off
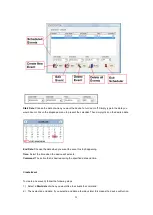
4.) Once everything has been set make sure to hit the New button to add this new event to your
scheduler
Edit Event
To edit an existing event, follow the following steps:
1.) Click on the event located in your scheduled events section that you would like to edit
2.) Then you change the values the different fields for the
Start date, End date,
Time, & Command.
3.) Once you have edited the event click on the Edit Event button to save the settings
Delete Event
To delete an existing event, follow the follow steps:
1.) Select the event that you would like to remove from your scheduled events section
2.) Then hit the delete event button to delete the event.
Delete All
To delete all scheduled events, follow the follow steps:
1.) Click on the delete all button to delete all the fields in the scheduler.
2.) The program will ask you to reconfirm before deleting all scheduled events.
On / Off Controls
The on / off controls allows you to directly control the device. From here you can instantly turn on / turn off
your connected device. To the right of this feature you will see a log file which will show you the current
status of the device.
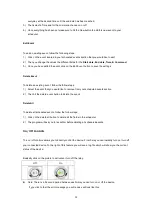
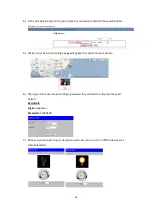
Basically click on the picture to activate or turn off the relay.
Off
On
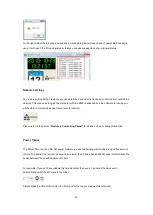
Note: There is a 5 second period between each time you can turn on or off the device.
If you click to fast the error message you will receive will look like this.


