

13
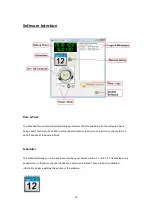
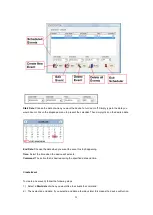
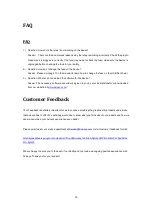
To the right side of the program you will see a message log that will keep track of power statuses being
used. It will report the time and status so that you can easily keep track of your power status.
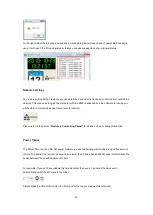
Remote Settings
The remote setting section is where you can setup the device so that it can be controlled from outside the
network. This means as long as the computer with the 8800 is attached and the software is running you
will be able to control the device from a remote location.
Please refer to the section “
Remotely Controlling Power”
for details on how to setup this section
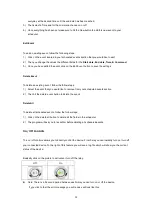
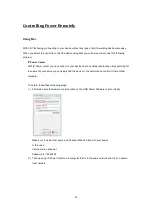
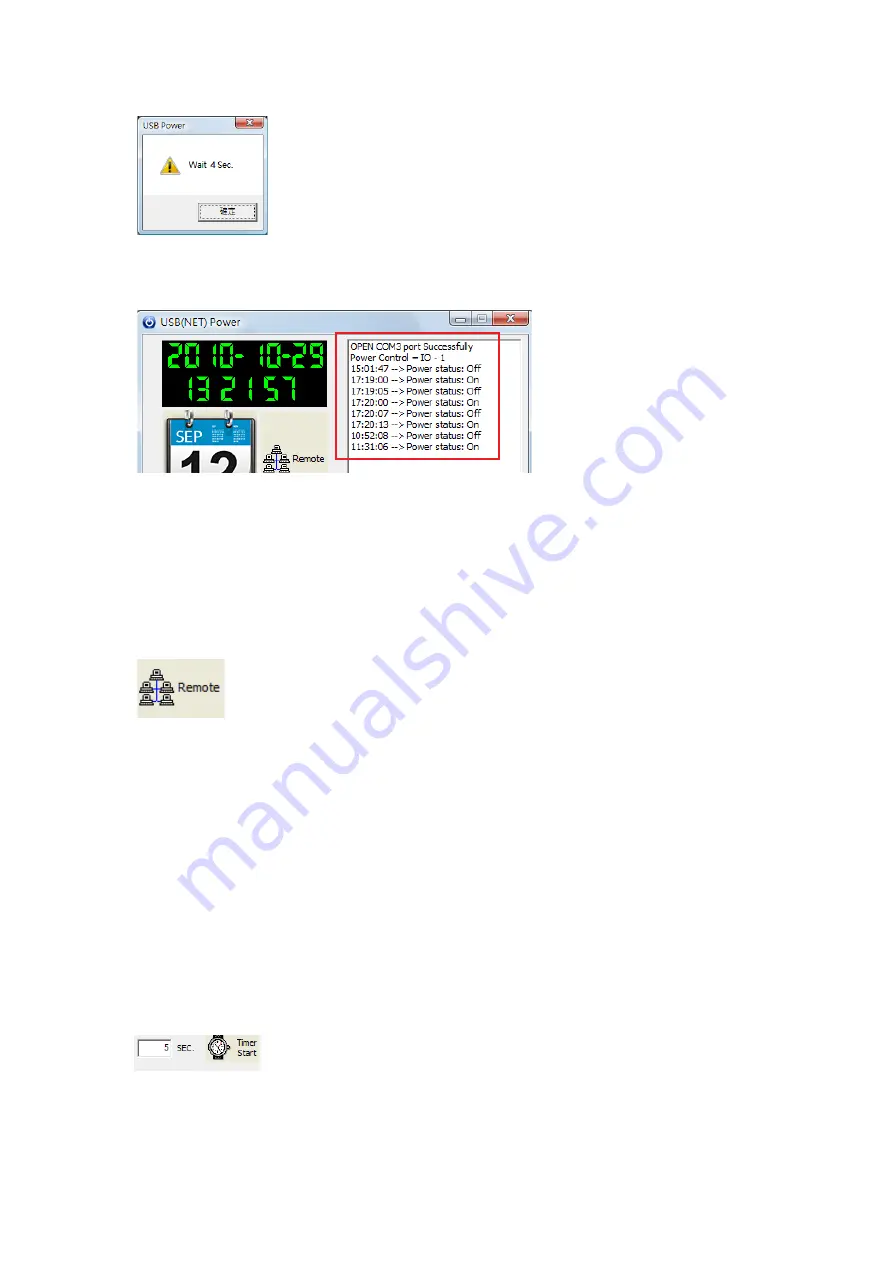
Power Timer
The Power Timer on the USB Net power software is used to alternate commands in a specified amount
of time. The power timer cannot be set at a time lower than 5 and what it basically does is it alternates the
power between the specified amount of time.
For example: If you set 5 seconds as the time delimiter, then every 5 seconds the device will
automatically switch from 1 state to the other.
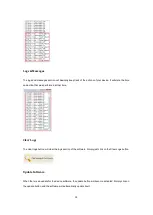
Simply press the Timer start to start the timer and in the log you may see the following.


