2.1.3
Charge the battery
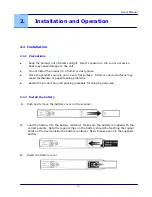
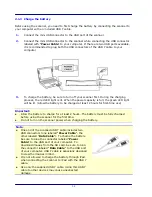
Before using the scanner, you need to first charge the battery by connecting the scanner to
your computer with an included USB Y cable.
1.
Connect the mini USB connector to the USB port of the scanner.
2.
Connect the mini USB connector to the scanner while connecting the USB connector
labeled with “Power Cable” to your computer. If there are two USB ports available,
it is recommended to plug both the USB connectors of the USB Y cable to your
computer.
3.
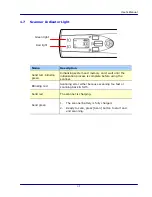
To charge the battery, be sure to turn off your scanner first. During the charging
process, the red LED light is lit. When the power capacity is full, the green LED light
will be lit. (Allow the battery to be charged at least 2 hours for first-time use)
Important:
z
Allow the battery to charge for at least 2 hours. The battery must be fully charged
before using the scanner for the first time.
z
Do not turn on the scanner power when charging the battery.
Note:
z
One end of the supplied USB Y cable includes two
USB connectors (one labeled “Power Cable”, the
other labeled “Data Cable”). To charge the battery,
be sure to plug the connector labeled “Power
Cable” to the USB port of your computer. To
download images from the SD card, be sure to plug
the connector labeled “Data Cable” to the USB port
of your computer. USB Y cable is especially designed
to view the images in iPad.
z
It is not allowed to charge the battery through iPad
when connecting the scanner to iPad with the USB Y
cable.
z
Use only the supplied USB Y cable. Using this USB Y
cable to other devices may cause unexpected
damage.
2-2

