User’s Manual
2.2.3
Choose your desired scan settings
Choose your desired scan settings to suit different scanning task.
1.
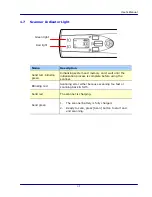
Press the “PDF JPEG” button to choose your file format between JPEG and PDF.
2.
Press the “Color BW” button to choose your image mode between Color and BW (Black
and white).
3.
Press the “STD HQ” button to choose your resolution between STD (standard, 300 dpi)
or HQ (high quality, 600 dpi).
*To use the OCR (convert image text to editable text) function, please select “HQ” resolution to
increase the OCR accuracy.
2.2.4
Start scanning your documents
1.
Place your document on a flat surface. If you are
scanning a book, hold the book firmly with one hand.
2.
Place the scanner horizontally on the start-scanning
position marked by white lines on four sides of the
scanner.
3.
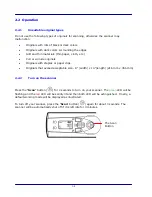
Press the “Scan” button (
) on the scanner. “SP0”
will be displayed on the screen.
4.
Hold the scanner and glide the scanner gently over
the surface of the page as illustrated.
5.
During scanning, the scan speed (SP0~SP2) will be
displayed on he screen. “SP0” indicates the lowest
speed while “SP2” is warning you the scan speed is
too fast. To obtain the best image quality, please keep
your speed at the lowest level (SP0).
6.
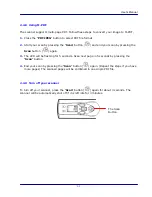
To end your scan, press the “Scan” button (
) on
the scanner again.
7.
If a page is scanned successfully, “001” will be
displayed on the screen. This number indicates your
scan count.
2-5

