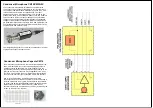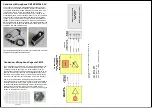
Refurbishing Kit for the Condenser
Microphone Capsule CM16
The refurbishing kit allows to replace deteriorated diaphragms of the
CM16 condenser microphone capsules. The supplied mounting
frame enables a proper assembly. However, a moderate level of skill
is required for this procedure.
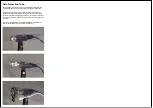
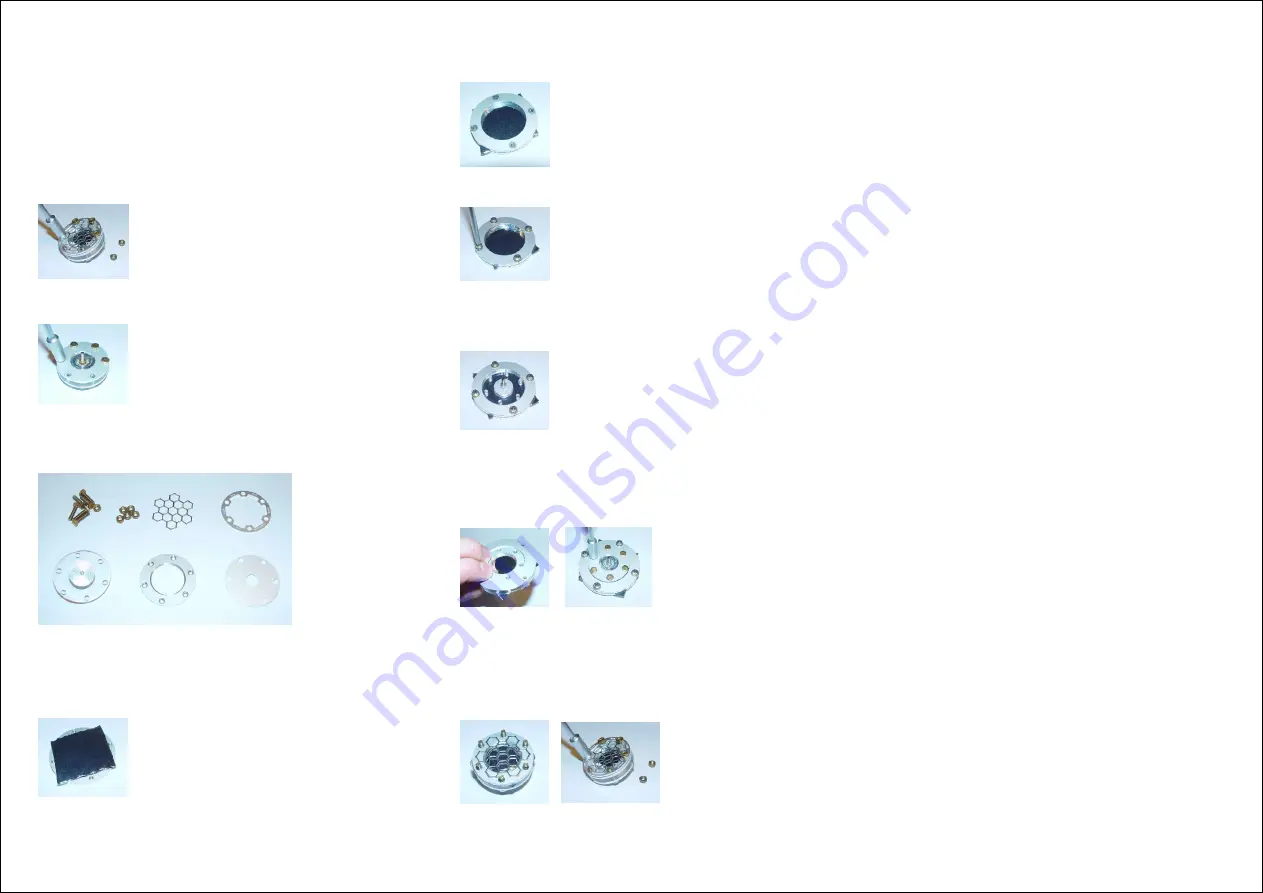
1. First remove the 6 nuts from the front of the CM16 capsule and
remove the protective grid by using the supplied M3 nut driver.
The capsule is now completely disassembled (except of the
aluminum back plate that is still mounted on the acrylic disk).
The old diaphragm foil can be thrown away.
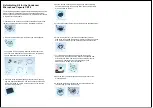
3. Place one of the supplied diaphragm foils onto the mounting
ring with with the thread holes. The non-conductive side of the
foil that is marked by a black cross should be on top. Handle
the foil on its edges only.
4. Put the second mounting frame ring (the one without threads)
onto the foil and align the mounting holes. Make sure that there
are no wrinkles on the foil.
5. Fix the foil between the two rings by fastening the supplied screws.
6. Place the acrylic disk [1] onto the non-conductive (marked)
side of the foil and add the aluminum disk [2]. The lowering of that
disk must be outside. Align the mounting holes of the two disks.
7. Turn the entire arrangement, add the aluminum ring [3]
and align it to the holes of the two disks on the opposite side.
First insert one screw from the back side and fasten it while
applying a moderate tension to the diaphragm. Then
add the other 5 screws one after another.
8. Push the newly mounted capsule down and pull it out of the
mounting frame.
9. Center the protective grid [5] on the capsule and fasten it by
the cover ring [4] using the 6 six nuts.
1
2. Remove the M3 screws from the back of the CM16 capsule.
2
3
4
5


