Loom Manual
Page 24
b)
If loom connection fails, repeat Loom Control Steps including power cycling the
loom.
c)
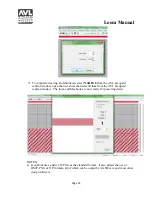
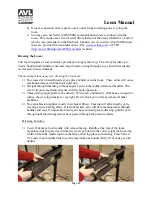
You may also use Serial (COM/USB) communication mode to connect with the
loom. This mode uses a virtual serial driver instead of the direct USB driver, both of
which come preloaded on the Macbook. Should you ever need to reload USB drivers,
these are provided for download on the AVL (
) or FTDI
http://www.ftdichip.com/FTDrivers.htm
) websites.
Dressing the Loom:
This loom requires a creel (customer-provided) to supply the warp. The creel provides up to
twelve hundred individually-tensioned warp threads, exiting through an eye board that ensures
no crossed or twisted threads.
The most important aspects in dressing the loom are:
1)
No crossed or twisted threads at any place behind or in the loom. These errors will cause
mechanical issues with the hook operation.
2)
Straight through threading without angles between the raddle/rollers and heddles. This
error will cause mechanical issues with the hook operation.
3)
Thread sizing appropriate to the density. With twelve hundred (1,200) hooks in eight (8)
inches, the weaving density is very tight. Overly thick yarn will exacerbate all other
problems.
4)
No yarn abrasion (applies mostly to technical fibers). Fuzzing will affect nearby yarn,
creating a snow-balling affect. If left unchecked, yarn will become unpassable through
heddles and reed. If noticeable fuzzing can be seen during loom dressing, pull the yarn
through until the damaged areas have passed through the pressure rollers.
Dressing Features:
1)
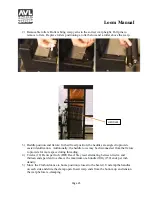
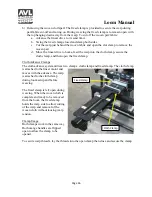
Ten (10) dents per inch raddle with removable top: Raddle at the rear of the loom
organizes widely-spaced yarn from the creel eye board to the correct eight inch weaving
width. Unbolt the raddle top from the frame allowing place-in threading. Place fifteen
(15) ends in each raddle dent to set the maximum one hundred fifty (150) ends per inch
density.
Summary of Contents for TECHNICAL EDUCATION LOOM
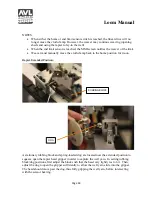
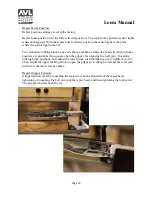
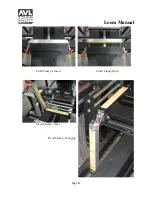
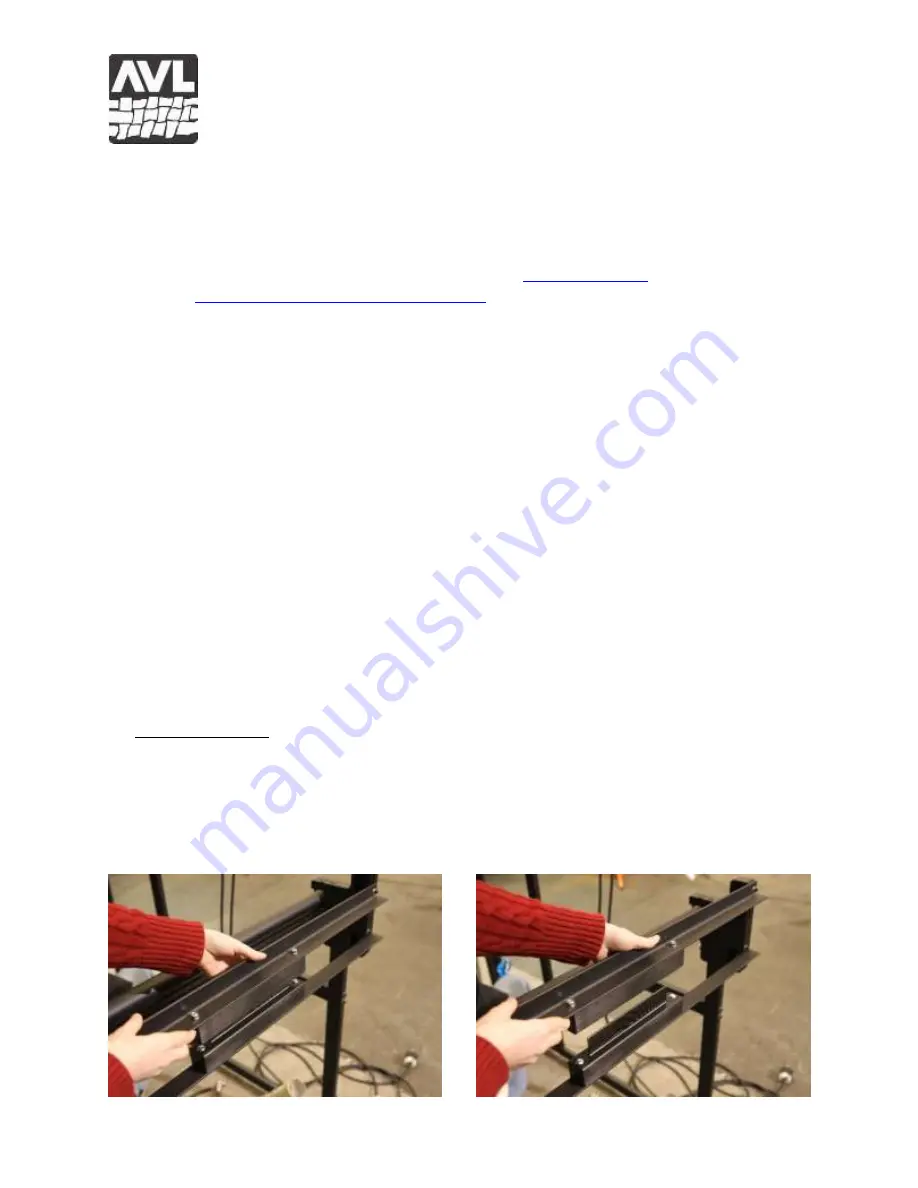
Page 27: ...Loom Manual Page 27 Cloth Clamp Closed Cloth Clamp Open Fixed Clamp Open Fixed Clamp Hanging ...
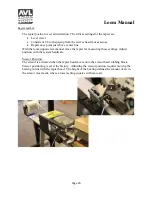
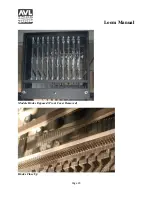
Page 29: ...Loom Manual Page 29 Module Hooks Exposed Front Cover Removed Hooks Close Up ...
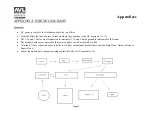
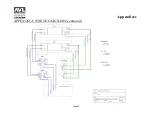
Page 33: ...Appendices Page 33 APPENDIX A WIRING DIAGRAMS continued ...
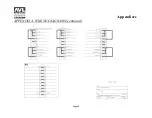
Page 34: ...Appendices Page 34 APPENDIX A WIRING DIAGRAMS continued ...
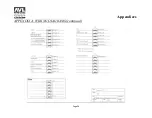
Page 35: ...Appendices Page 35 APPENDIX A WIRING DIAGRAMS continued ...
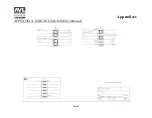
Page 36: ...Appendices Page 36 APPENDIX A WIRING DIAGRAMS continued ...
Page 37: ...Appendices Page 37 APPENDIX A WIRING DIAGRAMS continued ...
Page 38: ...Appendices Page 38 APPENDIX A WIRING DIAGRAMS continued ...
Page 39: ...Appendices Page 39 APPENDIX A WIRING DIAGRAMS continued ...
Page 40: ...Appendices Page 40 APPENDIX A WIRING DIAGRAMS continued ...
Page 41: ...Appendices Page 41 APPENDIX A WIRING DIAGRAMS continued ...
Page 42: ...Appendices Page 42 APPENDIX A WIRING DIAGRAMS continued ...
Page 43: ...Appendices Page 43 APPENDIX A WIRING DIAGRAMS continued ...
Page 44: ...Appendices Page 44 APPENDIX A WIRING DIAGRAMS continued ...
Page 45: ...Appendices Page 45 APPENDIX A WIRING DIAGRAMS continued ...
Page 46: ...Appendices Page 46 APPENDIX A WIRING DIAGRAMS continued ...
Page 47: ...Appendices Page 47 APPENDIX A WIRING DIAGRAMS continued ...
Page 48: ...Appendices Page 48 APPENDIX A WIRING DIAGRAMS continued ...
Page 49: ...Appendices Page 49 APPENDIX A WIRING DIAGRAMS continued ...
Page 50: ...Appendices Page 50 APPENDIX A WIRING DIAGRAMS continued ...
Page 51: ...Appendices Page 51 APPENDIX A WIRING DIAGRAMS continued ...
Page 52: ...Appendices Page 52 APPENDIX A WIRING DIAGRAMS continued ...
Page 53: ...Appendices Page 53 APPENDIX A WIRING DIAGRAMS continued ...
Page 54: ...Appendices Page 54 APPENDIX A WIRING DIAGRAMS continued ...

