Loom Manual
Page 26
6)
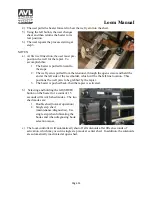
Removing the woven cloth/part: The fixed clamp is provided to secure the warp during
part/fabric cut-off and re-ting on. During weaving the fixed clamp is to remain open with
the top hanging down away from the warp. To cut off the woven part/fabric:
a.
Advance the linear drive to its send limit.
b.
Swing the fixed clamp closed and clamp both sides.
c.
Cut the warp just behind the woven fabric and open the clot clamp to remove the
woven part.
d.
Move the linear drive to home, feed the warp into the cloth clamp, secure the
cloth clamp, and then open the fixed clamp.
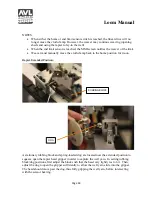
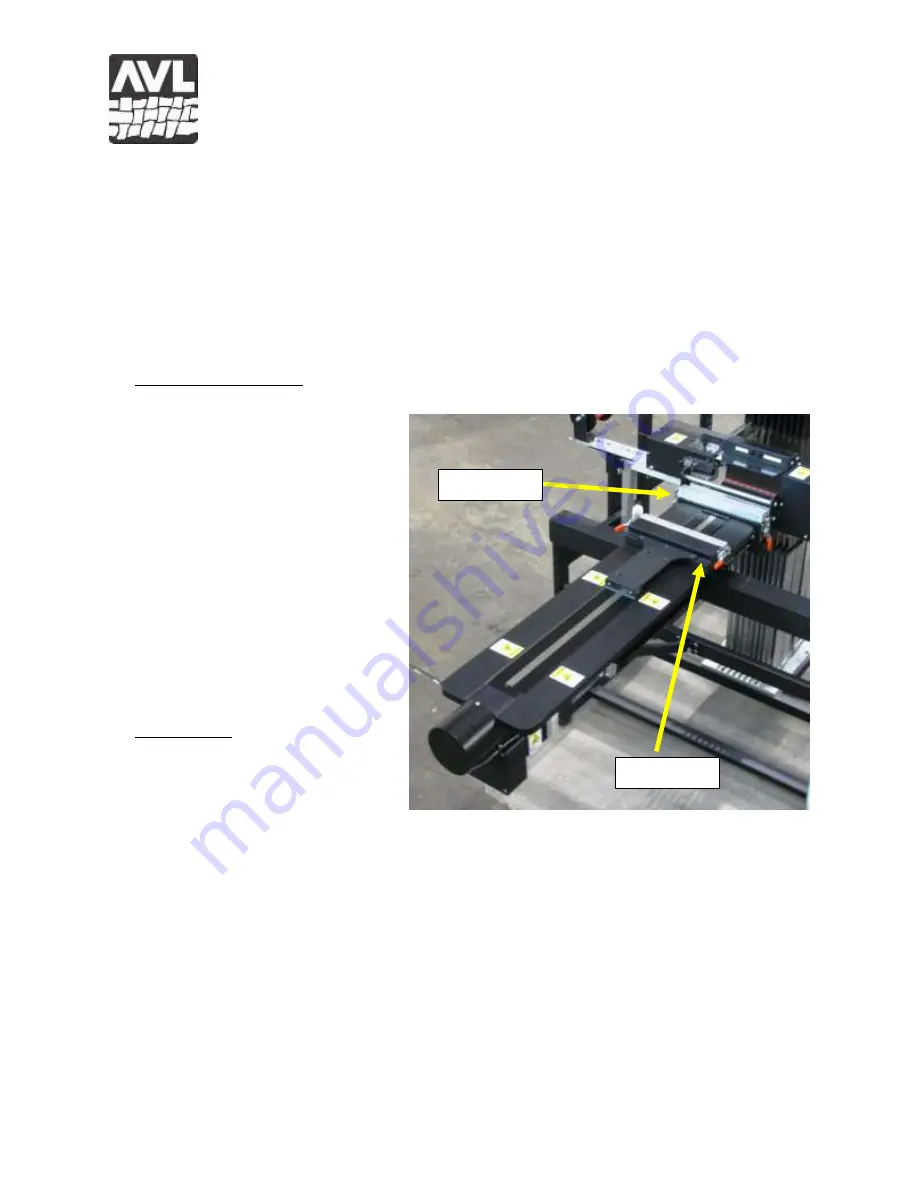
Cloth Advance Clamps
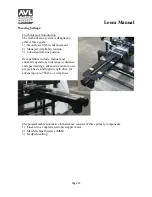
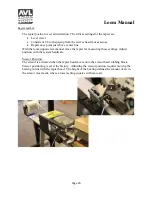
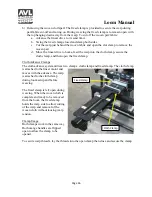
The cloth advance system utilizes two clamps: cloth clamp and fixed clamp. The cloth clamp
is attached to the linear motor and
moves with the advance. The warp
is attached to the cloth clamp
during loom setup and before
weaving.
The fixed clamp is left open during
weaving. When the woven cloth is
complete and ready to be removed
from the loom, the fixed clamp
holds the warp side to allow cutting
of the warp and removal of the
woven cloth without loosing warp
tension..
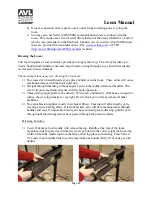
Clamp Usage
Both clamps work in the same way.
Both orange handles are flipped
open to allow the clamp to be
opened.
To secure warp threads, lay the threads into the open clamp then close and secure the clamp.
Fixed Clamp
Cloth Clamp
Summary of Contents for TECHNICAL EDUCATION LOOM
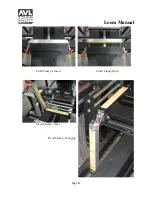
Page 27: ...Loom Manual Page 27 Cloth Clamp Closed Cloth Clamp Open Fixed Clamp Open Fixed Clamp Hanging ...
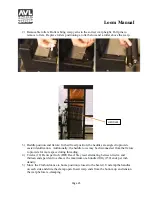
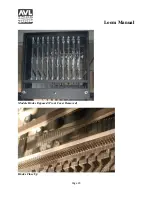
Page 29: ...Loom Manual Page 29 Module Hooks Exposed Front Cover Removed Hooks Close Up ...
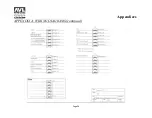
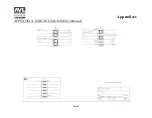
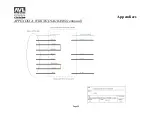
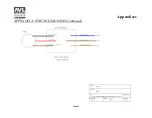
Page 33: ...Appendices Page 33 APPENDIX A WIRING DIAGRAMS continued ...
Page 34: ...Appendices Page 34 APPENDIX A WIRING DIAGRAMS continued ...
Page 35: ...Appendices Page 35 APPENDIX A WIRING DIAGRAMS continued ...
Page 36: ...Appendices Page 36 APPENDIX A WIRING DIAGRAMS continued ...
Page 37: ...Appendices Page 37 APPENDIX A WIRING DIAGRAMS continued ...
Page 38: ...Appendices Page 38 APPENDIX A WIRING DIAGRAMS continued ...
Page 39: ...Appendices Page 39 APPENDIX A WIRING DIAGRAMS continued ...
Page 40: ...Appendices Page 40 APPENDIX A WIRING DIAGRAMS continued ...
Page 41: ...Appendices Page 41 APPENDIX A WIRING DIAGRAMS continued ...
Page 42: ...Appendices Page 42 APPENDIX A WIRING DIAGRAMS continued ...
Page 43: ...Appendices Page 43 APPENDIX A WIRING DIAGRAMS continued ...
Page 44: ...Appendices Page 44 APPENDIX A WIRING DIAGRAMS continued ...
Page 45: ...Appendices Page 45 APPENDIX A WIRING DIAGRAMS continued ...
Page 46: ...Appendices Page 46 APPENDIX A WIRING DIAGRAMS continued ...
Page 47: ...Appendices Page 47 APPENDIX A WIRING DIAGRAMS continued ...
Page 48: ...Appendices Page 48 APPENDIX A WIRING DIAGRAMS continued ...
Page 49: ...Appendices Page 49 APPENDIX A WIRING DIAGRAMS continued ...
Page 50: ...Appendices Page 50 APPENDIX A WIRING DIAGRAMS continued ...
Page 51: ...Appendices Page 51 APPENDIX A WIRING DIAGRAMS continued ...
Page 52: ...Appendices Page 52 APPENDIX A WIRING DIAGRAMS continued ...
Page 53: ...Appendices Page 53 APPENDIX A WIRING DIAGRAMS continued ...
Page 54: ...Appendices Page 54 APPENDIX A WIRING DIAGRAMS continued ...

