Using the WDL
Workshop Dobby Loom User’s Manual
Page | 52
Threading, Sleying, and Tying On
Tying onto the Cloth Storage Beam (24” WDL Only)
Note:
When using the Cloth Storage Beam, you will need to advance the warp from
the Cloth Storage Beam instead of the Cloth Beam for the first several inches
until the apron has passed completely over the Cloth Beam. Once the apron
has been advanced so that your cloth is laying on the Cloth Beam, you will be
able to advance the warp from the Cloth Beam.
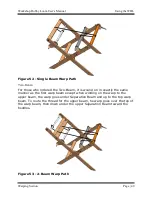
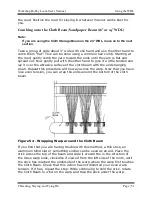
Unwind the Tie-On Cord and Rod from the Cloth Storage Beam and route
around the Cloth Beam towards the reed. This appears as a counter-
clockwise arc when viewed from the left side of the loom.
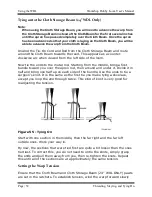
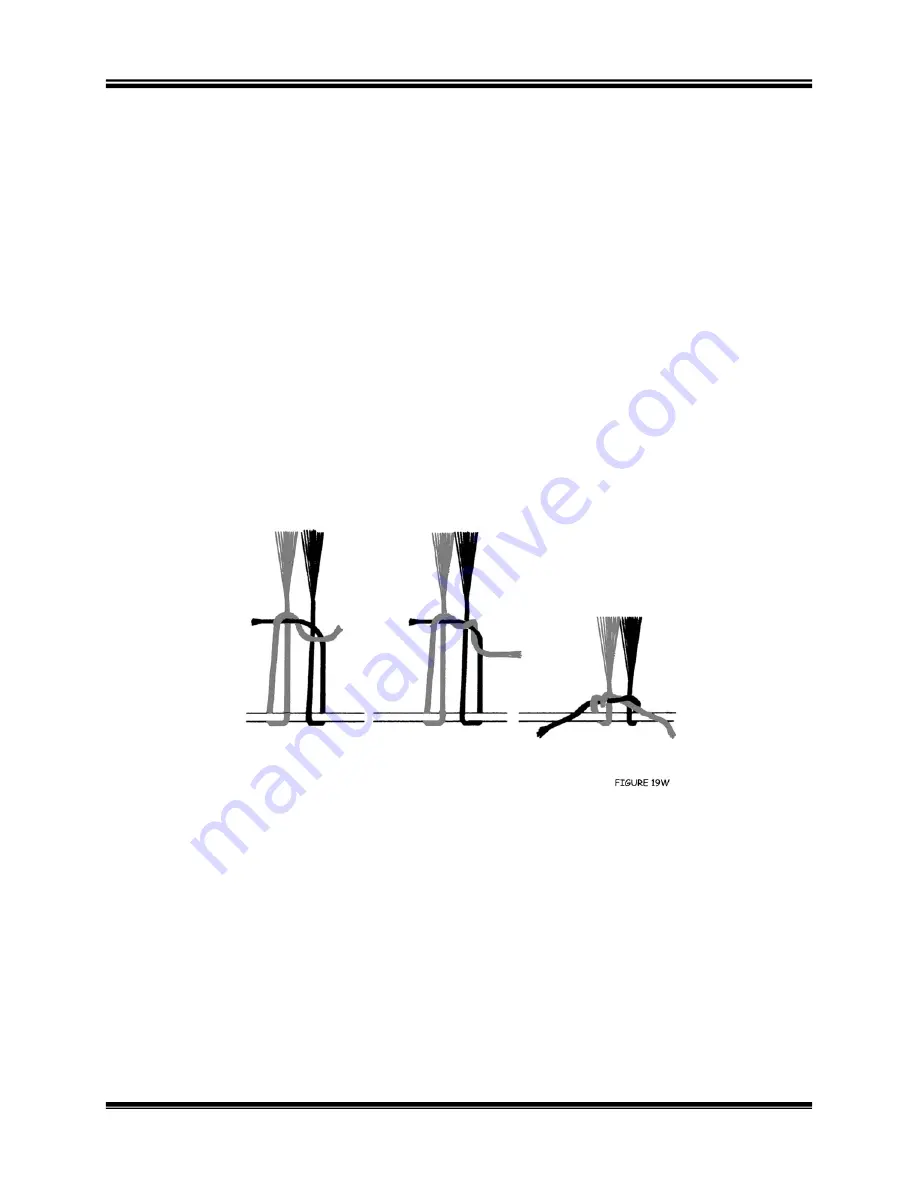
Now tie the ends to the metal rod. Starting from the middle, bring a first
bundle toward you over the apron rod, then around and under it. Divide it in
half and bring one half up on each side of the bundle. Use the ends to tie a
surgeon’s knot. It is the same as the first tie you make tying a shoelace,
except you loop the end through twice. This kind of knot is very good for
readjusting the tension.
Figure 55 - Tying On
Start with one section in the middle, then the far right and the far left
outside ones. Work your way in.
By now, the sections that were tied first are quite a bit looser than the ones
tied last. To correct this, you do not need to untie the knots, simply grasp
the ends and pull them away from you, then re-tighten the knots. Repeat
this until all of the sections are at approximately the same tension.
Setting the Warp Tension
Ensure that the Cloth Beam and Cloth Storage Beam (24” WDL ONLY) pawls
are set in the ratchets. To establish tension, wind the warp forward slowly

