Installing the Communications Software FRITZ!
FRITZ!Card – 2 Installing FRITZ!Card PCMCIA
17
5.
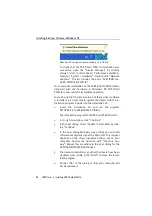
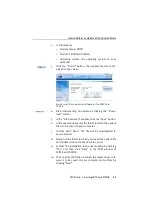
As a final step of the driver software installation, a mes-
sage box is displayed showing the configuration of the
ISDN-Controller FRITZ!Card PCMCIA.
Once the driver software installation has been completed, a
message reports that the FRITZ! communications software
can be installed. For more information, read “Installing the
Communications Software FRITZ!” on page 17.
Windows 98 includes an
“
ISDN Configuration Wizard
”
. This
Wizard can be used neither to install ISDN hardware and
software correctly, nor to set up an ISDN connection. It can
only be used to configure a previously installed AVM ISDN
NDIS WAN CAPI driver (one of the AVM system drivers).
2.7 Installing the Communications
Software FRITZ!
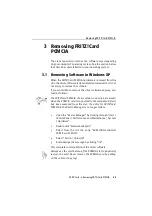
After driver software for the FRITZ!Card PCMCIA ISDN-Control-
ler has been installed, the setup program reports that the
FRITZ! communications software can be installed.
1.
Click the “Install” button.
2.
Specify the folder in which the FRITZ! communications
software is to be installed on your computer.
3.
Next, specify the program group for FRITZ! in the Start
menu.
4.
The next dialog asks whether you would like to perform a
simple installation or an installation with configuration.
Installation
: The FRITZ! modules are installed with default
settings in the specified folder. All default settings can be
changed in the individual FRITZ! modules after installa-
tion. Please read the relevant sections in the FRITZ! manu-
al available in PDF format in the \SOFTWARE\INFO folder
on the installation CD or see the Online Help for instruc-
tions.
Installation and Configuration
: A number of basic set-
tings can be made during installation, for example,
information for operation at a PBX.
Summary of Contents for FRITZ!Card PCMCIA
Page 1: ......


