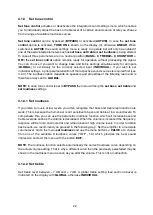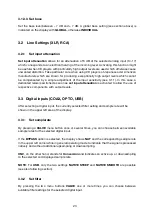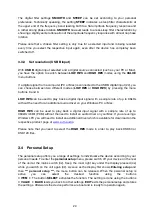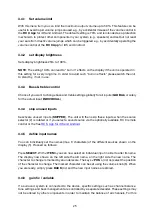
12
ü
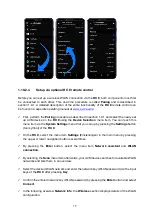
Now press and hold the menu button on the right below the display and switch on the
device again with the mains switch (32). As soon as the display first shows
Entering setup
and then
*** personal setup ***,
the menu button can be released. In the
Personal Setup
menu, individual menu items can be selected with the menu buttons
< ITEM>
and activated
accordingly with the menu button
SELECT.
ü
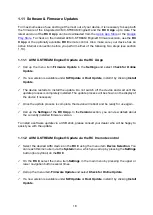
Now select the menu item
set WLAN via WPS
by pressing one of the menu buttons
<
ITEM>.
ü
Activate the WPS function by pressing the
SELECT
menu button. The display shows
WPS
in progress
.
ü
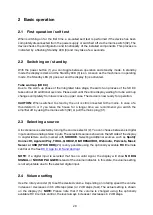
Now activate the WPS function on your WiFi router within two minutes.
ü
As soon as your AVM device has successfully established a WLAN connection via WPS,
the name of the connected WLAN is shown on the display, e.g.:
Joined WLAN: WLAN
Name (SSID)
.
ü
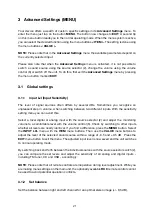
To finish the process, press the
BACK
menu button and then exit the Personal Setup menu
by pressing the
EXIT
menu button. After a short save procedure (the display shows
Exit &
Save Settings
) the device restarts and switches to normal operating mode.
ü
Your AVM device is now connected to your local wireless network (WLAN/WiFi) and ready
for operation.
ü
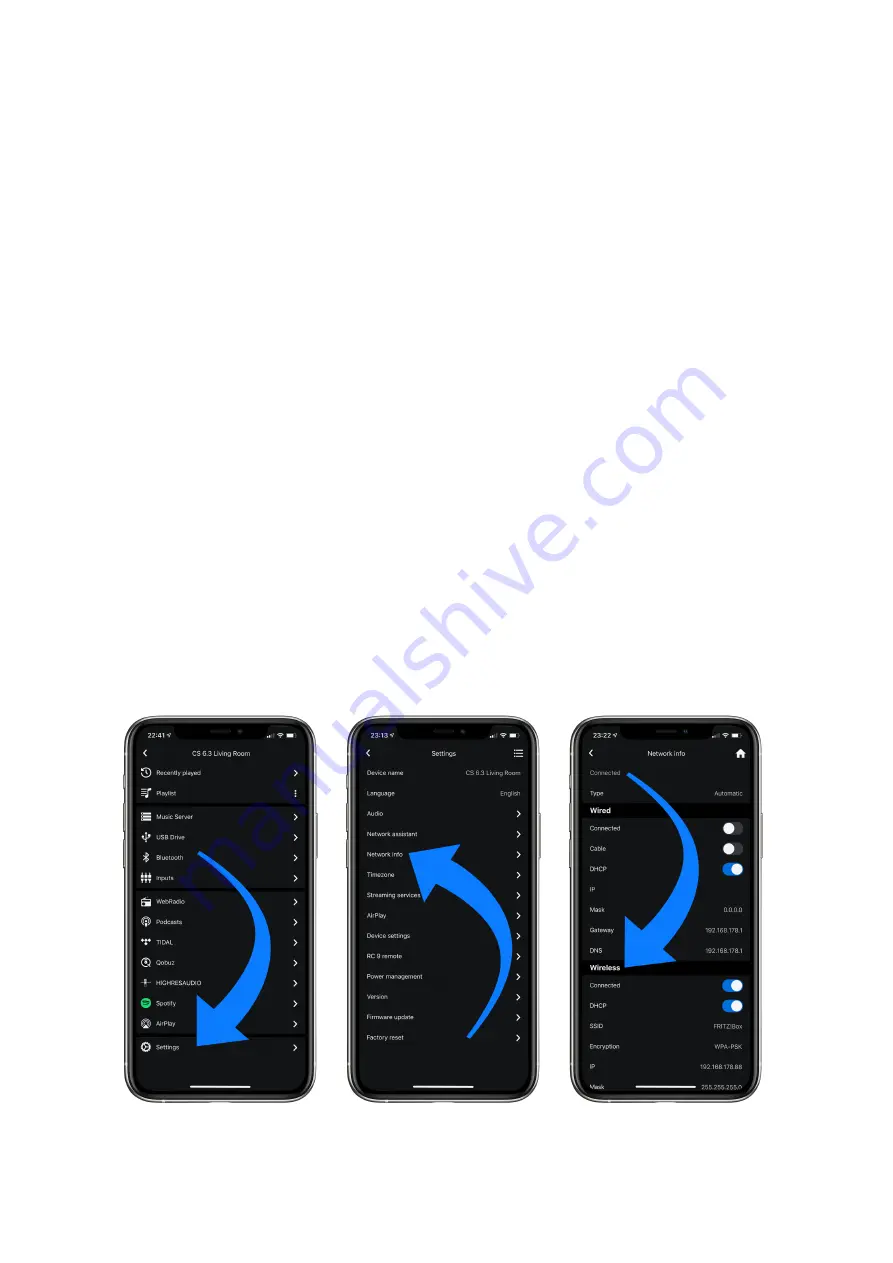
To check on the network status, start the
RC X App
and select the AVM device. Call up the
menu item
Network info
in
Settings
. In the
Wireless
section, you can check on the WLAN
configuration that has been established.
Summary of Contents for OVATION CS 6.3
Page 1: ...Operating instructions OVATION SD 6 3 OVATION SD 8 3 ...
Page 2: ......


