24
AutoView 1000R/AutoView 2000R Installer/User Guide
Chapter 3: Analog Port Operation
25
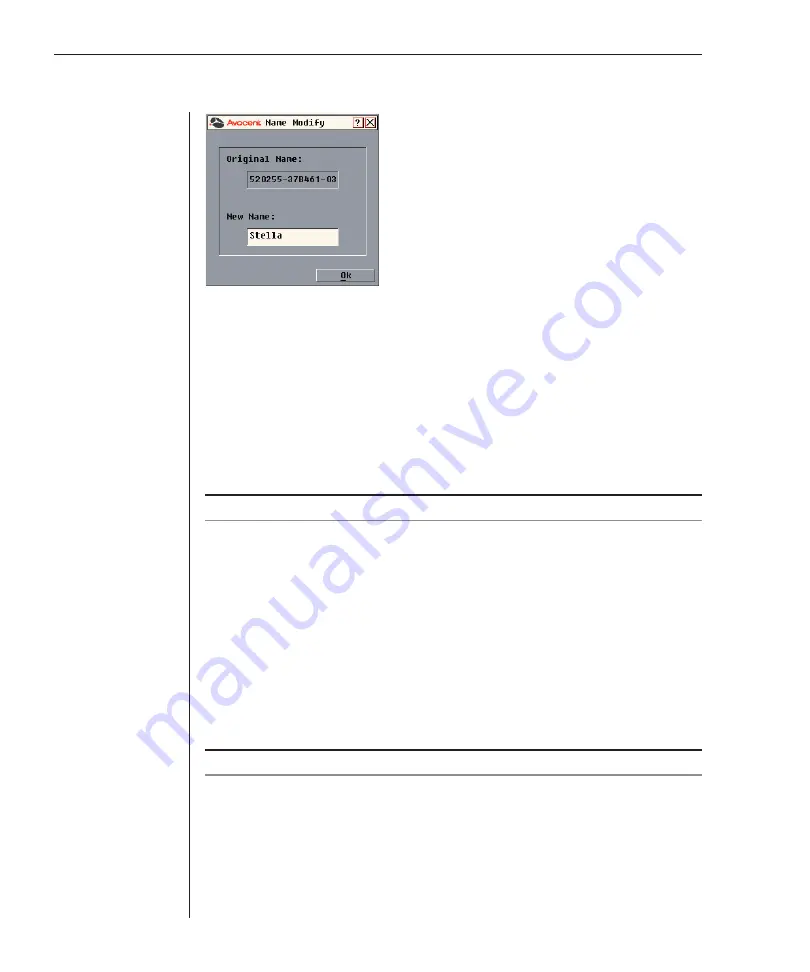
Figure 3.4: Name Modify Dialog Box
2. Type a name in the New Name box. Names of servers may be up to 15
characters long. Legal characters include: A-Z, a-z, Ø-9, space and hyphen.
3. Click
OK
to transfer the new name to the Names dialog box. Your selection
is not saved until you click
OK
in the Names dialog box.
4. Repeat steps 1-3 for each server in the system.
5. Click
OK
in the Names dialog box to save your changes.
-or-
Click
X
or press
Escape
to exit the dialog box without saving changes.
NOTE:
If an AVRIQ has not been assigned a name, the EID is used as the default name.
Assigning device types
While the appliance automatically discovers cascade switches attached to your unit,
you will need to specify the number of ports on the cascade switch through the
Devices dialog box. The appliance recognizes KVM switches. You will see an Sw-8
or Sw-24 appear in the Type category. When you select that switch from the list, the
Modify button appears, allowing you to assign the appropriate number of ports to it.
To access the Devices dialog box:
1. Press
Print Screen
. The Main dialog box will appear.
2. Click
Setup - Devices.
The Devices dialog box appears.
NOTE:
The Modify
button will only be available if a configurable switch is selected.
Summary of Contents for AutoView 1000R
Page 1: ...Installer User Guide AutoView 1000R AutoView 2000R...
Page 6: ......
Page 7: ...Contents Features and Benefits 3 Safety Precautions 5 1 Product Overview...
Page 8: ......
Page 12: ...6 AutoView 1000R AutoView 2000R Installer User Guide...
Page 14: ......
Page 22: ...16 AutoView 1000R AutoView 2000R Installer User Guide...
Page 24: ......
Page 43: ...Contents Configuring the Terminal Menu 39 4 Terminal Operations...
Page 44: ......
Page 48: ......

