INSTALLING A NEW BATTERY.
To
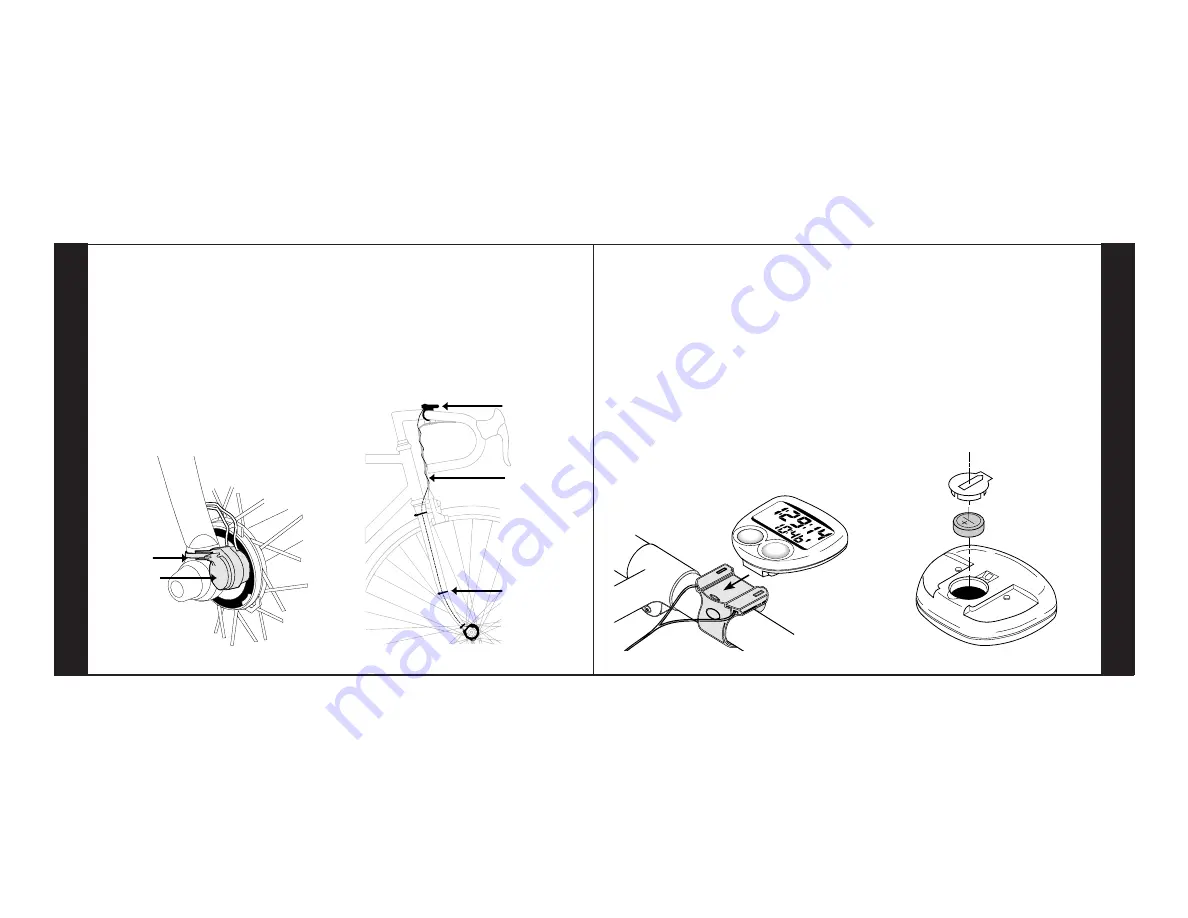
remove the battery, pry up the cap on the back
of the Cyclometer with a screwdriver. Install
the new battery with its positive (+) side to-
ward the cap, then press in the cap with your
thumb. Use only an Avocet Cyclometer 45 bat-
tery or equivalent (see specifications). Remov-
ing the battery erases setup data and total dis-
tance. After installing a battery, the unit goes
into setup ready for entry of setup data. At
this time total distance can be programmed
into the Cyclometer.
MOUNTING AND
BA
TTER
Y
22
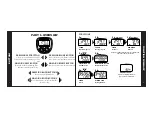
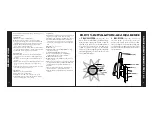
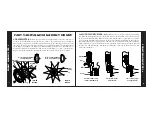
3. RECEIVER WIRE.
Secure the wire
with ties or tape starting at the receiver. Attach
the wire only to parts that rotate when the bi-
cycle is steered–the fork, the handlebar stem,
or the front brake cable. Do not attach the wire
to the head tube. Wrap excess wire around the
front brake cable.
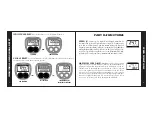
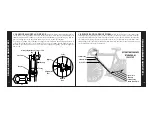
2b. ROAD RECEIVER.
For standard
road forks. Position the receiver on the front
of the right fork blade opposite the transmit-
ter magnet (black stripe in illustration). The
side of the receiver with the wires coming out
of it should be next to the magnet. Thread a
cable tie through the hole in the receiver holder
and around the fork. Pull the cable tie tight.
Position the receiver so that it is as close as
possible to the transmitter by rotating the
holder on the fork and by sliding its toothed
adjuster in or out.
Receiver
Tie
FR
ONT MOUNT
-STEPS 2b & 3
21
Tie
Brake Cable
Cyclometer
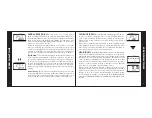
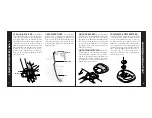
MOUNT BRACKET.
Remove the clamp
screw and place the mount bracket on the han-
dlebar near the right side of the stem. Insert
the clamp screw and tighten it until the bracket
does not move when the Cyclometer is inserted
or removed. If the handlebar is too small for
the clamp, put the shim provided under the
clamp for a tight fit.
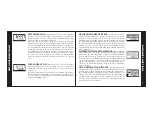
MOUNTING THE UNIT.
Slide the Cy-
clometer into the mount bracket from front to
rear until it snaps on. Choose the speed func-
tion, then spin the front wheel and watch for a
reading. If the display remains at zero make
sure that the receiver and transmitter are
aligned and nearly touching.


