background image


www.avonic.eu 


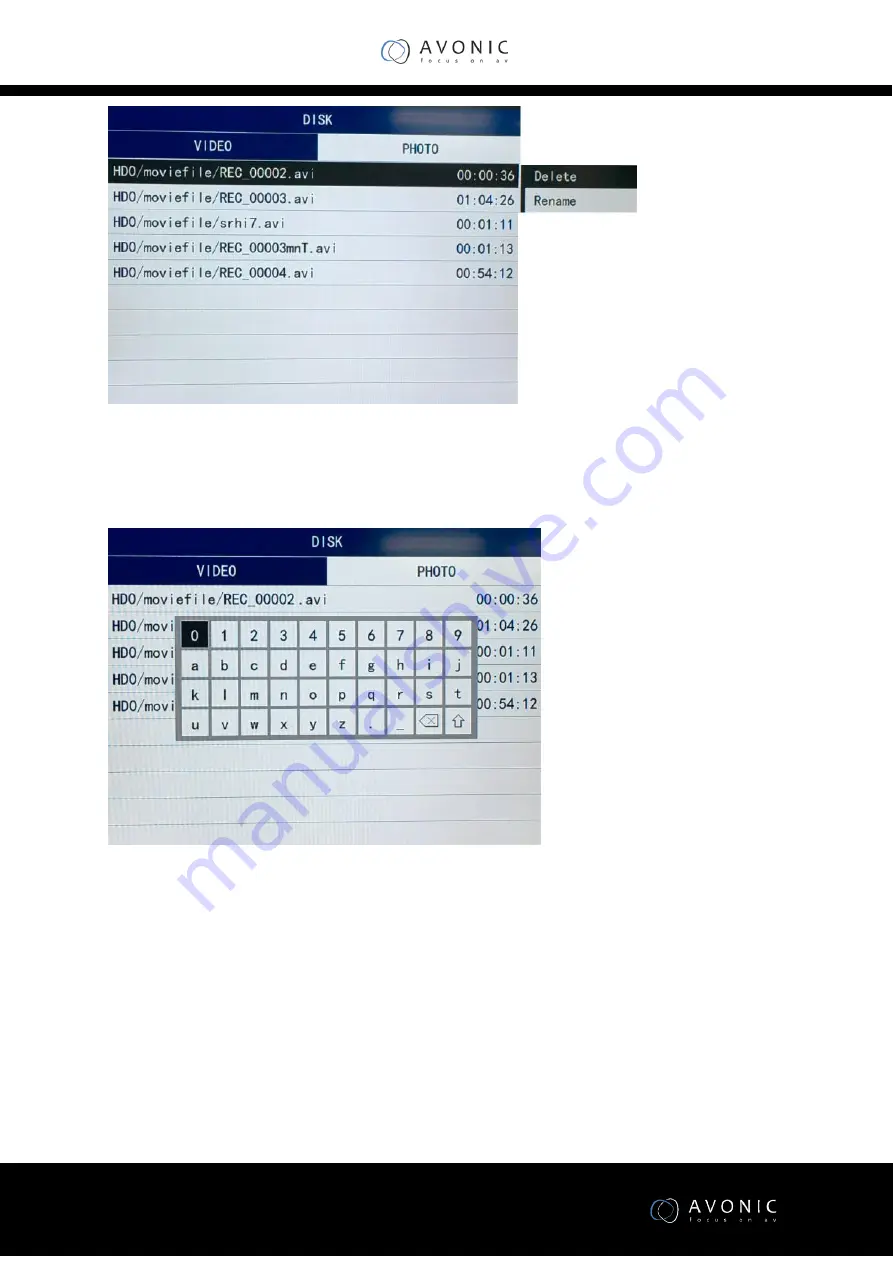
4. Select the Rename item, then press 

OK

 button, the device will display Rename menu. The user 

can rename the record file name by the remote control, press 

Exit

 button it will auto save the new 

name for this file. 


Operation


Video 

1.


Connect a hard/flash drive and wait until left LED is green 

2.


Press REC (remote control or button) to start the recording. The right LED will be red. A red, 
blinking dot will appear on monitor output during recording. 

3.


Press REC again to stop the recording. The right LED will turn off 

4.


Remove disk from device. (it is possible to take the disk out immediately after the recording 
is stopped) 

Summary of Contents for AV-REC100

Page 1: ...C100 Rack Mount HDMIRecorder User Manual Version 1 5 Update notes Operation section added Various type errors corrected Introduction area standarized Join Avonic linkedin com company avonic twitter co...

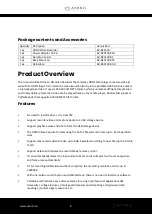
Page 2: ...ntenance 3 Contact 3 Package contents and Accessories 4 Product Overview 4 Features 4 Product Description 5 Front Panel View 5 Rear Panel View 5 Installation 6 Connection Diagram 6 Operation Instructi...

Page 3: ...ng the device Electronic devices produce heat Do not block the ventilation slots of the device and make sure the installation environment is well ventilated to avoid overheating Before cleaning unplug...

Page 4: ...all a driver it is truly PnP Support recorder video and capture photo to 1 USB storage device Support playback video and photo from the USB storage device The HDMI Video Capture formats using the FAT3...

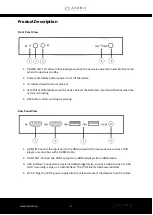
Page 5: ...hes when the system is recoding 5 REC button Starts and stops recording Rear Panel View 1 HDMI IN Connect the input port to the HDMI output of the source device such as a DVD player or set top box wit...

Page 6: ...the HDTV to the HDMI Video Capture with an HDMI cable Connect the USB Storage Device to the HDMI Video Capture Connect the power cable to the HDMI Video Capture Power on HDTV and Video Player Power o...

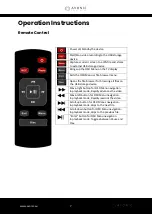
Page 7: ...Opens the file browser for browsing all files on the USB storage device Move right button for OSD Menu navigation In playback mode Rapidly advances the video Move left button for OSD Menu navigation I...

Page 8: ...80i60 1080i50 This is not the avi file video resolution Version display the firmware version Disc display the external USB disc or USB HDD information Format Disk Format the external USB disc or USB H...

Page 9: ...this file Operation Video 1 Connect a hard flash drive and wait until left LED is green 2 Press REC remote control or button to start the recording The right LED will be red A red blinking dot will a...

Page 10: ...ive and wait until left LED is green 2 Press Photo remote control to start the recording A blue dot will appear for a second on the monitor 3 Do not remove disk from device immediately The file needs...

Page 11: ...ts 480i 480p 576i 576p 720p50 720p60 1080i50 1080i60 1080p24 25 30 50 60 Output Interface HDMI interface Output Resolutions 1080i50 1080i60 1080p50 1080p60 Encode format Hardware H 264 encoder Power 5...

Reviews: