Room Alert 32E
AVTECH Software, Inc.
29
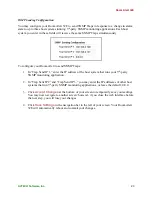
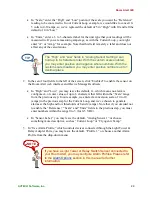
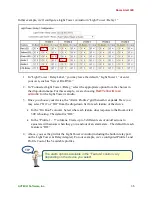
In “Scale,” enter the “High” and “Low” points of the scale you want the “Reference”
reading to be converted to. In our Current Loop example, we would like to convert 0-
5 volts to 0-10 amps, so we’ve replaced the default of 5 in “High” with 10 and left the
default of 0 in “Low.”
In “Units,” enter a 1- to 3-character label for the unit type that your readings will be
measured in. If you are measuring amperage, as with the Current Loop, you might
enter “A” or “Amp,” for example. Note that this field is merely a label and does not
affect any of the calculations.
2.
In the set of four fields to the left of the screen, click “Enabled” to enable the sensor on
the Room Alert web interface and Device ManageR software.
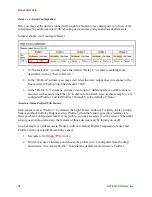
In “High” and “Low,” you may leave the default, 0—which means no alarm is
configured—or enter values of up to 6 characters that fall within the “Scale” range
from the previous step. In our example, we entered a conversion scale of 0 to 10
(amps) in the previous step for the Current Loop, and we’ve chosen to generate
alarms at the high and low thresholds of 6 and 2 (amps). Note that if you decided not
to enable the “Reference,” “Scale” and “Units” fields in the previous step, you must
enter numbers within the range 0 to 5 (for 0-5 VDC).
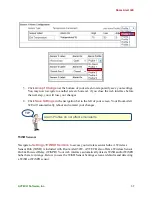
In “Sensor Label,” you may leave the default, “Analog Sensor 1” or choose
something more descriptive, such as “Current Loop” or “Cryogenic Temp.”
3.
In “Use Alarm Profile,” which controls devices connected through the Light Tower &
Relay Adapter Ports, you may leave the default, “Profile 1,” or choose another Alarm
Profile from the drop-down menu.
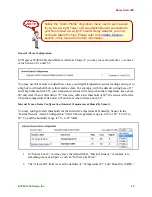
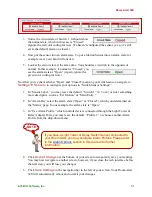
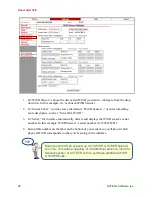
TIP
The “High” and “Low” fields in “Analog Sensor Settings” can
hold up to 6 characters total. With the custom scale enabled,
you may enter positive and negative whole numbers. With the
custom scale disabled, you may enter positive numbers up to 1
decimal place.
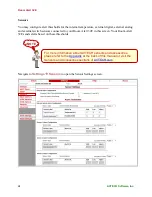
If you have a Light Tower or Relay Switch Sensor connected to
your Room Alert, you may configure Alarm Profiles. Please refer
to the
Alarm Options
section in this manual for further
information.
NOTE

