1/3"
Pixelplus 1099K CMOS
2:1 Interlaced
Internal
976H*496V
Auto
0Lux(IR ON)
139.5*64.5*70mm
285g
24Units infrared LED
75feet
3Lux
IP66
-20
55
℃-
℃
700TVLines
3.6mm
20cm
Auto
Auto
Ext
>47dB(AGC off)
1.0Vp-p composite video,75
Ω
DC12V/200mA,2.4W
DC12V
10%
±
1
Using
the
foam pat
to locate holes in the wall
2
3
Drill 3 holes in the position needed in accordance with the installation hole on the
subpanel of the bracket
,
push the expansion bolt inside then tighten the screws
,
make
the installation hole aim at the four screws and fix it.
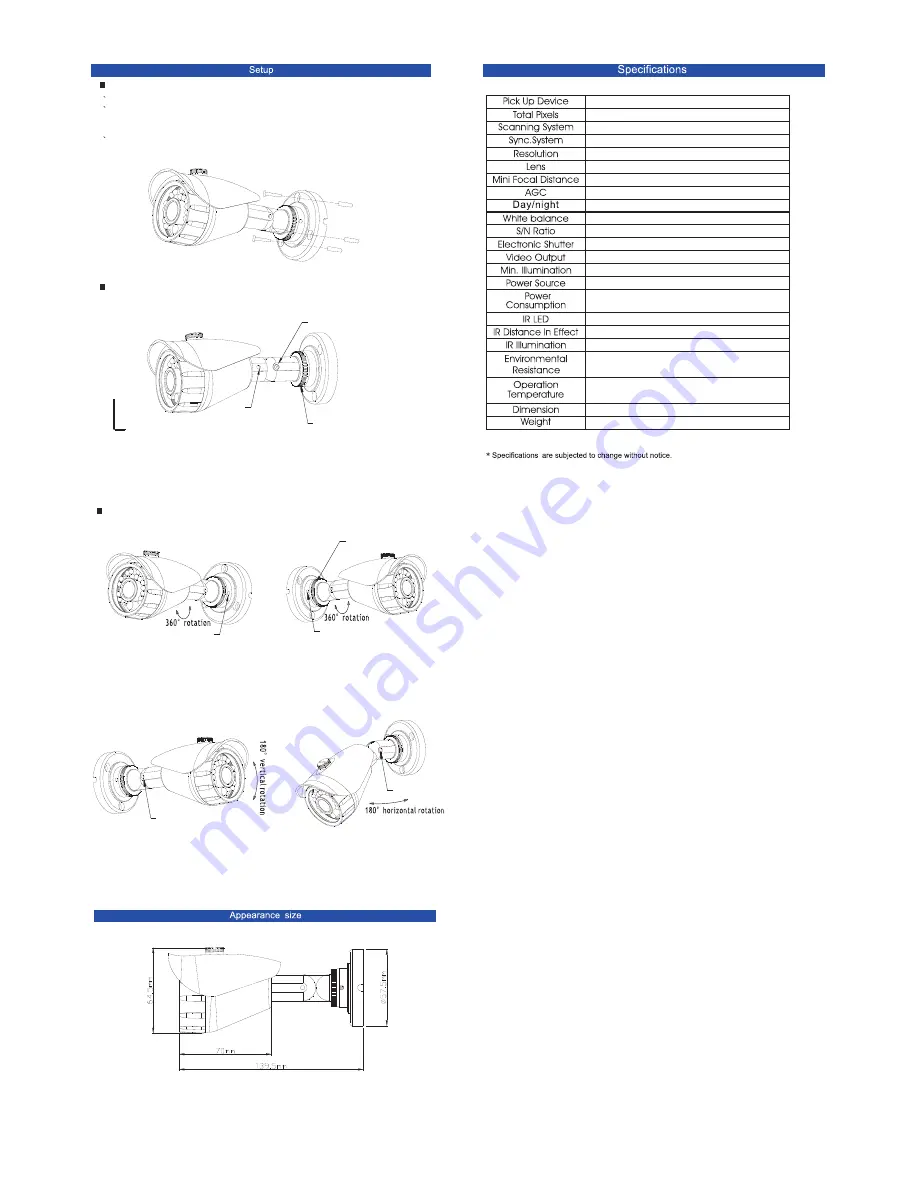
Camera installation
Get the wire out from the bottle of the bracket.
Assembly instruction of 3D cable bracket
L-shape spanner
Fixed loop
Screw 1
Screw 2
Figure 1
Figure1:Take the screws out of the accessories pouch and use L-shape spanner
to assemble.
Adjustment instruction of 3D bracket
Figure 4
Figure 3
Fixed loop
Figure 2
Figure 5
Screw 2
Screw 3
Figure 2,loosen the screw3
and the fixed loop to rotate 360
°
Figure 3,loosen the screw3
and the fixed loop to rotate 360
°
Screw 2
Screw 3
Figure 4 and 5,loosen the screw2 to rotate 180
°
from up to down or from left to right


