12
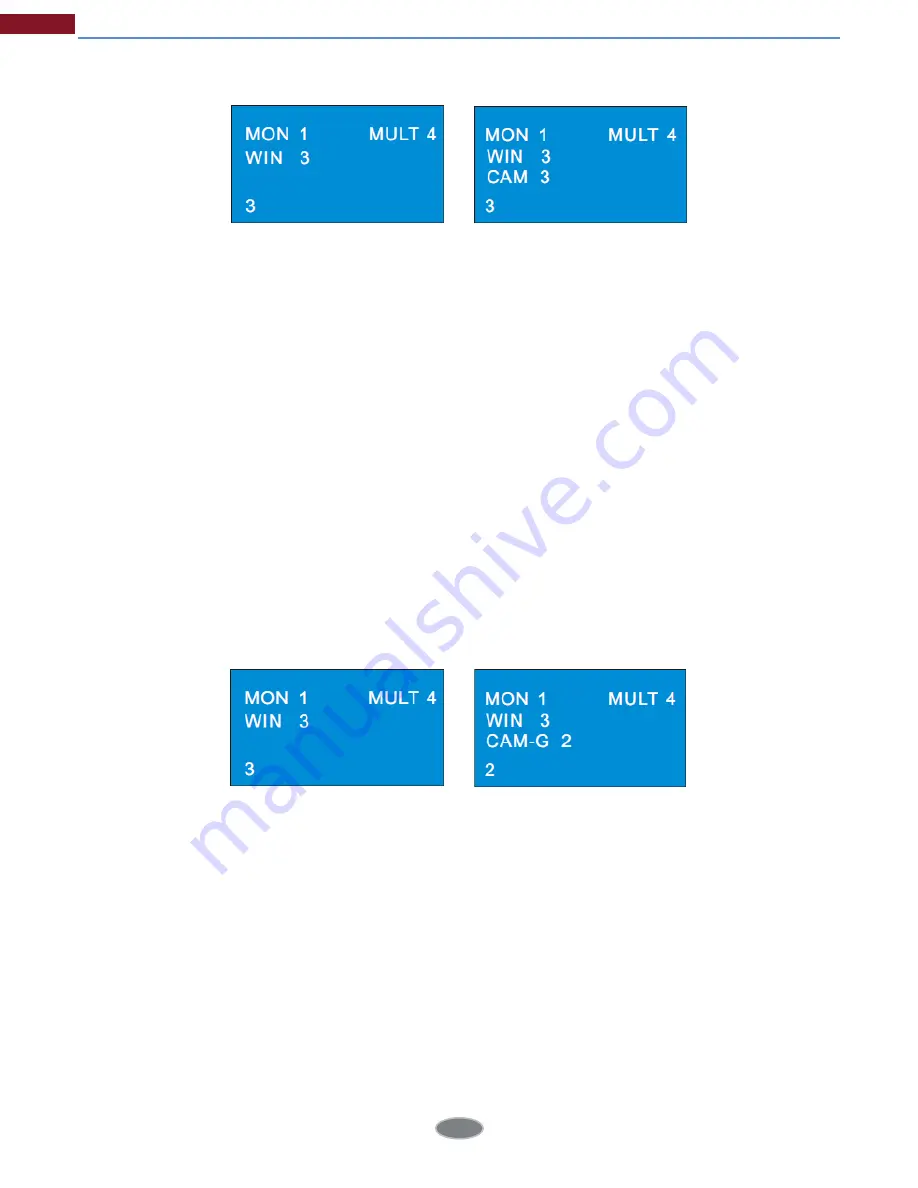
As a result, you will see the image of NO.3 camera in NO.3 window and 4 screens display mode
will be seen in NO.1 monitor.
You can check the relationship between camera number and channel from ECMS/NVMS5000
(go to TV wall client
->
Setup
->
Channel-NO. mapping).
Note:
The effective value of the camera is form 1 to 999999. When NO. zero camera is inputted, it
means to delete the input from the designated window. The effective value of the window is from
1 to the number of the current all split screens.
4.3 Camera Group -> Window
1. Select monitor (output). For example, input 1 and then press “MON” to select NO.1 monitor.
2. Select screen display mode. For example, input 4 and then press “MULT” to select 4 screens
display mode.
3. Select window. For example, input 3 and then press “WIN” to select NO. 3 window.
4. Select camera group. For example, input 2 and then press “CAM-G” to select NO. 2 camera
group.
Camera group settings:
go to TV wall client
->
Setup
->
Create Channel Group to create channel
(camera) group and dwell time. Then click “Modify or Delete Channel Group” to add the channel
for this camera group. The effective value is form 1 to 999999.
4.4 Camera Group->Monitor
Select the output group (camera group) to the designated output monitor. If the camera
quantity of the camera group (m) is equal or less than the quantity of the output window (n), the
camera output will be all displayed in the current screen display mode. If m is greater than n, the
previous n cameras will be output to the n windows in sequence and then the remaining n
cameras will be output to the n windows in sequence after the dwell time is up until all cameras
of the camera group is displayed. After that, all cameras of the camera group will be played
again like that. The setting steps are as follow.
Decoding


