8.
Measurements and Adjustments
.
Service Manual
Model No.:
- 39-
Installation Guide
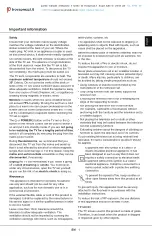
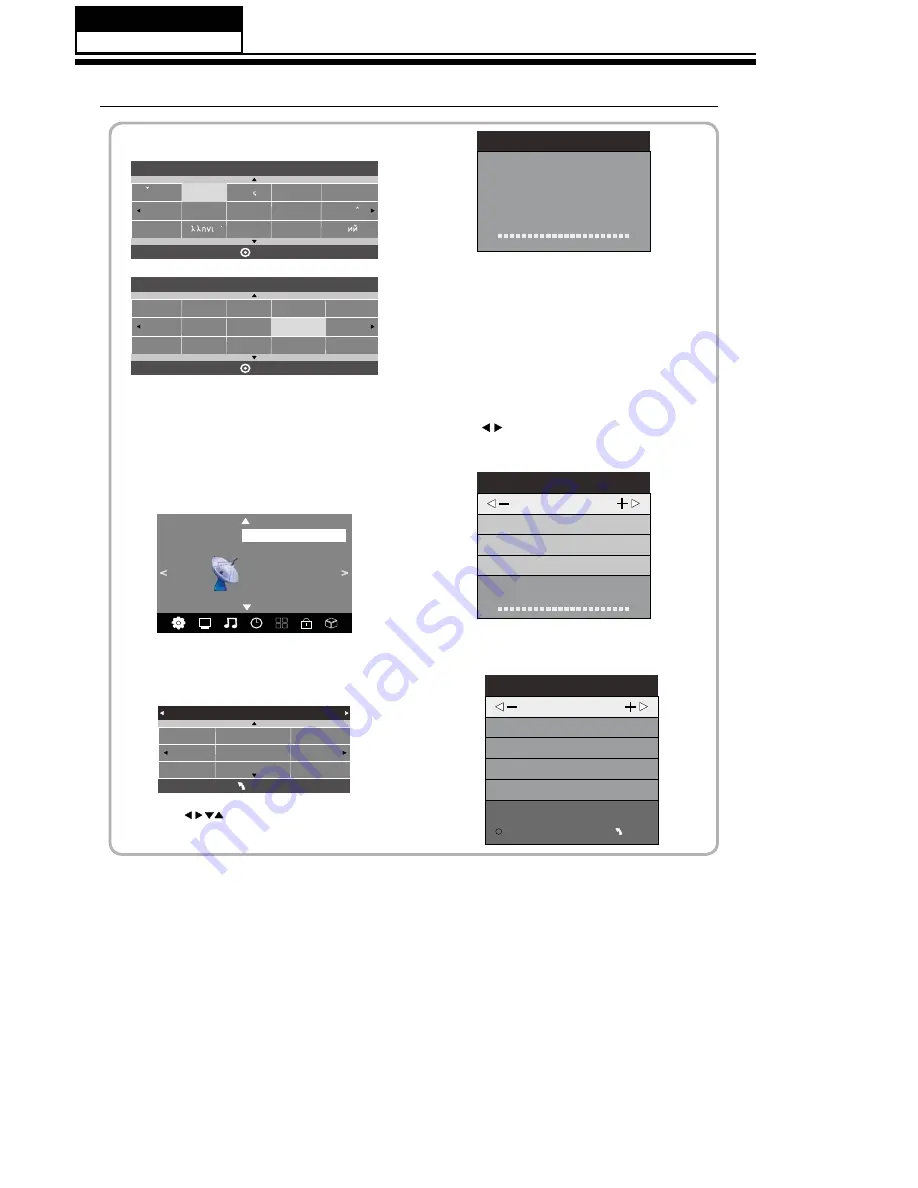
Pls press to select country at first , then
press OK button to start auto tuning .
NOTE:
All the channels including ATV, DTV and Radio
can be tuning by one time,if the Tune Type is
DTV+ATV .
This screen only appear when the TV first time
turn on or reset to factory set.You can choose
language and country, auto turning programs .
And after turning the screen will skip to the first
DTV program.
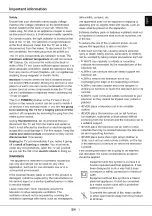
1.CHANNEL MENU
The first item of the MENU is channel menu( for
TV or DTV source only).
You can search channels and edit programs here.
1).Auto tuning:
Search all the channels automatically(you can
select ATV and DTV)
Tune Type DTV+ATV
Germany
Greece
Hungary
Italy
Luxembourg
Netherlands
Norway
Poland
Portugal
MENU
All the stored channels will be disappear after
auto tuning .
After auto tuning , the channel will turn to
the first DTV channel.
2).DTV Manual tuning:
You can select a DTV channel then find the
program in this channel.
Pls press to select the channel , then press
OK to search the programs .
NOTE:
Bad Normal Good means signal intensity.
Switzerland
NewZealand
Norway
Poland
Portugal
Slovenia
Spain
Sweden
Country
OK
Rumania
Russian
Serbia
Morocco
Tunis
Algeria
UK
Dansk
Deutsch
Hrvatski
Italiano
Please select an OSD Language
OK
Magyar
Nederlands
Norsk
Polski
English
Cesky
E k
a
Espanol
~
Fran ais
Portugues
Pycck
Channel Tuning
TV : 0 Programme(s)
DTV : 0 Programme(s)
Radio : 0 Programme(s)
Data: 0 Programme(s)
96% UHF CH 68 DTV
3). ATV Manual tuning :
You can change the sound system to search
the analog TV channels and fine tune the
channels , then storage the channels you
selected.
ATV Manual Tuning
Storage To 1
System BG
Current CH 1
Search
Fine-Tune
Frequency 255.25 MHz
Save MENU
_
+
DTV Manual Tuning
VHF CH 5
_
+
Bad
Nomal
Good
Press OK to search
ATV Manual Tuning
Programme Edit
Signal Information
< >
CHANNEL
Auto Tuning
DTV Manual Tuning
Software Update(USB)
Software Update(OAD)Off
CI Information
Summary of Contents for MHV3902Y-O3
Page 13: ...3 4 LED Panel 12 Service Manual Model No MTC390BLU C01F T390HVN01 ...
Page 16: ...4 3 Remove the main board 0 4 4 Remove the power module 0 Service Manual Model No 16 J20 J15 ...
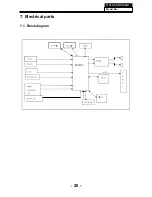
Page 27: ...7 Electrical parts 7 1 Block diagram Service Manual Model No 26 06 ...
Page 45: ...Service Manual Model No 44 9 Trouble shooting 9 1 Simple check ...
Page 47: ...Service Manual Model No 46 3 Panel display abnormally connector j20 is at normal level ...
Page 50: ...Service Manual Model No 49 ...
Page 51: ...Service Manual Model No 50 ...
Page 52: ...Service Manual Model No 51 ...

