20
MENU key to confirm the setting and switch to the next setting. Press “
” key to save the
setting and return to the first setting or exit the channel setting mode.
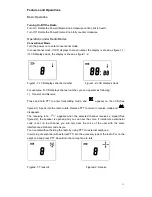
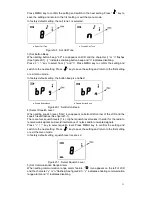
In factory default setting, all the channels are added to scan list.
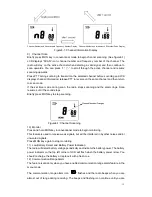
Figure17-1: Channel Scan Add Figure17-2: Channel Scan Delete
Menu Mode
In conventional mode, hold down MENU key to enter menu mode. LCD displays antenna
icon “ ” indicating that transmission/receiving is available. When pressing PTT to transmit,
LCD displays channel information; when releasing PTT, LCD returns to the display before
transmitting.
In this mode, press “+” / “-” key to change setting; press MENU key to save and switch to
the next setting; press “
” key to save and return to the first setting, if the current setting
is the first setting, press “
” key to save and exit.
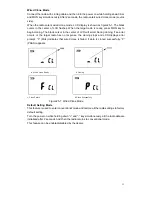
The current setting of menu mode will flash when entering this mode. You can make
settings as following:
1) Set VOX Feature
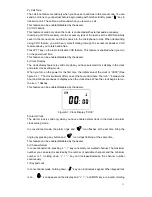
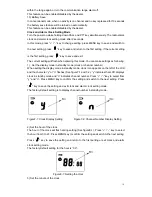
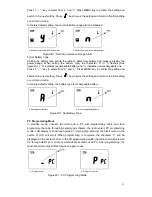
When setting VOX feature, “VOX” icon appears on LCD and the VOX sensitivity level or
character “n” flashes (See figure18-1).
There are five sensitivity levels (level 1 to level 5). The higher the sensitivity level, the lower
audio needed to trigger a transmission. The VOX feature is disabled when “n” is selected.
Press “+” / “-” key to select sensitivity level or disable VOX feature.
Press MENU key to confirm the setting and switch to the next setting. Press “
” key to
save the setting and return to the first setting or exit the menu mode.
In factory default setting, the VOX feature is disabled.
a. Select VOX Sensitivity Level b. Disable VOX Feature
Figure18-1: Set VOX Feature
2) Set Call Tone
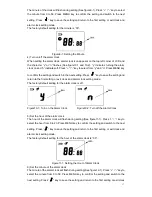
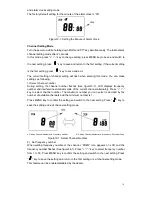
When setting call tone, “
” icon appears on LCD and the call tone number or character
“n” flashes (See figure19-1).
There are five distinct call tones (1-5). The call tone feature is disabled when “n” is
selected.
Press “+” / “-” key to choose from call tones 1-5 or disable call tone. The radio plays a
sample of each call tone as you select them.


