21
Press MENU key to confirm the setting and switch to the next setting. Press “
” key to
save the setting and return to the first setting or exit the menu mode.
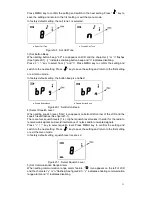
In factory default setting, the call tone 1 is selected.
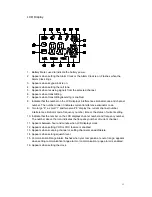
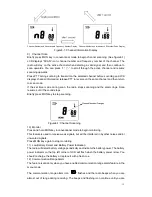
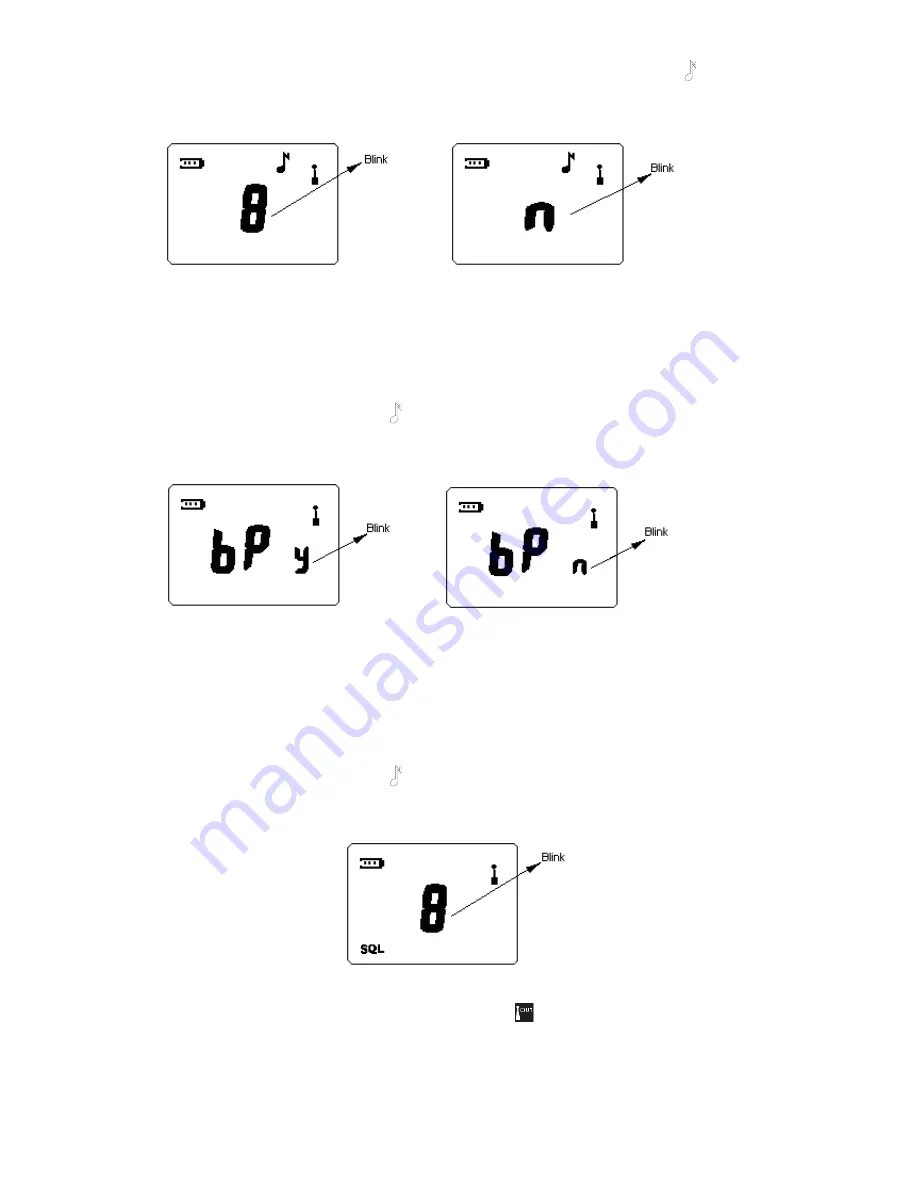
a. Select Call Tone b. Disable Call Tone
Figure19-1: Set Call Tone
3) Set Button Beep
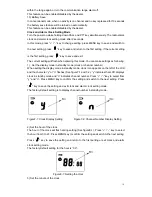
When setting button beep, “bP” icon appears on LCD and the character “y” or “n” flashes
(See figure20-1). “y” indicates enabling button beep and “n” indicates disabling.
Press “+” / “-” key to select from “y” and “n”. Press MENU key to confirm the setting and
switch to the next setting. Press “
” key to save the setting and return to the first setting
or exit menu mode.
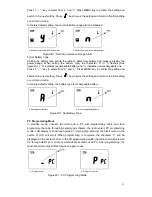
In factory default setting, the button beep is enabled.
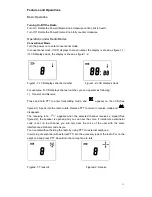
a. Enable Button Beep b. Disable Button Beep
Figure20-1: Set Button Beep
4) Select Squelch Level
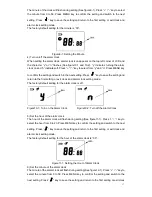
When setting squelch level, “SQL” icon appears on bottom left corner of the LCD and the
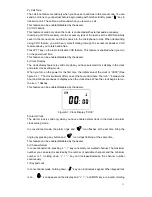
squelch level flashes (See figure21-1).
There are four squelch levels (1-4). Higher squelch level makes it harder for the radio to
receive weak signals and avoid interference of noises and/or unwanted signals.
Press “+” / “-” key to select squelch level. Press MENU key to confirm the setting and
switch to the next setting. Press “
” key to save the setting and return to the first setting
or exit the menu mode.
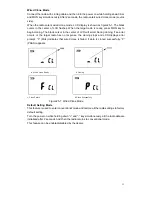
In factory default setting, squelch level is set as 2.
Figure21-1: Select Squelch Level
5) Set Communication Range Alarm
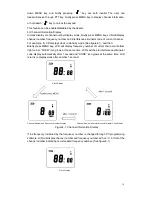
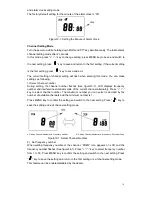
When setting communication range alarm feature, “
” icon appears on the left of LCD
and the character “y” or “n” flashes (See figure22-1). “y” indicates enabling communication
range alarm and “n” indicates disabling.

