22
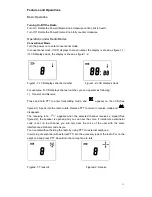
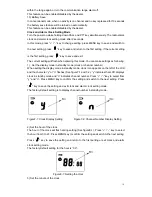
Press “+” / “-” key to select from “y” and “n”. Press MENU key to confirm the setting and
switch to the next setting. Press “
” key to save the setting and return to the first setting
or exit menu mode.
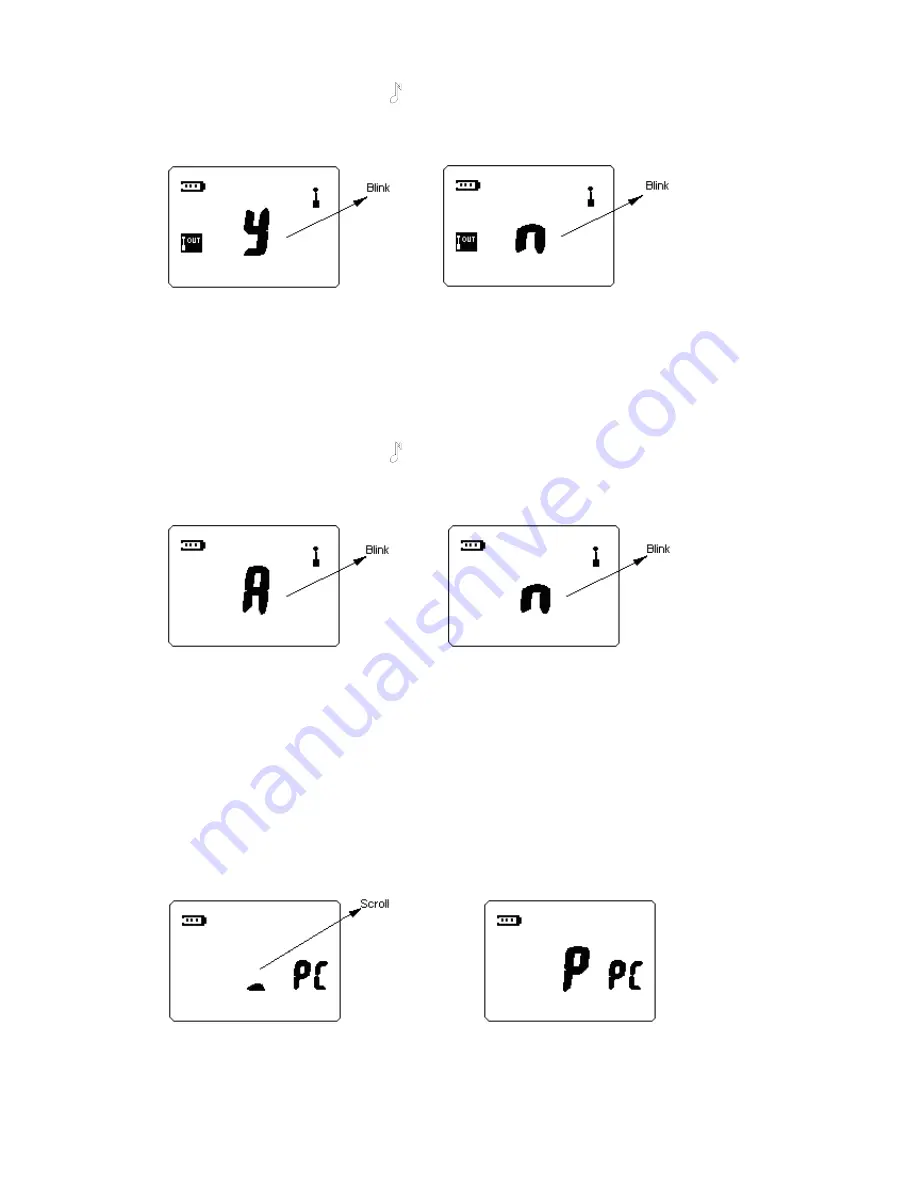
In factory default setting, the communication range alarm is disabled.
a. Enable Communication Range Alarm b. Disable Communication Range Alarm
Figure22-1: Set Communication Range Alarm
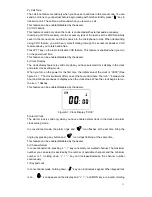
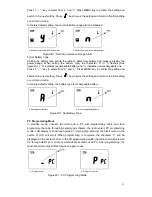
6) Set Battery Type
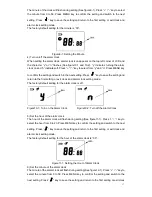
Setting the battery type allows the radio to detect low battery and properly display the
power usage. When setting the battery type, the character “A” or “n” flashes (See
figure23-1). “A” indicates rechargeable battery and “n” indicates non-rechargeable one.
Press “+” / “-” key to select from “A” and “n”. Press MENU key to confirm the setting and
switch to the next setting. Press “
” key to save the setting and return to the first setting
or exit menu mode.
In factory default setting, the battery type is rechargeable battery.
a. Rechargeable Battery b. Non-rechargeable Battery
Figure23-1: Set Battery Type
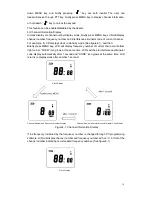
PC Programming Mode
In standby mode, connect the radio and a PC with programming cable and then
programme the radio through programming software, the radio enters PC programming
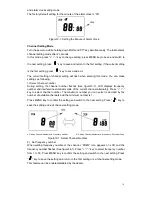
mode. LCD display is shown as figure24-1. During programming, the black cursor in the
center of LCD will scroll. When programming is complete, the character “P” will be
displayed on the center of LCD. In the PC programming mode, the radio communicate with
PC through UART port, all the commands are carried out via PC. After programming, the
radio should be turned off and back on again to use.
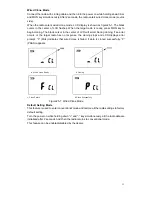
a. Programming b. Programming Over
Figure24-1: PC Programming Mode

