- Page - 4 -
ADVANCED WATER ENGINEERING, INC.
Indian Harbour Beach, FL
www.advancedwater.com
SECTION 2
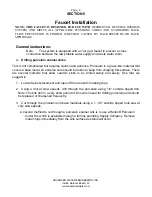
General Instructions
CAUTION: CONNECTING THE SYSTEM TO HOT WATER (OVER 1OO
o
F) WILL DESTROY.
THE MODULE AND VOID THE WARRANTY.
1. PREPARATION
A. The filter assembly should be mounted on or against a vertical surface in a position to allow
access for service and filter cartridge replacement. At the same time: the assembly should be
relatively near the faucet to maximize flow.
B. The storage tank should be located where it can be removed if necessary, but does not take
away needed storage space. The storage tank may be placed on its side.
C. The sink top faucet should be positioned to assure a free-flow into the sink. It must also be
in
a location that allows ready access to the mounting hardware from under the sink.
2. INSTALLATION OF T-VALVE ASSEMBLY
A.
Turn off the Cold Water Supply
B. The
i-Link Ball valve Assembly may be used to make connection to
3/8”
plastic, copper or
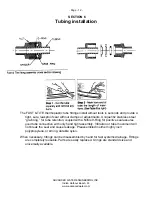
corrugated tubing. To install, carefully cut the tubing with hacksaw or tubing cutter. Usually a
single cut is all that is needed. Remove nuts and rubber grommets from the T-Link. Place
one of the nuts and one of the rubber grommets on each piece of tubing and screw the nuts
onto the T-Link. A slight bend in the tubing might be needed to accommodate the T-Link.
C. Firmly push one end of the 1/4” yellow raw water feed tubing into the valve.
3.
INSTALLATION OF FAUCET ASSEMBLY
Note:
The system is equipped with an “air gap” faucet to prevent a cross connection between
the raw potable water supply and waste water drain.
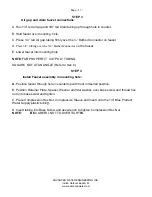
See page 6 for faucet installation and assembly instructions.


