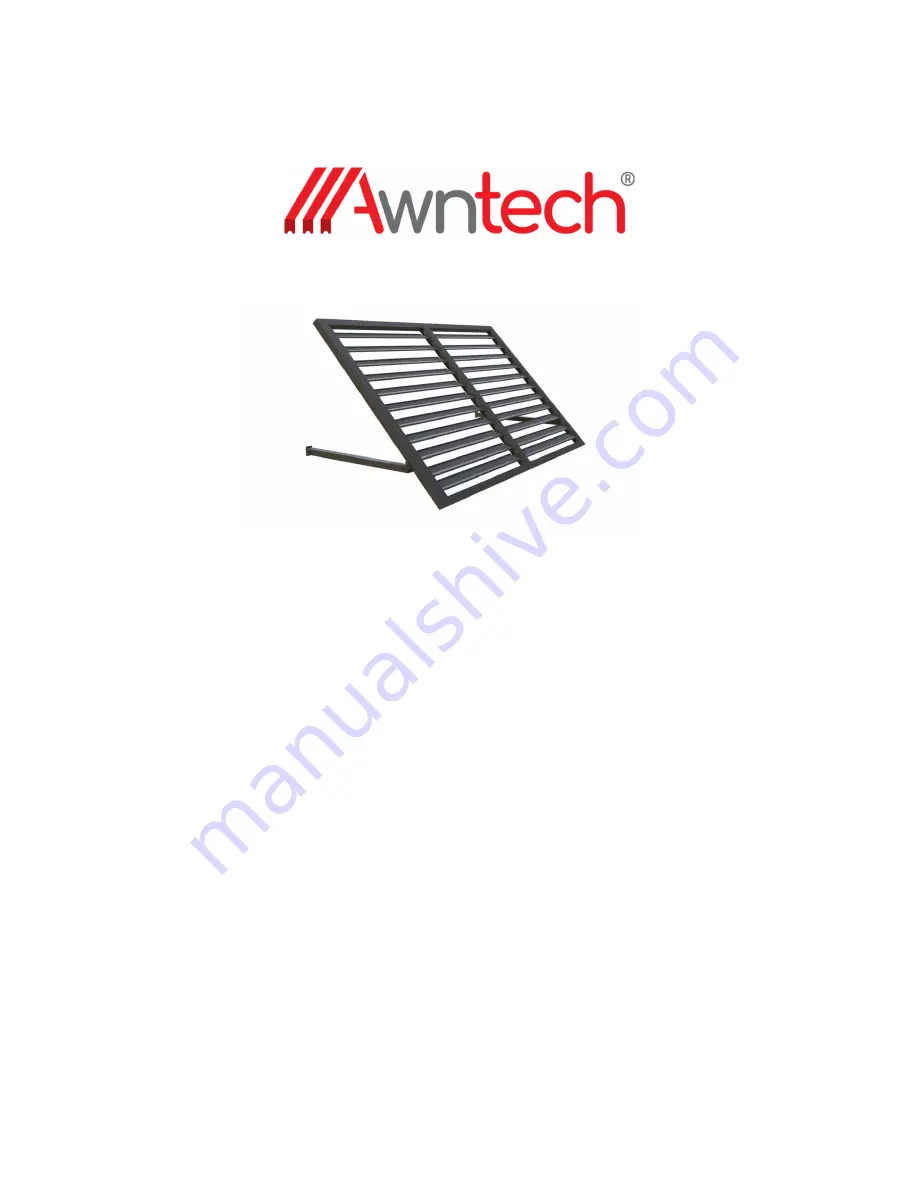
BAHAMA ALUMNINUM SHUTTER STYLE AWNING
OWNER’S MANUAL & INSTALLATION INSTRUCTIONS (For 5ft, 6ft, 7ft, & 8 ft
Widths)
Contents
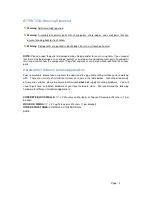
ATTENTION: Warning Statement
....................................................................................................
2
Hardware for different surface applications
.....................................................................................
2
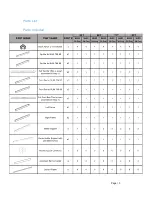
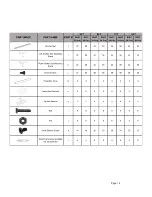
Parts List
..........................................................................................................................................
3
Parts Included:
..............................................................................................................................
3
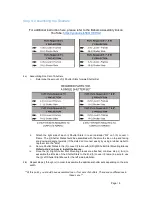
Assembly for 5ft, 6ft, 7ft, and 8ft Width Bahama Awnings
...............................................................
5
Count every part for your specific width and projection
...............................................................
5
Step 1: Assembling the (b3) Full Top Bar and (c3) Full Front Bar
...............................................
5
Step 2: Assembling ¾ of the Bahama Frame
..............................................................................
6
Step 3: Installing the (e)/(e2) Middle Support(s) to the (b3) Full Top Bar
....................................
7
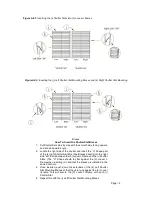
Step 4: Assembling the Shutters
..................................................................................................
8
Step 5: Assemble Shutters onto the Complete Frame
...............................................................
10
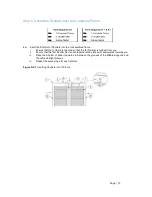
Step 6: Installing the (c3) Front Bar to the (d1/d2) Left/Right Frame, and the Middle Supports.
....................................................................................................................................................
11
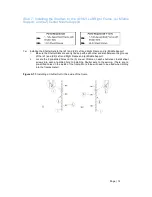
Step 7: Installing the Shutters to the (d1/d2) Left/Right Frame, (e) Middle Support, and (e2)
Center Middle Support
...............................................................................................................
12
Step 8: Attaching the (m) Projection Arms to the (d1/d2) Left/Right Frame
..............................
13
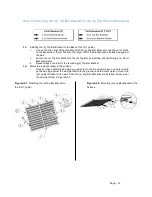
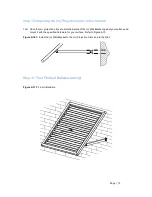
Step 9: Attaching the (q) Top Bar Bracket to the (b) Top Bar and Mounting
..............................
14
Step 10: Attaching the (m) Projection Arms to the Surface
.......................................................
15
Step 11: Your Finished Bahama Awning!
...................................................................................
15
Summary of Contents for BAHAMA
Page 3: ...Page 3 Parts List Parts Included ...
Page 4: ...Page 4 ...


