7
MOUNTING THE AWNING
STEP 9:
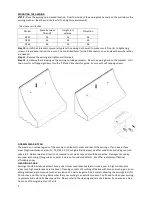
Place the awning on in desired location. From the inside of the awning make a mark on the wall where the
awning touches. (See the chart below for the height measurements)
the sizes are in inches
Model
Space between
TB and P
Height incl
valance
Projection
NT22
24
31
24
NT33
36
44
36
NT44
48
56
48
Step 10:
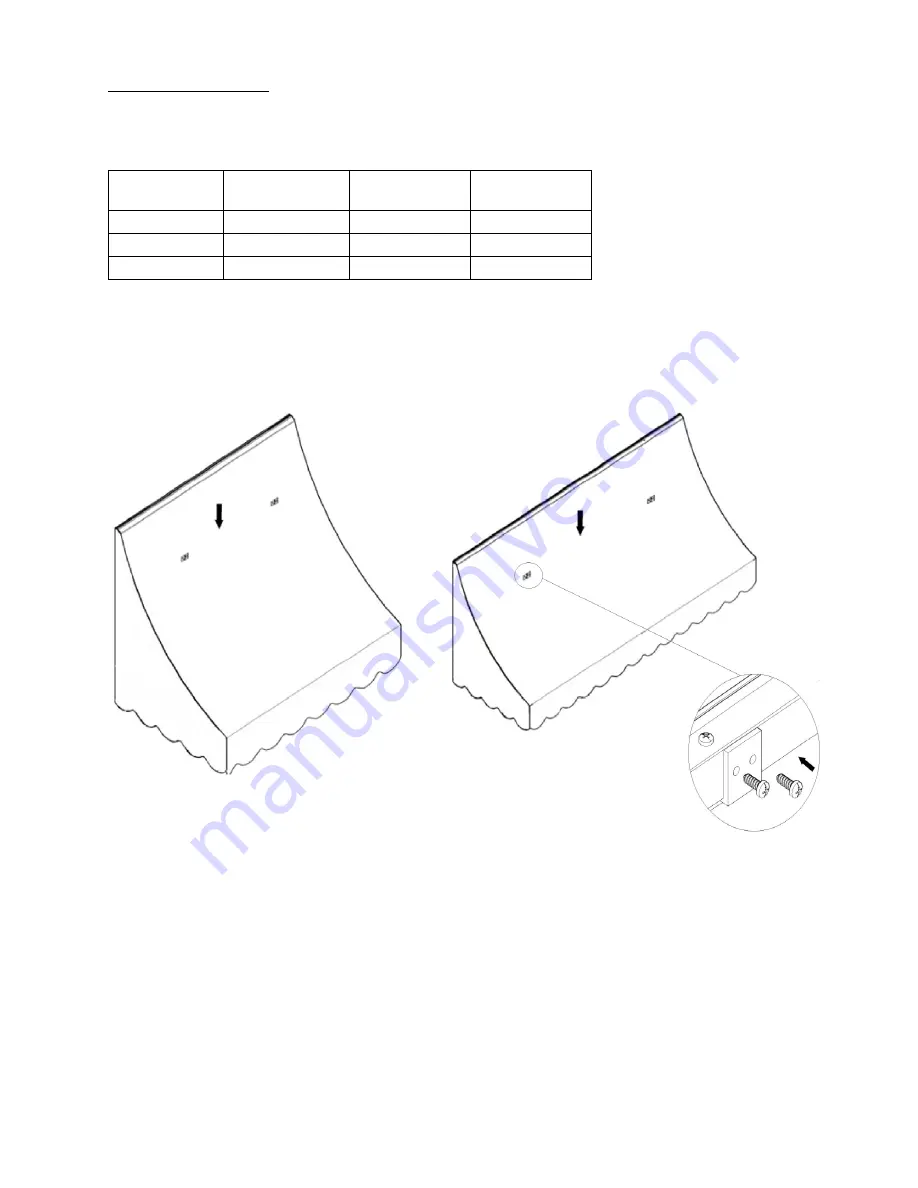
install the Z-Brackets, temporarily place the awning on the wall to make sure it fits prior to tightening
screws. Please keep in mind there won't be pre-drilled holes for the Z-Brackets so you can place them where they
are needed.
Step 11:
Remove the awning and tighten wall brackets.
Step 12:
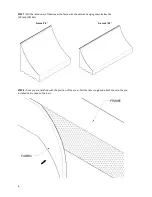
Install weather Stripping on the awning outside parameter. Place the awning back on the brackets. Drill
two holes for self-tapping screws thru the (TP) use Z-Brackets for guide. Secure with self-tapping screws.
NORMAL WEAR & TEAR:
The weather in certain regions of the country contributes to wear and tear of the awnings. If you live in these
areas (High maintenance areas: FL, TX, NM, AZ, NV or high-altitude areas) weather conditions (including sun) can
take a toll. Normal wear and tear is not covered in our warranty and should be expected. Damages caused by
improper anchoring, strong winds, snow or ice are not considered defects. We offer replacement fabric at
affordable prices
CLEANING & CARE:
Awnings should be cleaned at least once a year in low maintenance areas or twice a year in high maintenance
areas (see high maintenance areas above). Cleaning consists of brushing off debris with broom, brushing on a non-
detergent cleaning compound (such as a solution of 1-part vinegar to 1-part water), allowing the awnings to sit for
20 minutes, and then rinsing. Remember that your awning is an exterior product; You’ll need to clean your awning
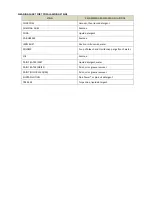
to preserve and extend its beauty and life. Please refer to the cleaning and care chart below if you acquire a stain
from one of the ingredients on the list.


