6: S
ho
w P
ro
fil
es •
9
2
©2016 Axia Audio- Rev 1.8.1
Under the Show Profiles list, you’ll then find four op-
tions:
»
Default Show Profile.
This is the “starter” pro-
file that comes with Element. If you wish, you
can overwrite this with your preferred default
options; otherwise, consider it as “return to zero”
configuration option, for use in returning Ele-
ment to a “blank slate” condition.
»
New Show Profile.
Choose this option when
you want to construct an entire Show Profile
completely from scratch.
»
Capture Show Profile.
Takes a “snapshot” of
the current board state and saves it for recall.
This is the option we’ll use in just a moment.
You’ve already set up your Element, so now you can
just “capture” your settings for further use. Choose
Cap-
ture Show Profile
from the menu. You’ll be prompted
to give your new profile a unique name; after you do, it’ll
be added to the list of available profiles. Voila! You’ve
just created and saved a Show Profile, which can now be
recalled for use whenever you wish.
Note: To avoid accumulating 10^6 show profiles,
your operators cannot arbitrarily capture their own show
profiles. This intentionally controlled by using the pro-
cess described above and by assigning the task to an in-
telligent and responsible person such as the one reading
this manual.
However, there may be a few more options you’d like
to tweak — some options not accessible from Element
itself. Let’s go a little deeper into Show Profiles to find
out exactly what’s available to you.
Suggestion: As part of Element training, show
your talent how to use the Channel Options and
Monitor Options menus (discussed in Chapter
5) to assign sources and set monitor options.
Then, let them set up the board exactly the way
they want it, then use the Capture command to
save their work. This way, talent gets the satis-
faction of personalizing their own Element con-
figuration — and saves you the work!
Show Profile Options
Although the ability to create Show Profiles using El-
ement’s “capture” function is powerful, there are more
options available exclusively via the Element Web inter-
face. You will probably find that a combination of con-
sole setup, capture and Show Profile edit works best.
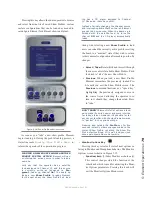
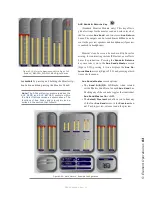
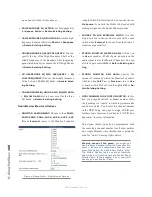
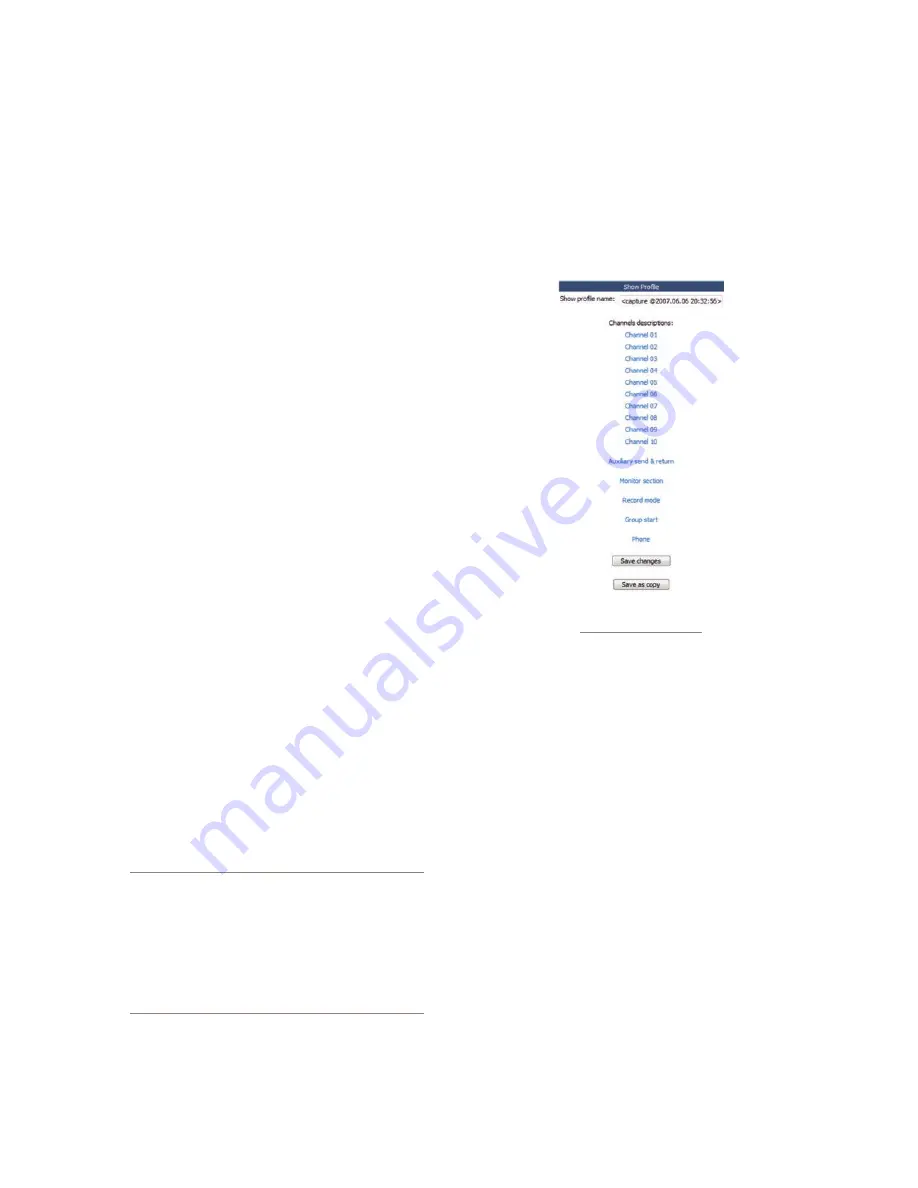
Figure 6-1: Show Profile
Settings Menu
In the last section, we showed you how to capture the
current configuration of your Element, easily creating a
Show Profile, which was immediately added to the Show
Profiles list.
Now, click on that newly created profile. It’s prob-
ably named something like “Capture 2009-2-12 0:800”
— the date and time the capture was made.
You’ll see the menu shown in Figure 6-1. Notice that
there is an entry for each of your Element’s faders, as
well as a link for :
•
Auxiliary Send & Return
•
Monitor Section
•
Record Mode
•
Group Start
•
Phone.
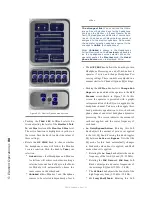
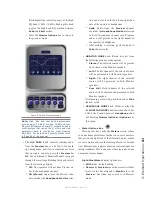
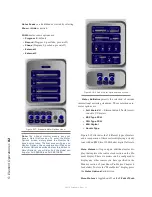
We will now look at these in detail.


