1:
E
le
me
nt
w
ith
S
tu
dio
En
gin
e:
S
et
up
&
C
on
ne
ct
io
ns
•
7
©2016 Axia Audio- Rev 1.8.1
»
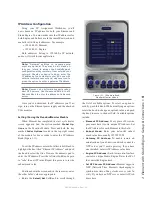
2nd NTP Server IP Address:
Element v2.x
software supports redundant NTP servers. Enter
the IP Address of your backup server here.
»
Web Page User Password:
You can password-
protect your Element’s web server connection by
entering a numeric password here.
Note: If you set a password for HTTP access,
you will not see your password displayed in this
field upon re-entering the IP Address book. This
is a security feature intended to prevent “over-
the-shoulder” password theft.
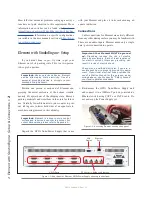
• Rotating the
Action
knob chooses between the fol-
lowing options:
»
Save
stores the changes you’ve made to the IP
Address Book.
»
Undo
reverses any changes you’ve made if you
haven’t yet saved them.
»
Reboot
immediately reboots the Element.
• Press the
Exit
knob to leave the IP Address Book.
Note: After making changes to any Element
IP address settings, you must save the chang-
es and reboot the console. Use the “REBOOT”
soft key to begin an immediate reboot se-
quence.
Remember, you can even reboot Element while
on-the-air, since the audio mixing is not done in
the console but in the Studio Engine; your audio
will continue to play without interruption.
What about monitors and meters, you may ask? The
detailed configuration of timers, clock, monitors and
metering is not included in this basic setup. Please refer
to Chapter 5 - Element Operation where these topics
are discussed in depth.
The next section will walk you through setting up
your StudioEngine.
StudioEngine Quick Setup
Connections
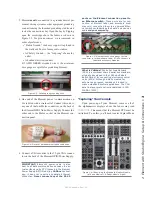
Note: We recommend leaving 1RU of “breath-
ing space” for ventilation above and below the
StudioEngine when you rack-mount the unit.
Using the supplied AC power cord, connect the
StudioEngine to the mains. Route a length of CAT-6 ca-
ble from StudioEngine to a Gigabit port on your studio’s
Ethernet switch, but don’t connect it quite yet.
IP Configuration
1. Power on your StudioEngine; the front-panel display
will indicate the boot-up sequence. When the screen
displays IP address and network connection infor-
mation, push the control knob to call the Main Menu.
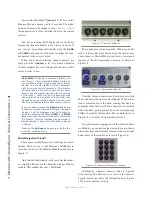
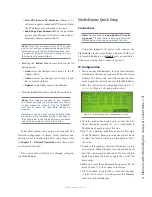
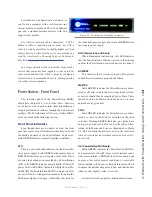
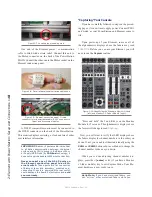
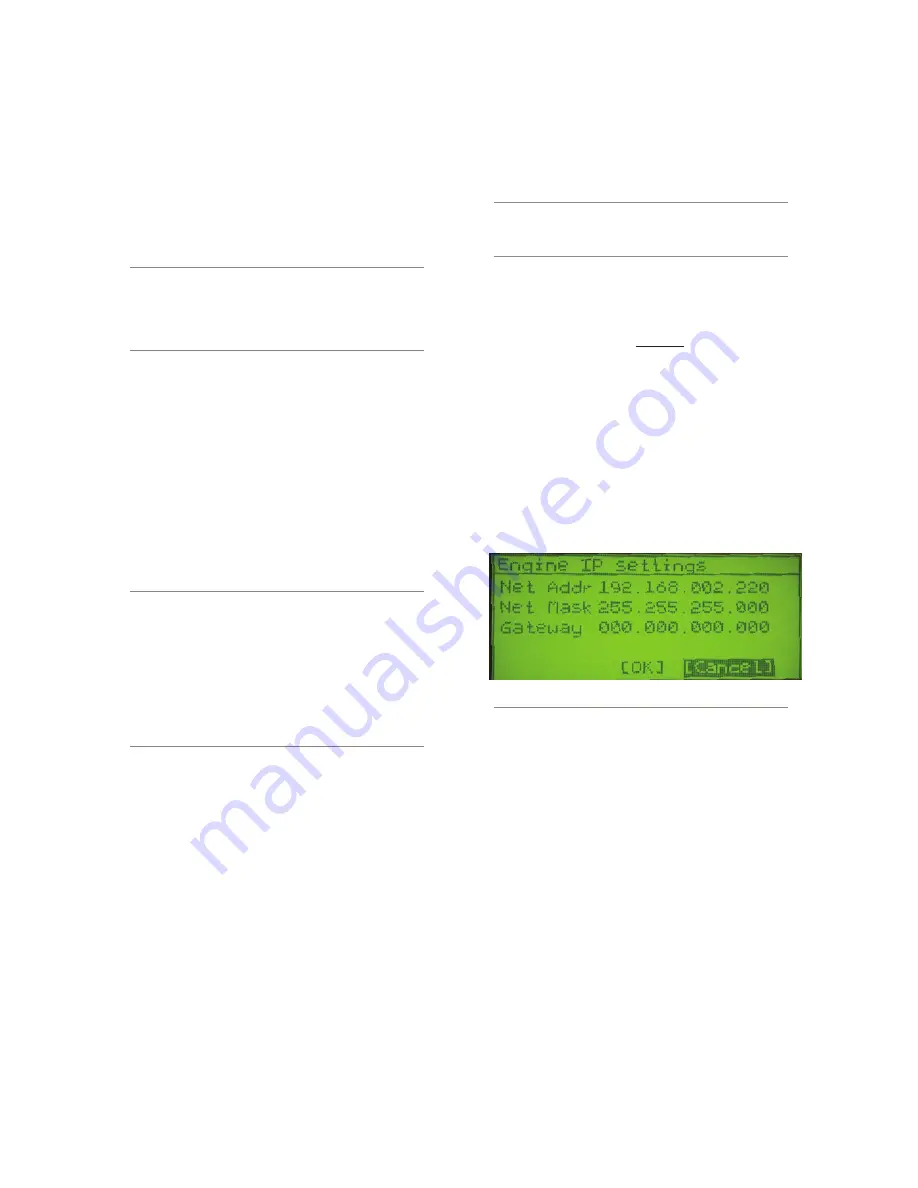
2. Turn the control knob to highlight Option #4,
IP
Settings
(Figure 1-14), and push to select.
Figure 1-14: StudioEngine IP configuration screen.
3. Push the control knob and you’ll see that the first
line of the display (marked
Net Addr
) is underlined.
Push the knob again to select this line.
4. You’ll see a flashing underline under the first digit
of the IP address. Push and rotate the control knob
to select the value for this digit. Push again to “take”
the value.
5. Continue this sequence until your IP address is prop-
erly entered. When finished, turn the control knob
until the check mark at the end of the line is high-
lighted, and push the knob to apply the new IP ad-
dress value.
6. When you’ve set the subnet mask and gateway IP ad-
dress, choose
OK
at the bottom of the screen.
7. You’ll be asked if you’d like to reboot for changes
to take effect. select
YES
and connect the Ethernet
cable to your StudioEngine.


