3: C
on
fig
uri
ng I
np
ut
s •
37
©2016 Axia Audio- Rev 1.8.1
a compressor, when signal level exceeds the
threshold setting, it will be compressed; below
the threshold the signal will remain uncom-
pressed. On a gate, threshold determines the
minimum input level required to cause the gate to
open up and pass signal; when input level drops
below the threshold, the gate will be closed pre-
venting signal from passing. Carefully setting
the threshold allows you to very specifically con-
trol when processing is being applied to a signal.
Compression controls the dynamic range of an
audio signal. It generally reduces the volume of
very loud audio, helping to keep from “blowing
out” the mic channel with too much volume. It
can be used to make your mic channel sound
“fatter,” evening out the highs and lows of your
vocal pattern. It can also increase the overall
perceived fullness of your voice. Too much com-
pression, however, can make your voice sound
hard and “squashed.” Use it sparingly!
To use compression, you must first set your
threshold value (usually expressed in dB). When
the audio signal is louder than this threshold, its
gain is reduced. The amount of gain reduction
applied depends on the Compression Ratio
setting. For example, with a 2:1 ratio, for every
2 decibels the input signal increases, the output
is allowed to increase only 1 decibel.
The Freeze Gate is used to prevent “suck-up”
of room noise during speech pauses. When ac-
tive, gain is not increased by the compressor
when audio is absent. “Freeze” would be the
default, since it almost always improves results.
De-Essing is just what you think it is - a
way to electronically remove extra sibi-
lance from your mic channel. If your mic
is particularly sensitive to “s” and “th-”
sounds and accentuates them on-air, De-
Essing helps reduce these sounds to more
manageable levels. As with compression,
too much de-essing will produce annoy-
ing and
unnatural results - you’ll wind up
sounding like you’re talking through a cot-
ton sock! Stick to small amounts to get
the effect you want.
•
RECORD MODE:
This option allows you
to define how this source is sent to the
PGM-4/Record
bus. (
Record
is a special
pre-on/off, post-fader bus with a special
output for a dedicated recording device.)
»
Stereo
sends both sides of the source
to both sides of the recording device, as
normal.
»
If Phone or Codec Left, otherwise
Right
sends the source to the recorder’s
left channel ONLY if the Source Type
is defined as
Phone
or
Codec.
Any other Source
Type will be fed to the recorder’s right channel.
»
Summed-Mono to Left
sums the left and right
sides of the audio source and sends the summed
signal to the recorder’s left channel.
»
Summed-Mono to Right:
Same as above, but
sends summed audio to the recorder’s right chan-
nel.
That’s the last option. Click on the
Save Changes
button at the bottom of the page.
Congratulations — now you know how to create
Source Profiles! You can now bring up your new sources
on the Element faders.
Adding Backfeeds and GPIO
to a Source
Since making a mix-minus and mapping contact clo-
sures is often done at the same time a new Source Profile
is constructed, let’s briefly recap those procedures. (De-
tailed setup and operation instructions for your GPIO
Nodes and Audio Nodes are found in their respective
User Manuals.)
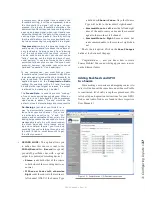
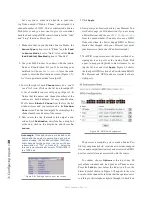
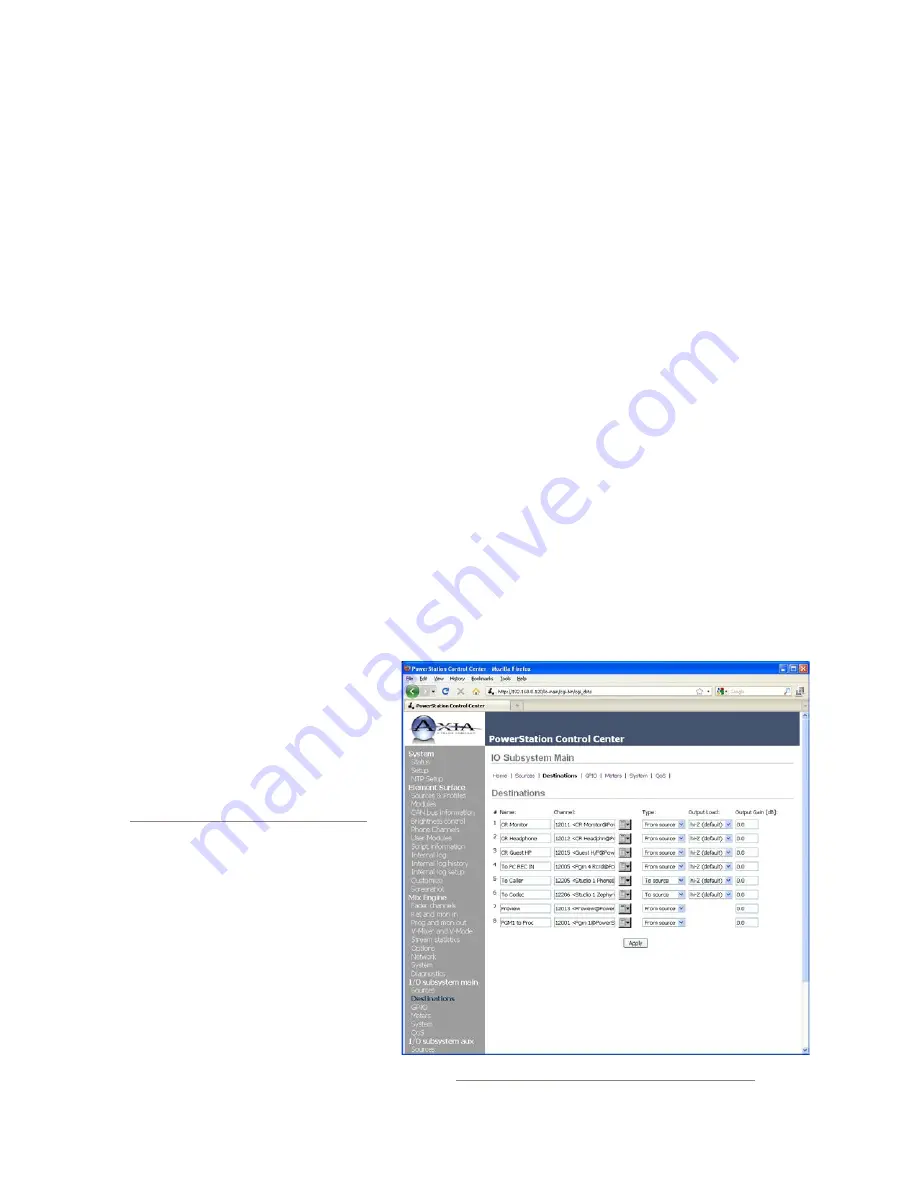
Figure 3-7: PowerStation I/O Destinations screen

