background image

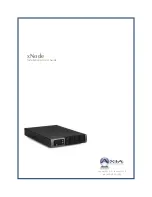
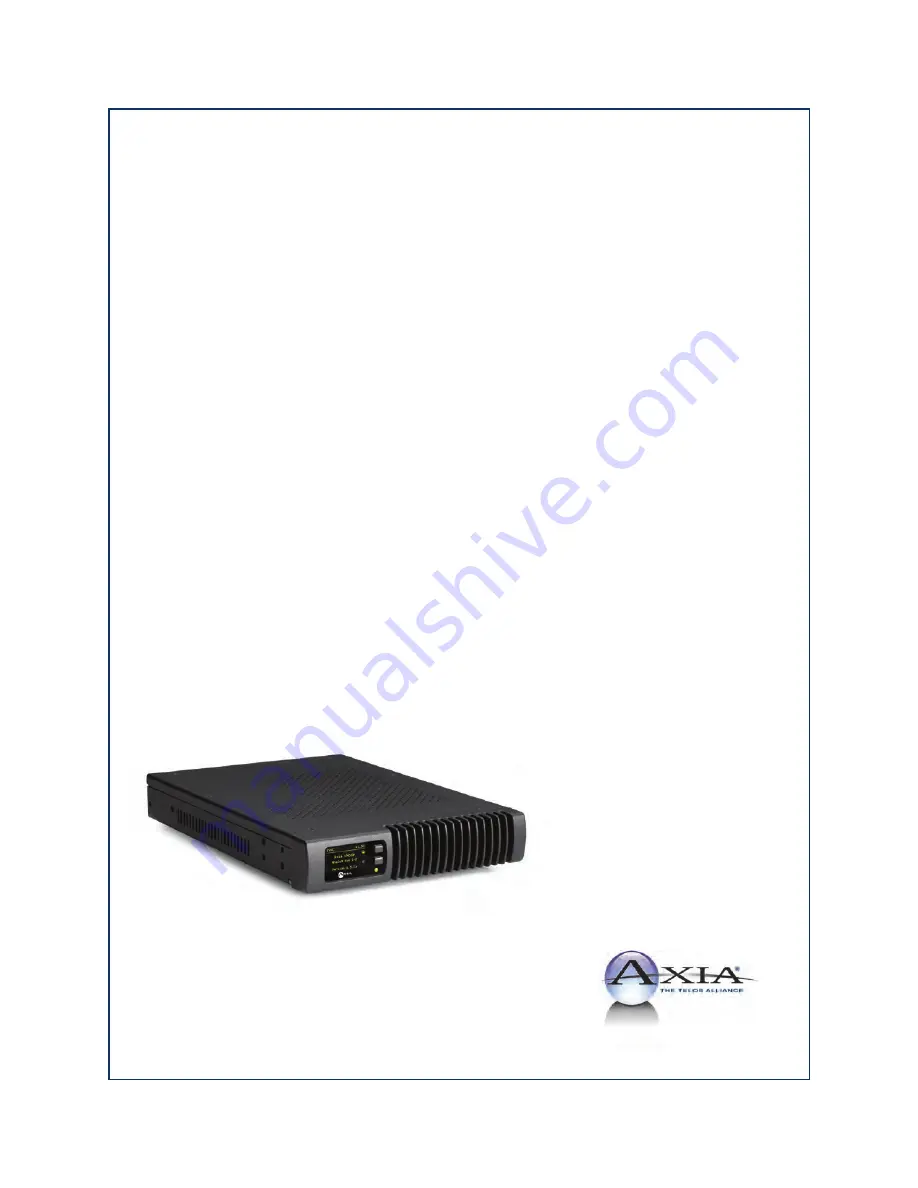
xNode 

Installation & User’s Guide

Manual Rev 2.0 - January 2016

p/n 1490-00081-002

Summary of Contents for xNode

Page 1: ...xNode Installation User s Guide Manual Rev 2 0 January 2016 p n 1490 00081 002...

Page 2: ...ges may still be present on some of the primary parts even when the fuse has blown If fuse replacement is required replace fuse only with same type and value for continued protection against fire WARN...

Page 3: ...en auf einigen prim ren Bauteilen noch gef hrliche Spannungen vorhanden sein Wenn ein Austausch der Sicherung erforderlich ist ersetzen Sie die Sicherung nur mit gleicher Art und Wert f r den kontinui...

Page 4: ...e Note objectionable interference to tv or radio reception can occur if other devices are connected to this device without the use of shielded interconnect cables Fcc rules require the use of shielded...

Page 5: ...e operation of Fusion is determined largely by software We routinely release new versions to add features and fix bugs Check the Axia Audio web site for the latest We encourage you to sign up for the...

Page 6: ...alliance com All other questions please email inquiry telosalliance com VIA WORLD WIDE WEB The Axia Audio web site has a variety of information which may be useful for product selection and support Th...

Page 7: ...ne xNode 28 Rear Panel 29 Chapter Seven GPIO xNode 31 Rear Panel 31 Simple Setup 34 Other Web Interfaces 35 Home 35 System 35 Chapter Eight Mixed Signal xNode 36 Rear Panel 36 Simple Setup 39 Appendix...

Page 8: ...oding and AoIP so that all types of broadcasters can excel in this ever evolving digital world Omnia Audio not only lets you stand out on the dial with your unique signature sound via legendary audio...

Page 9: ...Mic Line Analog Input 2 Analog Line Inputs 1 AES 3 Input 3 Ana log Line Outputs 1 AES 3 Output 2 GPIO Ports each with 5 inputs and 5 outputs Each of the xNodes support IEEE 802 3af power over Ethernet...

Page 10: ...ode 2 2016 Axia Audio Rev 2 0 The Front Panel Figure 1 1 xNode Front Panel The xNode uses the OLED display on the left hand side to provide status information and assist with initialsetup Figure 1 2 x...

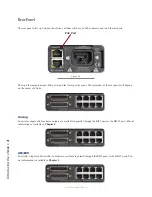
Page 11: ...and the lower port does not The remainder of the rear panel will depend on the model of xNode Analog Four stereo inputs and four stereo outputs are available in parallel through the RJ45 ports or the...

Page 12: ...nterface requires a PC that is on the same network as the xNode and has an IP address within the same subnet Using a web browser the IP address of the xNode is typed into the URL request field Upon ac...

Page 13: ...c from the network A solid SYNC indication represents synchronization with the network Net1 and 2 Status of the network ports and which is the active port Offline Power and Power Over Ethernet Status...

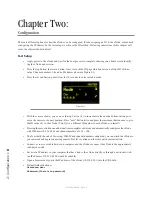
Page 14: ...button to move the cursor to the next position Press next button twice and press the increment button once to give the ID value of 1 to the xNode You ll give a different ID number to each xNode you i...

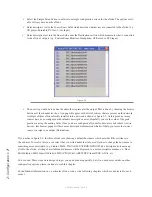
Page 15: ...riptive names Hopefully you see the value of the good practice in using the naming fields Once you have configured all your xNode sources and other Livewire devices this browse popup will have more de...

Page 16: ...o the HTML interface with a PC that has a static IP value within the same subnet as the xNode and connected to the same network Later in this chapter the Simple Setup HTML interface is covered Each fo...

Page 17: ...nter at the bootstrap configuration button will appear when a bootp request is received by iProbe version 1 2 Clicking on the button will open the Device Bootstrap and Configuration window From the wi...

Page 18: ...button immediately to the right to search the network for the desired source Selecting the source from the pop up window will populate the channel value of the Destination field The GPIO section provi...

Page 19: ...ional accessories All xNodes have a common user interface with settings for advanced configuration and maintenance Mounting Optional Surface Mount kit The optional surface mount kit p n 2011 00077 con...

Page 20: ...luded screws in the desired configuration Figure 3 2 Outward configuration Figure 3 3 Inward configuration Optional Rack Mount kit The optional rack mount kit p n 2011 00076 provides the ability to se...

Page 21: ...er Single xNode Secure the short rack ear to one side of the xNode Secure the long ear to the opposing side of the xNode Figure 3 8 Double xNode Remove the top lid from both xNodes Place two xNodes si...

Page 22: ...shown if ID assigned An xNode can be assigned an ID which is used to assist with IP addressing and channel numbering Software Version The code version which is used by the xNode Temperature The temper...

Page 23: ...rations Figure 3 11 Web interface Advanced options Advanced options are mainly used in Audio xNodes The following are the links that are found under the Advanced classification System The System page...

Page 24: ...is to be Livewire enabled and which is the management port NTP server Specify the sync server if using NTP as the synchronization source This mode of sync is only good for Standard streams and used f...

Page 25: ...ock PTP IEEE 1588 slave enables the xNode to synchronize to a PTP network There are various options in the PTP category to allow the node to be a master of both PTP and the Livewire network or to be a...

Page 26: ...clicks To resolve this each device would need a unique slot value For most facilities the 0 value will be suitable Live Audio Clock Streams These options define the tagging of the packet for Live Aud...

Page 27: ...at the top right Now the viewer can left click a cross point and a pop up appears for setting the cross point at 0dB unity gain setting with a specific gain or clear the cross point Figure 3 13 The m...

Page 28: ...etwork stream source is the sum of three AES EBU inputs as shown in figure 3 15 Figure 3 15 Notice that the name of the fifth output is changed and this is accomplished by entering text into the Sourc...

Page 29: ...till be more common but it is important to point out this new distinction in order for you to understand the mixer functionality of 2 0 Figure 3 16 The first column is the Name field used for document...

Page 30: ...Gain column provides adjustment of 72dB to 24dB for line level audio and 77dB for microphone audio inputs When a source is enabled through the stream mode an RTSP link will appear under the Source ro...

Page 31: ...to destination 4 The basic setup establishes four bidirectional streams If the needs are for less audio links bandwidth utilization can be reduced if the settings are customized This is done by disab...

Page 32: ...4 1 Analog xNode Rear Panel The analog xNode uses RJ45 style connectors and 25 pin D sub connectors for audio I O providing an option to either use standard CAT5e patch cables or D Sub breakout cable...

Page 33: ...1 Channel 4b 8 2 Channel 4b 8 Gnd 3 Channel 4a 7 4 Channel 3b 6 5 Channel 3b 6 Gnd 6 Channel 3a 5 7 Channel 2b 4 8 Channel 2b 4 Gnd 9 Channel 2a 3 10 Channel 1b 2 11 Channel 1b 2 Gnd 12 Channel 1a 1 1...

Page 34: ...tion is available to create an AES stream Left and Right which is composed from two dif ferent Livewire streams Rear Panel Figure 5 1 AES xNode Rear Panel The AES xNode uses RJ45 style connectors and...

Page 35: ...d 2 Not Used 3 Not Used 4 Not Used 5 Not Used 6 Not Used 7 AES Ch4 8 AES Ch4 Gnd 9 AES Ch3 10 AES Ch2 11 AES Ch2 Gnd 12 AES Ch1 13 Not Used 14 Not Used 15 Not Used 16 Not Used 17 Not Used 18 Not Used...

Page 36: ...treams Rear Panel Figure 6 1 Microphone xNode Rear Panel The microphone xNode uses RJ45 style connectors and 25 pin D sub connectors for audio I O providing an option to either use patch cables or bre...

Page 37: ...TION 1 Not Used 2 Not Used 3 MIC Ch4 4 Not Used 5 Not Used 6 MIC Ch3 7 Not Used 8 Not Used 9 MIC Ch2 10 Not Used 11 Not Used 12 MIC Ch1 13 Not Used 14 Not Used 15 MIC Ch4 16 MIC Ch4 Gnd 17 Not Used 18...

Page 38: ...annel 3b 6 Gnd 6 Channel 3a 5 7 Channel 2b 4 8 Channel 2b 4 Gnd 9 Channel 2a 3 10 Channel 1b 2 11 Channel 1b 2 Gnd 12 Channel 1a 1 13 Not Used 14 Channel 4b 8 15 Channel 4a 7 16 Channel 4a 7 Gnd 17 Ch...

Page 39: ...0mA Each GPI pin should be limited to 20mA of current The web interface provides configuration control as well as a real time view on each of the GPI and GPO pins through a Java script in the web inte...

Page 40: ...f the equipment being controlled is electrically isolated than the use of the GPIO port s power supply is acceptable Figure 7 3 Figure 7 4 Axia GPIO accessory modules are designed to interface directl...

Page 41: ...two units in question have the same ground potential or ground loops will occur Therefore it is recommended that only one remote device be connected to each I O port connector to assure complete elect...

Page 42: ...routing the GPIs of a port to another port s GPOs This is done by entering in the IP address of the device with a GPIO port followed by a forward slash and the port number 10 216 0 121 5 equates to p...

Page 43: ...e device ID software version system temp net work interface status power supply status and uptime There is no sync information as in other xNodes because the GPIO xNode is not an audio device and ther...

Page 44: ...r for the selectable Mic input Figure 8 1 GPIO xNode Rear Panel The top 4 RJ 45 style ports are inputs three analog inputs followed by one AES EBU input The bottom 4 RJ 45 style ports are outputs thre...

Page 45: ...rce and power source ground Figure 8 2 The maximum allowed external power supply for logic control is 48 volts DC The use of current limiting resistor is required for some voltages INPUT VDC External...

Page 46: ...nnector on the back of an accessory module is a direct pin to pin match to the GPIO port of the xNode Premade cables of this configura tion are commonly available through companies that specialize in...

Page 47: ...black box A low state active is represented by a green state Configuration of a port can be accomplished in three different ways 1 Port routing The GPI activity on a port will trigger the GPO of the p...

Page 48: ...en channel is OFF TALK to Monitor 2 Lamp 3 Open Collector to Logic Com mon Return Illuminates when TALK TO MON2 is active MUTE Lamp 4 Open Collector to Logic Com mon Return Illuminates when MUTE is ac...

Page 49: ...3 Open Collector to Logic Com mon Return Illuminates when TALK is active MUTE Lamp 4 Open Collector to Logic Com mon Return Illuminates when MUTE is active NOT CONNECTED 5 POWER COMMON Source Common 7...

Page 50: ...TALK to MONITOR 2 Lamp 3 Open Collector to Logic Com mon Return Illuminates when TALK to MON2 is active MUTE Lamp 4 Open Collector to Logic Com mon Return Illuminates when MUTE is active TALK to PREVI...

Page 51: ...uminates when PREVIEW is ON START Pulse 4 Open Collector to Logic Com mon Return A 100 msec pulse when the channel status changes from OFF to ON STOP Pulse 5 Open Collector to Logic Com mon Return A 1...

Page 52: ...to Logic Com mon Return Illuminates when TALK is active MUTE Lamp 4 Open Collector to Logic Com mon Return Illuminates when MUTE is active TALK to SOURCE Lamp 5 Open Collector to Logic Com mon Return...

Page 53: ...is ON START Pulse 4 Open Collector to Logic Com mon Return A 100 ms PULSE is sent when channel is first turned ON or when PVW is first selected STOP Pulse 5 Open Collector to Logic Com mon Return A 10...

Page 54: ...m mon Return Illuminates when PREVIEW is active TALK TO EXT Lamp 4 Open Collector to Logic Com mon Return Illuminates when Talk to External is active TALK to CR Active Lamp 5 Open Collector to Logic C...

Page 55: ...ic Com mon Return Illuminates when PREVIEW is ON START Pulse 4 Open Collector to Logic Com mon Return A 100 ms PULSE sent when channel is first turned ON STOP Pulse 5 Open Collector to Logic Com mon R...

Page 56: ...Bu Maximum Output Level 24 dBu Digital Audio Inputs and Outputs Reference Level 4 dBu 20 dB FSD Impedance 110 Ohm balanced Signal Format AES3 AES EBU AES3 Input Compliance 24 bit with sample rate conv...

Page 57: ...ut Digital Input to Analog Output 0 004 1 kHz 6dBFs input 18dBu output Digital Input to Digital Output 0 0003 1 kHz 20dBFs Crosstalk Isolation Stereo Separation and CMRR Analog Line channel to channel...

Page 58: ...o use IEEE1588 network time protocol standard The Synchronization and QoS page of the xNode provides the controls to establish the xNode as a system PTP master or slave to a grand master Clock mode op...

Page 59: ...r settings will work if the receiver supports different frame sizes in addition to the required 1ms Figure App 1 Example of a 2 channel 24 bit 1ms frame multicast stream to group 238 194 0 1 The Sessi...

Page 60: ...connections There are a few possible scenarios Receive only connection SIP Invitation with recvonly attribute specified in the SDP block After answering xNode will start sending stream to the origina...

Page 61: ...the current status If no triangle is shown the Source and Destination port is not configured for Unicast If the triangle is blinking the port is configured for Unicast but there is no active connecti...

Page 62: ...mmend the use of an uninterruptible power supply UPS with all of our Products Telos products are to be used with registered protective interface devices which satisfy regulatory requirements in their...

Page 63: ...duct to and from the end user s location Telos will then in its sole discretion repair or replace the warranted Product at Telos expense Telos also reserves the right if it is not economically justifi...

Page 64: ...Axia Audio a Telos Alliance Company 1241 Superior Ave Cleveland Ohio 44114 USA 1 216 241 7225 TelosAlliance com 2016 TLS Corp Axia The Telos Alliance All Rights Reserved F16 16018...

Reviews: