1: I
nt
ro
du
ci
ng t
he x
Sw
itc
h •
1
©2013 Axia Audio
Chapter One:
Introducing the xSwitch
The xSwitch is a member of the xNode family, com-
pact half-rack Livewire devices. The xSwitch is intended
to be used with Livewire devices and thus has been con-
figured for the customer, with almost no setup required!
The Front Panel
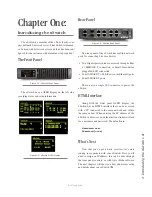
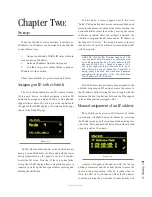
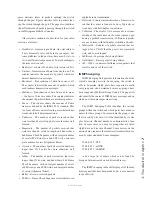
The xSwitch has an OLED display on the left side
providing status and setup information.
Rear Panel
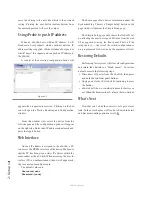
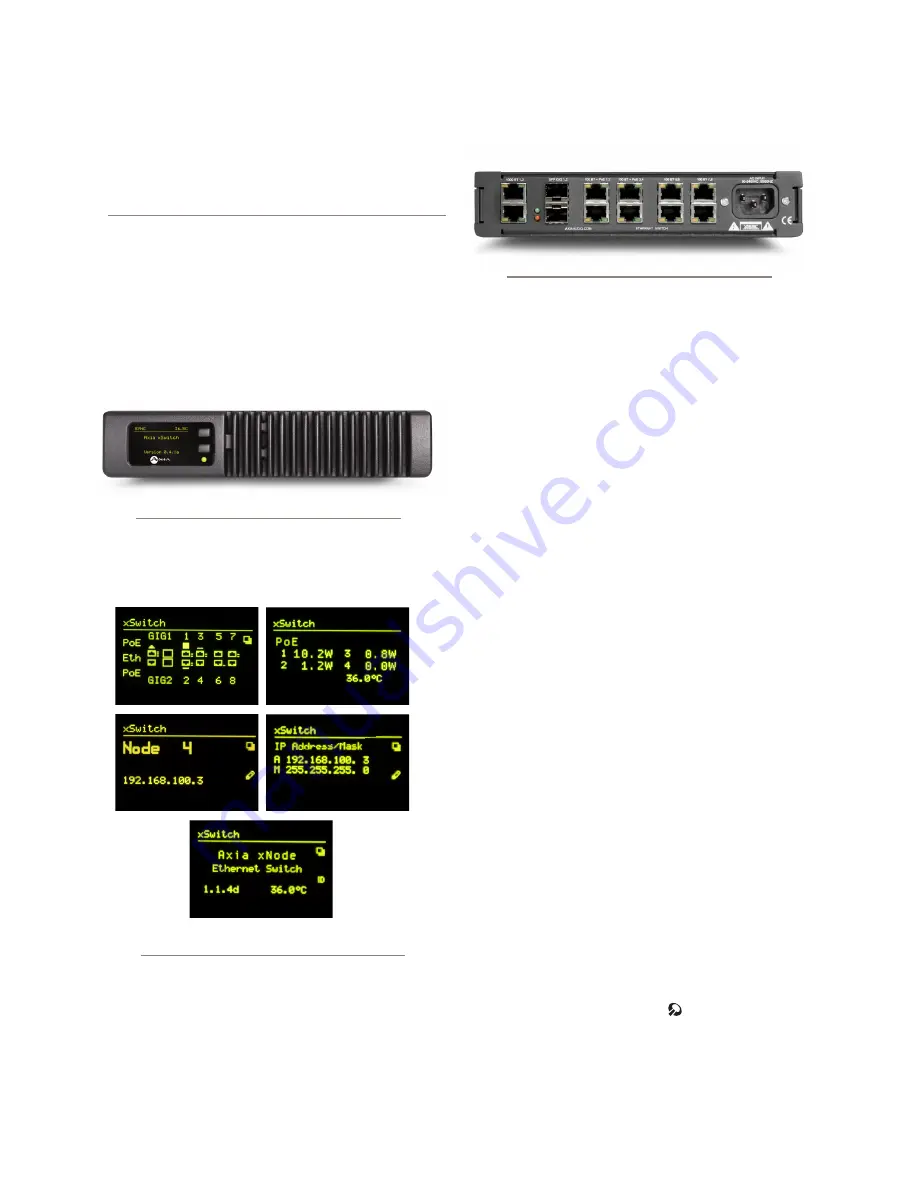
The rear panel of the xSwitch has multiple network
ports for connecting Livewire devices:
• Two Gigabit ports which are accessed through either
a 1000BASE-T connection or Small-Form-Factor
pluggable (SFP) connection.
• Four 100BASE-T + PoE (Power over Ethernet) ports
• Four 100BASE-T ports
There is also a single IEC connector to power the
xSwitch.
HTML Interface
Along with the front panel OLED display, the
xSwitch has an HTML interface that can be accessed
with a PC connected to the same network and within
the same subnet. When entering the IP address of the
xSwitch in a browser, an authentication window will ask
for a username and password. The defaults are:
Username: user
Password: (none)
What’s Next
Now that you’ve got a basic overview, let’s start
routing some packets with your xSwitch! First, you’ll
need to assign an IP address; this can be done through
the front panel controls, or with Axia iProbe software.
The next chapters will show you how and discuss setup
and details about your xSwitch.
Figure 1-1: xSwitch Front Panel
Figure 1-3: xSwitch Rear Panel
Figure 1-2: xSwitch OLED Display


