21 |
A x i o m T o o l G r o u p
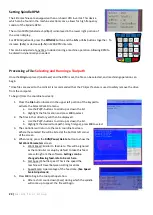
Setting Work Origin
:
Creating an
Origin
will establish a zero point or reference point from which the machine will perform the cutting
process set in the toolpath.
The
Origin
should match the zero point (datum) of the uploaded toolpath created in the design software.
An Origin for both the X & Y axes and the Z axis need to be set before beginning operation of a 3-Axis file. Failure
to set both Origins may result in damage to the machine or the cutting tool.
To set the
Origin
:
1-
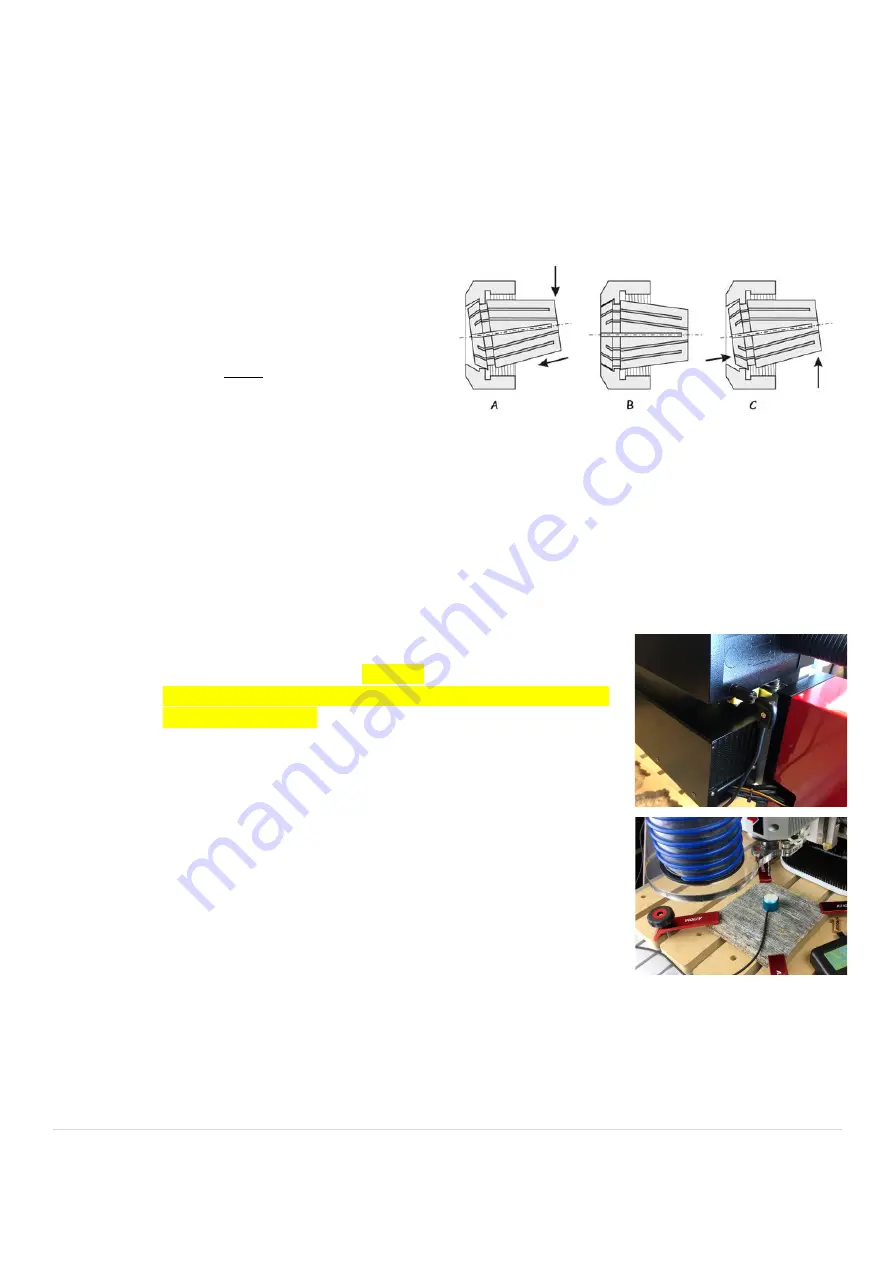
Make sure the collet is properly inserted into the
collet-nut before being threaded onto the
machine. Then insert the tooling into the collet
and tighten using the included wrenches.
a.
Use only ER-20 collets, of the correct size
matching the shaft diameter of the
selecting tooling.
2-
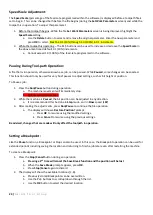
Move the spindle or router to the desired location using the X and Y directional buttons.
a.
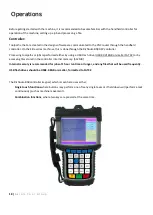
Remember that the controller can be switched between movement speeds using the
F SP & L SP
settings.
Step
mode or grid movements can be used to place the bit more accurately for the
Origin
placement.
b.
This location is typically one of the corners of the work material or the exact center point.
3-
Press
X/Y-0
to set the
Origin
for the X and Y axes.
a.
This will instantly change the displayed coordinates of the X and Y axes to 0.00
4-
There are several ways to set the
Z-0
or
Z-axis
Origin
, which may change depending on the material or
router bit that is being used.
a.
Using the provided tool touch-off device. Which plugs into the back
of the gantry on
HOME
side.
(AR8 Elite)
.
*Plug placement for the AR16 Elite can be found on the left side of
the upper Z-Axis cover.
i.
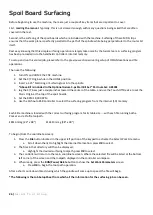
Place the device on top of the material, centered under the
cutting tool.
It is recommended to use the top of the material,
however, be sure to select this in the design software
when setting up the material parameters.
ii.
With material that is not uniform in thickness, the top of the
spoil board may be used for the tool touch-off device
placement.
Again, be sure that the selection in the software matches
the chosen location of the device.
b.
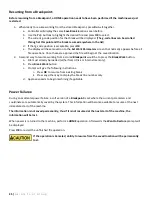
Once the device is in place and centered under the bit, press the
Tool Set
button to start the
procedure. The router head will then slowly lower until the bit contacts the device and then return
to a raised position. The
Z-axis Origin
is now programmed.
i.
The bit may make contact, raise just slightly and slowly lower again to calibrate. This is a
normal occurrence and may happen randomly.
Summary of Contents for AR16 ELITE
Page 1: ...AR8 16 ELITE MANUAL Axiom Tool Group Inc All rights reserved Rev 1 2 2020 ...
Page 46: ...46 A x i o m T o o l G r o u p AR8 Elite Part List ...
Page 47: ...47 A x i o m T o o l G r o u p ...
Page 48: ...48 A x i o m T o o l G r o u p ...
Page 49: ...49 A x i o m T o o l G r o u p ...
Page 50: ...50 A x i o m T o o l G r o u p ...
Page 51: ...51 A x i o m T o o l G r o u p ...
Page 52: ...52 A x i o m T o o l G r o u p ...
Page 53: ...53 A x i o m T o o l G r o u p ...
Page 54: ...54 A x i o m T o o l G r o u p ...
Page 55: ...55 A x i o m T o o l G r o u p AR16 Elite Part List ...
Page 56: ...56 A x i o m T o o l G r o u p ...
Page 57: ...57 A x i o m T o o l G r o u p ...
Page 58: ...58 A x i o m T o o l G r o u p ...
Page 59: ...59 A x i o m T o o l G r o u p ...
Page 60: ...60 A x i o m T o o l G r o u p ...
Page 61: ...61 A x i o m T o o l G r o u p ...
Page 62: ...62 A x i o m T o o l G r o u p ...
Page 63: ...63 A x i o m T o o l G r o u p ...
Page 64: ...64 A x i o m T o o l G r o u p ...

