22 |
A x i o m T o o l G r o u p
c.
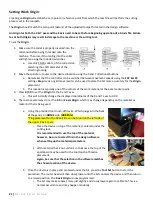
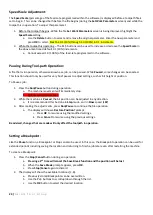
More fragile bits may require that the
Z-Axis Origin
be set manually without the use of the touch-off
device to prevent the tooling from breaking. To set the
Z-0
point manually:
i.
Place the controller into
Step
mode, and slowly lower the router head while rotating the
tooling by hand until resistance is felt as the bit contacts the workpiece.
ii.
For more precise placement, use a thin piece of paper. Slide the paper back and forth on the
material until drag is felt as the tooling presses against the paper and material.
iii.
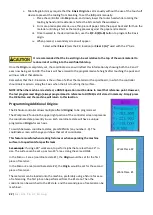
Once lowered to the desired location, use the
Z/C-0
(Z/A-0)
button to program the Z-axis
origin.
iv.
When pressed, a secondary screen will appear.
Select either
Clear Z
(sets the Z-0 location) or
Clear C (A)
*used with the 4
th
Axis.
It is recommended that the Z-axis Origin be set relative to the top of the work material to
reduce risk of cutting into the sacrificial tabletop.
Once the
Origin
is completely set, the coordinate screen will reflect this information by showing both the X and Y
axes now being set to 0.00. The Z-axis will have raised to the programmed safe height after touching the puck and
will now reflect that distance.
Remember that the Z-0 location is the surface of either the material or the spoil board, in which the controller
should only read zero along the Z axis when the bit is touching that surface.
NOTE: When the machine is restarted, a HOME operation must be done to reset that reference point. However,
the last programmed Origin (always programmed in reference to HOME) is still stored in memory. Simply press
the OK button and the machine will return to this location.
Programming Additional Origins:
The RichAuto controller allows multiple offsets (
Origins
) to be programmed.
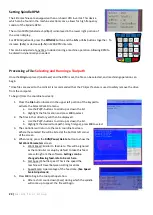
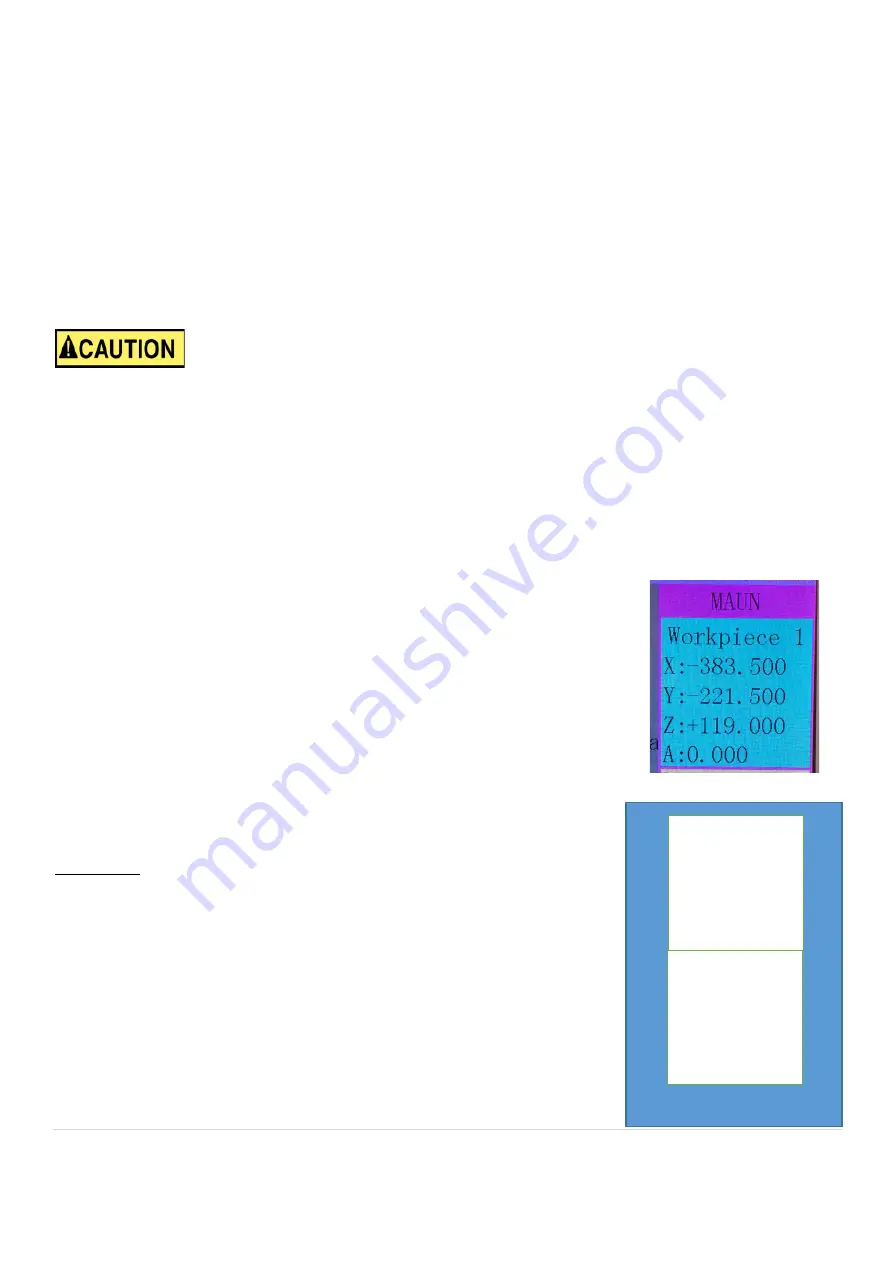
The Workpiece # found in the upper right portion of the controller screen represents
the coordinate state presently in use. Each coordinate state will have a unique
programmed
Origin
for each axis.
To switch between coordinate states, press MENU & (any number 1-9). The
coordinate screen will change and show that set of coordinates.
This feature is useful when creating fixtures or when separating the machine
surface into quadrants for specific tasks.
For example
: If using a 48” work area, to perform jobs that are less than 24” in
size. The surface can be set up as two 24” areas. Using the same HOME.
In the Menu + 1 area (coordinate state #1), the
Origin
would be set for the first
piece of material.
In the Menu +2 area (coordinate state #2), the
Origin
would be set for the second
piece of material.
The materials can be loaded onto the machine, preferably using a fixture for ease
of referencing. The first job can be performed from the #1 state. Then the
controller can be switched to the #2 state, and the second piece of material can be
machined.
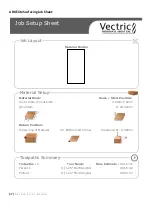
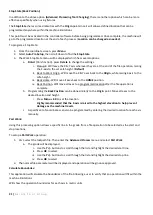
Work Piece #1
Work Piece #2
Summary of Contents for AR16 ELITE
Page 1: ...AR8 16 ELITE MANUAL Axiom Tool Group Inc All rights reserved Rev 1 2 2020 ...
Page 46: ...46 A x i o m T o o l G r o u p AR8 Elite Part List ...
Page 47: ...47 A x i o m T o o l G r o u p ...
Page 48: ...48 A x i o m T o o l G r o u p ...
Page 49: ...49 A x i o m T o o l G r o u p ...
Page 50: ...50 A x i o m T o o l G r o u p ...
Page 51: ...51 A x i o m T o o l G r o u p ...
Page 52: ...52 A x i o m T o o l G r o u p ...
Page 53: ...53 A x i o m T o o l G r o u p ...
Page 54: ...54 A x i o m T o o l G r o u p ...
Page 55: ...55 A x i o m T o o l G r o u p AR16 Elite Part List ...
Page 56: ...56 A x i o m T o o l G r o u p ...
Page 57: ...57 A x i o m T o o l G r o u p ...
Page 58: ...58 A x i o m T o o l G r o u p ...
Page 59: ...59 A x i o m T o o l G r o u p ...
Page 60: ...60 A x i o m T o o l G r o u p ...
Page 61: ...61 A x i o m T o o l G r o u p ...
Page 62: ...62 A x i o m T o o l G r o u p ...
Page 63: ...63 A x i o m T o o l G r o u p ...
Page 64: ...64 A x i o m T o o l G r o u p ...

